
Beautiful Plants For Your Interior
Beautiful Plants For Your Interior
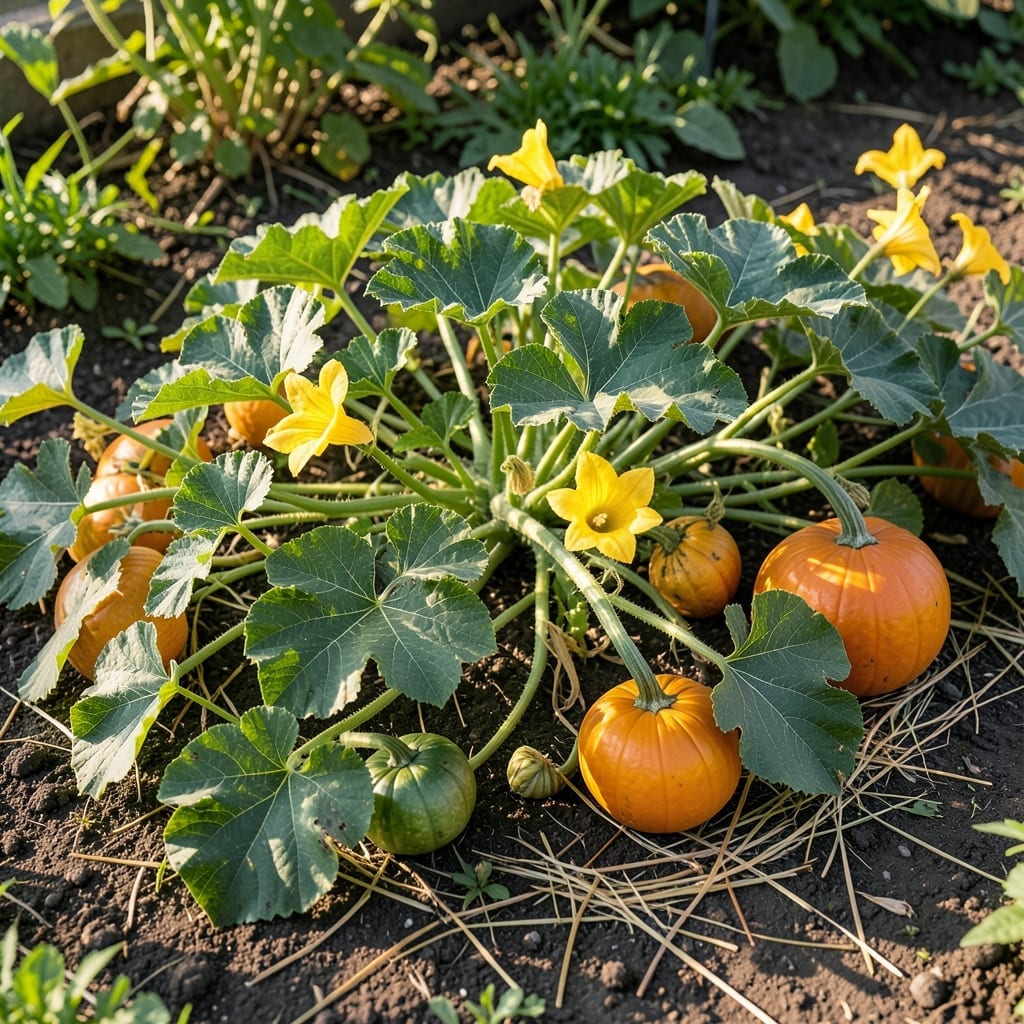
There’s nothing quite like the thrill of watching your 🎃 pumpkin transform from a small green orb to a vibrant autumn treasure. But knowing when to harvest can feel like solving a puzzle.
I’ve learned the hard way that picking too early or too late can ruin months of careful tending. The secret lies in understanding the subtle changes that signal perfect ripeness.
From color shifts to rind hardening, these visual cues tell you everything you need to know. Discover how to read your pumpkin’s readiness like a pro.
With these tips, you’ll never second-guess your harvest timing again. Let’s make this your most successful pumpkin season yet.
I always tell gardeners that watching color changes is the first clue. Your pumpkin’s skin will shift from bright green to its mature hue, whether orange, white, or blue.
As the rind hardens, it becomes resistant to puncture with a fingernail, signaling the next of the pumpkin ripening stages. This is nature’s way of protecting the fruit.
| Stage | Visual Sign | Description |
|---|---|---|
| Early Growth | Green Skin | Pumpkin is immature and soft |
| Color Shift | Changing Hue | Skin starts turning orange or variety color |
| Rind Hardening | Firm Surface | Rind resists fingernail pressure |
| Stem Drying | Woody Stem | Stem turns brown and dry |
| Vine Dieback | Brown Vine | Vine withers and dries |
The stem changes are just as important. A green stem means your pumpkin isn’t ready, while a dry, woody stem signals it’s time to check other signs.
Don’t overlook the vine condition. As pumpkins mature, the vine nearest the fruit often dies back, turning brown and crisp. This is a classic late-stage indicator.
For variegated pumpkins, color changes can be subtle. I focus on the rind hardness and stem condition more than color in these cases. It’s all about multiple cues.
I’ve found that smaller varieties often mature faster. A mini pumpkin might reach full ripeness in 75 days, while larger types can take up to 120 days.
The thumping test works well for me. A hollow sound when tapped indicates ripeness, while a dull thud means it needs more time on the vine.
Remember, frost can damage unripe pumpkins. If cold weather is coming, I harvest my pumpkins early and let them ripen indoors in a warm, dry place. ☀️
Finally, always use sharp pruners when harvesting. Leave 2-3 inches of stem attached to prevent rot and extend storage life. ✂️
I always tell gardeners that color alone isn’t enough to confirm a pumpkin’s ripeness. While the shift from green to orange is obvious, some varieties stay green or white when mature. That’s why I rely on multiple tests to be sure.
My favorite method is the thumping test. A ripe pumpkin will produce a deep, hollow sound when tapped, while an unripe one sounds dull. This works because the internal structure changes as it matures.
The nail penetration test is my go-to for a quick check. If my fingernail can’t pierce the rind, the pumpkin is likely ready. This works because the rind hardens significantly as the fruit matures.
Don’t forget the stem condition. A ripe pumpkin has a dry, woody stem that’s firmly attached. If the stem is still green and flexible, the pumpkin needs more time on the vine.
Lastly, a ripe pumpkin feels heavy for its size. This is because the water content decreases and the flesh becomes denser. Lift a few to compare weights if you’re unsure.
By combining these four tests, I’ve never harvested a pumpkin too early. It’s all about patience and observation in the garden. ✂️