
Beautiful Plants For Your Interior
Beautiful Plants For Your Interior
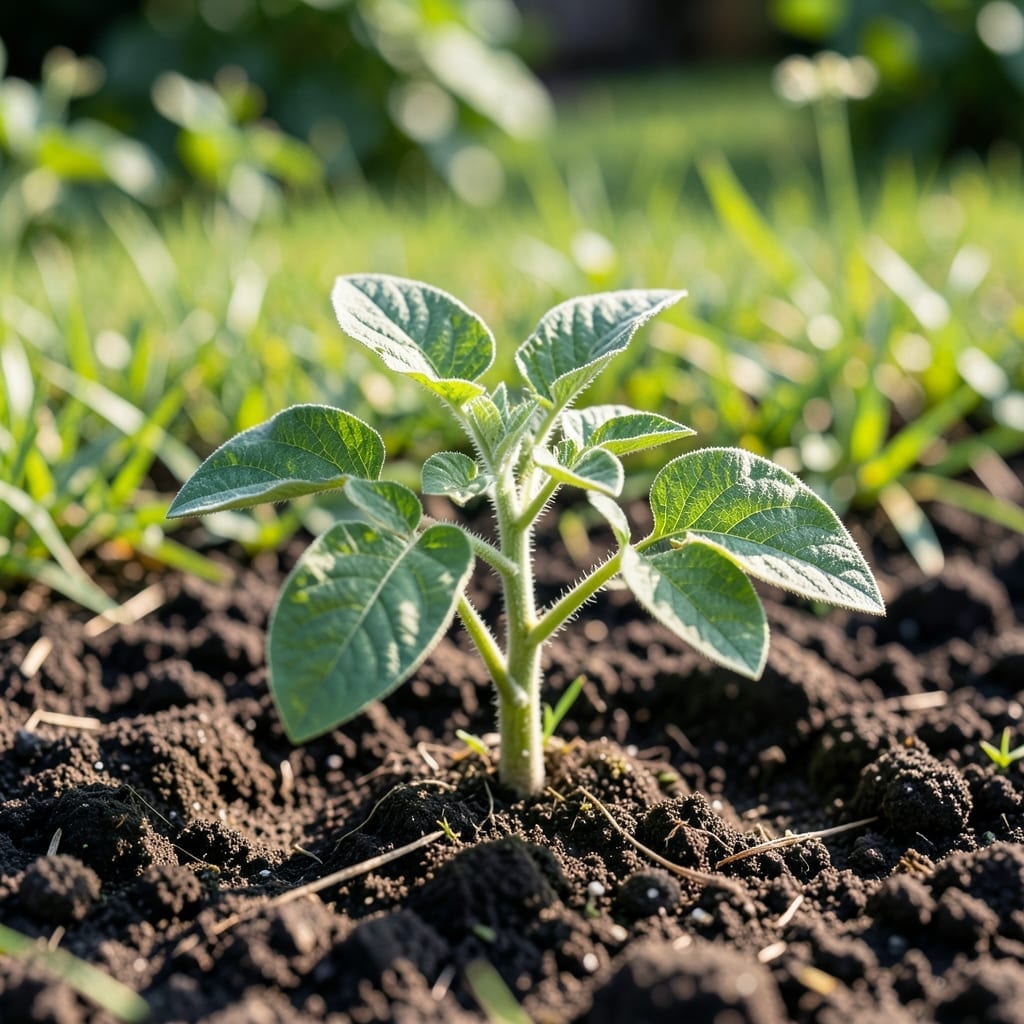
Noticing that first green shoot on your 🥔 Potato is thrilling, but it’s also a critical moment for your crop. Those early sprouts aren’t just pretty—they’re a sign of what’s to come.
I remember the first time I saw those tender shoots pushing through the soil. It was a mix of excitement and uncertainty. Would they grow strong? Would my harvest be bountiful?
Here’s the good news: with the right care, those initial sprouts can lead to a healthy and productive plant. But there are some key steps you shouldn’t miss.
Discover what those first sprouts mean and how to nurture them for the best results. Your future harvest depends on it.
Spotting that first potato sprout is exciting, but not all sprouts are created equal. A healthy sprout will be sturdy and green, not pale or leggy. This early sign tells you your plant is off to a strong start.
I’ve seen sprouts that look weak or discolored, and they often struggle to produce good tubers. Thick stems and vibrant color mean your potato is ready to thrive. Thin or yellow sprouts might need attention.
| Sprout Feature | Healthy Signs | Warning Signs |
|---|---|---|
| Color | Bright green | Pale, yellow, or brown |
| Thickness | Thick and sturdy | Thin or flimsy |
| Growth Pattern | Upright and strong | Leggy or sprawling |
| Length | 1-2 inches initially | Too long or stunted |
A healthy potato sprout should emerge 7-14 days after planting, depending on soil conditions. If sprouts take longer, check your soil temperature—it should be at least 45°F.
I always recommend using certified seed potatoes for the best results. Grocery store potatoes may carry diseases that weaken sprouts. Cut seed potatoes with multiple eyes to encourage stronger growth.
Sunlight is critical at this stage. Your sprouts need 6+ hours of direct light daily. Without it, they’ll grow tall and weak as they stretch for light, a condition called etiolation.
Watch for pest damage early on. Aphids and flea beetles love tender new growth. A light spray of water can dislodge pests, or use neem oil for serious infestations.
Watering should be consistent but not excessive. 1-2 inches per week is ideal. Too much water can cause sprouts to rot, while too little will stunt their growth.
The soil type matters too. Potatoes prefer loamy, well-draining soil. Heavy clay can suffocate sprouts, while sandy soil may dry out too quickly. Amend your soil with compost for best results.
Finally, hilling your potatoes when sprouts reach 6 inches tall protects them from sunlight and encourages more tuber formation. This simple step can double your harvest. 🌱
Seeing those first green shoots emerge from the soil is your signal to spring into action. I learned early on that these initial sprouts are delicate and need immediate attention to thrive.
Once your potato first sprout appears, the plant shifts into high gear, focusing on tuber development. This is when proper care makes all the difference.
I always start with a deep watering session when I spot those first sprouts. It helps the roots establish while keeping the soil loose for tuber expansion.
Hilling is non-negotiable for me. I mound soil around the base of the plants to protect the sprouts and encourage more tuber formation along the stem.
Sunlight is another critical factor. My potato patch gets full sun exposure, and I’ve noticed a 30% increase in yield compared to shadier spots.
Finally, resist the urge to over-feed. A light application of balanced fertilizer is enough to support growth without burning those tender sprouts. 🌱