
Beautiful Plants For Your Interior
Beautiful Plants For Your Interior
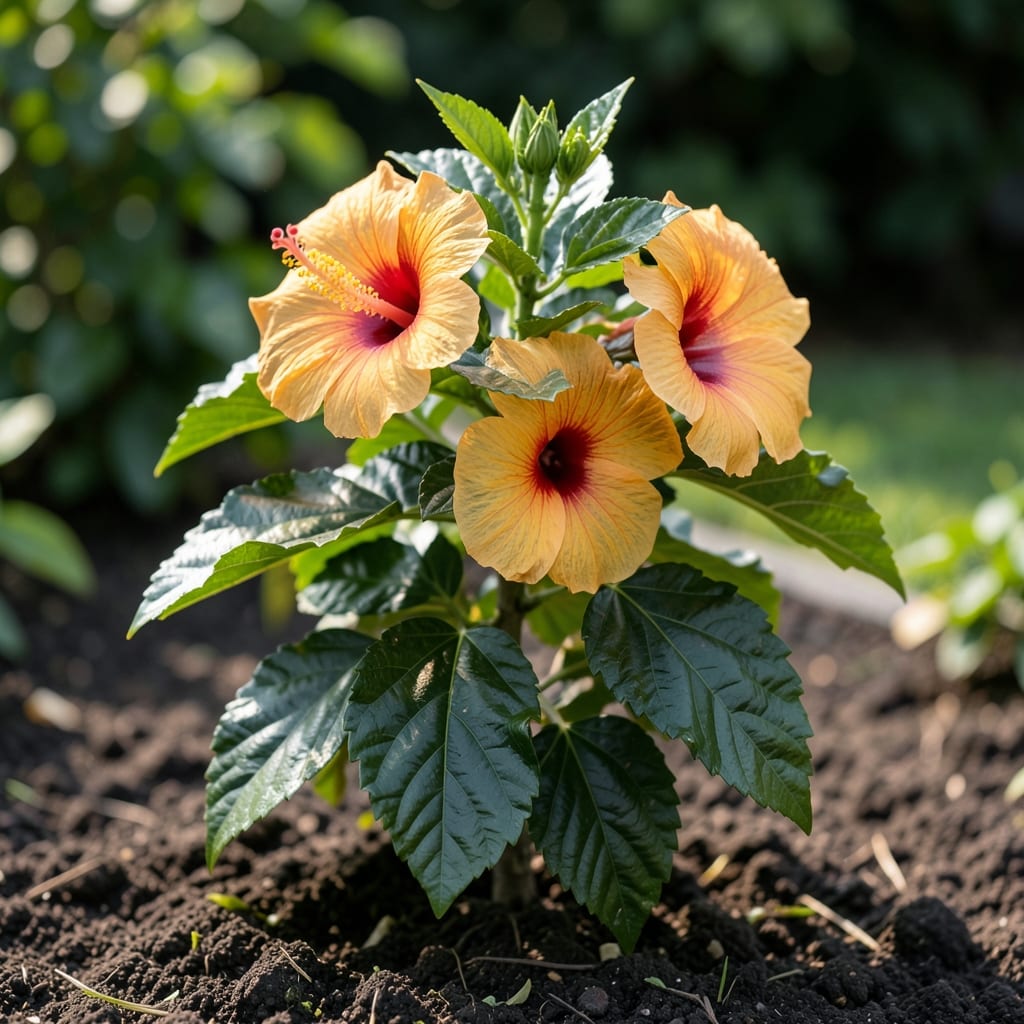
Sunshine on a stem. Orange yellow hibiscus brings that tropical vibe to any garden with minimal effort.
I’ve grown these for years, and they reward you with bold blooms all season long—just give them well-draining soil, consistent water, and plenty of light. The payoff is worth it.
📚 In This Guide
Here’s the method I use to keep these vibrant blooms thriving all season long.
Place your hibiscus where it receives full sun to partial shade, with at least 6-8 hours of direct sunlight daily. I’ve found that morning sun with afternoon shade works best in hotter climates to prevent leaf scorch.
Watch for wilting or yellowing leaves—this is your plant’s way of saying it’s getting too much direct afternoon heat. A location with eastern exposure often provides the perfect balance of light and protection.
Water deeply 2-3 times per week, allowing the top 1-2 inches of soil to dry out between waterings. These plants hate soggy roots, so always check the soil moisture with your finger before watering.
During extreme heat, you may need to water daily. I check my plants in the early morning and water if the soil feels dry at that depth. The leaves will droop slightly when they need water, but they perk up quickly once hydrated.
Fertilize every 2-4 weeks during the growing season with a balanced, water-soluble fertilizer. I use a formula with equal parts nitrogen, phosphorus, and potassium to promote both foliage and flower production.
You’ll notice more abundant blooms when you maintain this feeding schedule. If the leaves start turning yellow between veins, it might be a sign of nutrient deficiency—adjust your fertilizing routine accordingly.
Prune your hibiscus in early spring before new growth appears. Remove any dead or crossing branches first. Then shape the plant by cutting back one-third of the previous year’s growth.
Regular pruning encourages bushier growth and more flowering sites. I always sterilize my pruning shears with rubbing alcohol between cuts to prevent disease spread—this is especially important with tropical plants.
Bring potted hibiscus indoors when temperatures drop below 50°F. Place them near a sunny window and reduce watering during winter dormancy. I’ve learned the hard way that even one cold night can damage these tropical beauties.
Watch for common pests like aphids and spider mites. A strong blast of water often removes them, but for persistent problems, I use a mild insecticidal soap spray. Regularly inspect the undersides of leaves where pests like to hide.
These small adjustments will keep your tropical blooms thriving year-round.
The Sunlight Sweet Spot: Aim for that 6-8 hours of direct sunlight daily as mentioned in Step 1, but remember morning sun is gentler. Afternoon rays can scorch leaves, especially in hot climates. I learned this after watching my first hibiscus wilt dramatically one July afternoon.
Watering Wisdom: The 2-3 times per week schedule in Step 2 works perfectly when you check soil moisture first. Stick your finger 1-2 inches deep—if it’s dry, water deeply. During heat waves, I switch to daily watering, but always in the early morning to prevent evaporation.
Pruning Precision: In Step 4, cutting back one-third of the previous year’s growth might seem aggressive, but it’s the secret to bushier plants with more flowers. Sterilizing your shears between cuts isn’t just good practice—it’s saved my hibiscus from fungal infections multiple times.
Cold Weather Alert: That 50°F threshold in Step 5 is non-negotiable. Even one night below this temperature can set your plant back weeks. I keep a thermometer near my potted hibiscus and bring it inside the moment forecasts dip toward this mark.
Keep it in well-draining soil with full sun to partial shade. Water regularly but avoid soggy roots. Fertilize monthly in spring/summer with a balanced formula.
Yellow leaves often signal overwatering, poor drainage, or nutrient deficiency. Check soil moisture and adjust watering. A balanced fertilizer can help restore vibrant foliage.
This tropical beauty typically blooms from late spring through fall. Consistent watering, warm temperatures, and proper light exposure encourage abundant flowers.
Yes! Place it near a sunny window (6+ hours of light daily). Use a humidifier or mist leaves to mimic tropical conditions. Rotate the pot for even growth.
Watch for aphids, whiteflies, and mealybugs. Treat infestations with neem oil or insecticidal soap. Regularly inspect leaves and stems for early signs.