
Beautiful Plants For Your Interior
Beautiful Plants For Your Interior
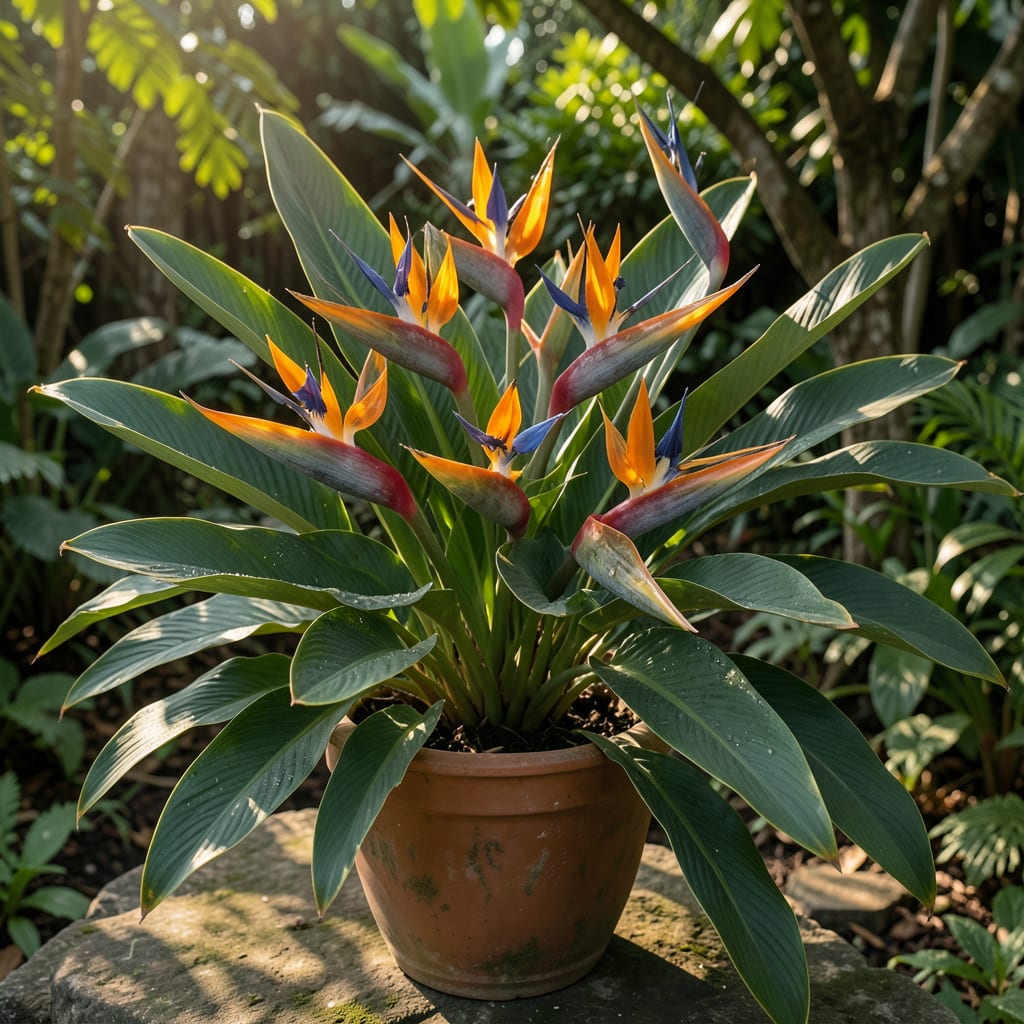
Tropical flair without the tropical climate. Orange bird of paradise brings exotic beauty to any garden with its bold, fiery blooms and lush foliage.
This plant thrives in full sun and well-draining soil, rewarding you with dramatic flowers that resemble birds in flight. With minimal care, it’ll transform your outdoor space into a stunning, vibrant retreat.
📚 In This Guide
This method ensures vibrant blooms and healthy growth in your garden space.
Select a spot with full sun to partial shade—orange bird of paradise thrives in 6+ hours of direct sunlight but tolerates light afternoon shade in hotter climates. I always test the location by observing sun patterns throughout the day; morning sun with afternoon dappled light works beautifully.
The soil must be well-draining with a slightly acidic to neutral pH (6.0-7.0). Avoid low-lying areas where water pools after rain. If your garden has heavy clay, amend the planting area with organic matter to improve drainage before introducing this tropical plant.
Dig a hole that’s twice as wide and just as deep as the root ball. This gives the extensive root system room to establish without circling. I rough up the sides of the hole with my shovel to help roots penetrate the surrounding soil more easily.
Mix the excavated soil with 1 part compost to 2 parts native soil to boost fertility without overwhelming the plant. This creates a transition zone that prevents roots from refusing to grow beyond the enriched area. The amended soil should feel loose and crumbly, not packed or muddy.
Gently remove the plant from its container and loosen any circling roots with your fingers. Position it in the hole so the top of the root ball sits 1-2 inches above the surrounding soil level—this accounts for settling and prevents water from pooling around the base.
Backfill with your soil mixture, pressing lightly as you go to eliminate air pockets. Water deeply immediately after planting, using 10-15 gallons for a mature specimen, until the soil is thoroughly moist but not waterlogged. You’ll see the soil settle slightly after this initial watering.
Maintain consistent moisture during the first 4-6 weeks while the plant establishes. I check the soil 2-3 inches down every few days—if it feels dry, it’s time to water. A 2-3 inch layer of mulch around the base (but not touching the stem) helps retain moisture and regulate soil temperature.
Watch for the first signs of new growth, which typically appear within 3-4 weeks as the plant adapts. If leaves begin to yellow, it often signals either overwatering or insufficient drainage. This tropical species is drought-tolerant once established, but early care sets the foundation for long-term success.
Begin a fertilization routine in early spring as new growth emerges. Use a balanced, slow-release fertilizer (10-10-10 or 20-20-20) every 6-8 weeks during the growing season. I’ve found that liquid fertilizers work well for a quick boost, but granular types provide more consistent nutrition over time.
Reduce feeding in late summer to allow the plant to prepare for dormancy. You’ll notice more prolific blooms when the plant receives regular nutrition, especially in the first two years after planting. The exotic orange and blue flowers will appear in late spring or early summer, depending on your climate.
These insights will help you avoid common pitfalls and ensure thriving plants.
The Sunlight Sweet Spot: While this plant thrives in 6+ hours of direct sunlight, I’ve found that morning sun with afternoon dappled shade produces the most vibrant blooms. If your climate has intense afternoon heat, that light shade becomes crucial for preventing leaf scorch. Test your location by observing how shadows move across the area throughout the day.
Soil Preparation Secret: The 1 part compost to 2 parts native soil ratio in Step 2 isn’t just a suggestion—it’s critical for preventing root shock. I learned this the hard way after losing a specimen to overly rich soil. Roughing up the sides of the planting hole, as mentioned, helps roots break through the native soil more easily as they establish.
Watering Wisdom: During those first 4-6 weeks after planting, that deep watering with 10-15 gallons is non-negotiable. I check soil moisture 2-3 inches down every few days, and if it feels dry, I water immediately. That 2-3 inch mulch layer mentioned in Step 4 makes a noticeable difference in maintaining consistent moisture levels.
Establishment Timeline: Don’t panic if you don’t see new growth immediately—the 3-4 week adaptation period is normal. I’ve noticed that plants established with the root ball sitting 1-2 inches above soil level, as specified in Step 3, tend to show new growth faster and have better long-term health than those planted flush with the ground.
Keep it in bright, indirect light and well-draining soil. Water when the top inch of soil is dry, and fertilize monthly in spring/summer. Prune dead leaves to encourage growth.
With proper care, it typically blooms in late winter to early spring, producing striking orange and blue flowers. Younger plants may take 2-3 years to flower.
Yes! Place it near a sunny window (south or west-facing is ideal). Rotate the pot occasionally for even growth, and mist leaves to mimic humidity.
Common reasons include insufficient light, overwatering, or lack of nutrients. Ensure it gets 6+ hours of light daily and use a balanced fertilizer.
Try heliconia, ginger lily, or canna for similar tropical vibes. All thrive in warm climates and offer bold foliage or flowers.
