
Beautiful Plants For Your Interior
Beautiful Plants For Your Interior
I’ll be real with you: the first time I sprayed neem oil on my aphid-infested roses, I expected maybe a slight improvement. What happened instead was nothing short of a garden miracle. Within 48 hours, the pests were gone—not just reduced, but completely vanished. That was five seasons ago, and I haven’t touched synthetic pesticides […]
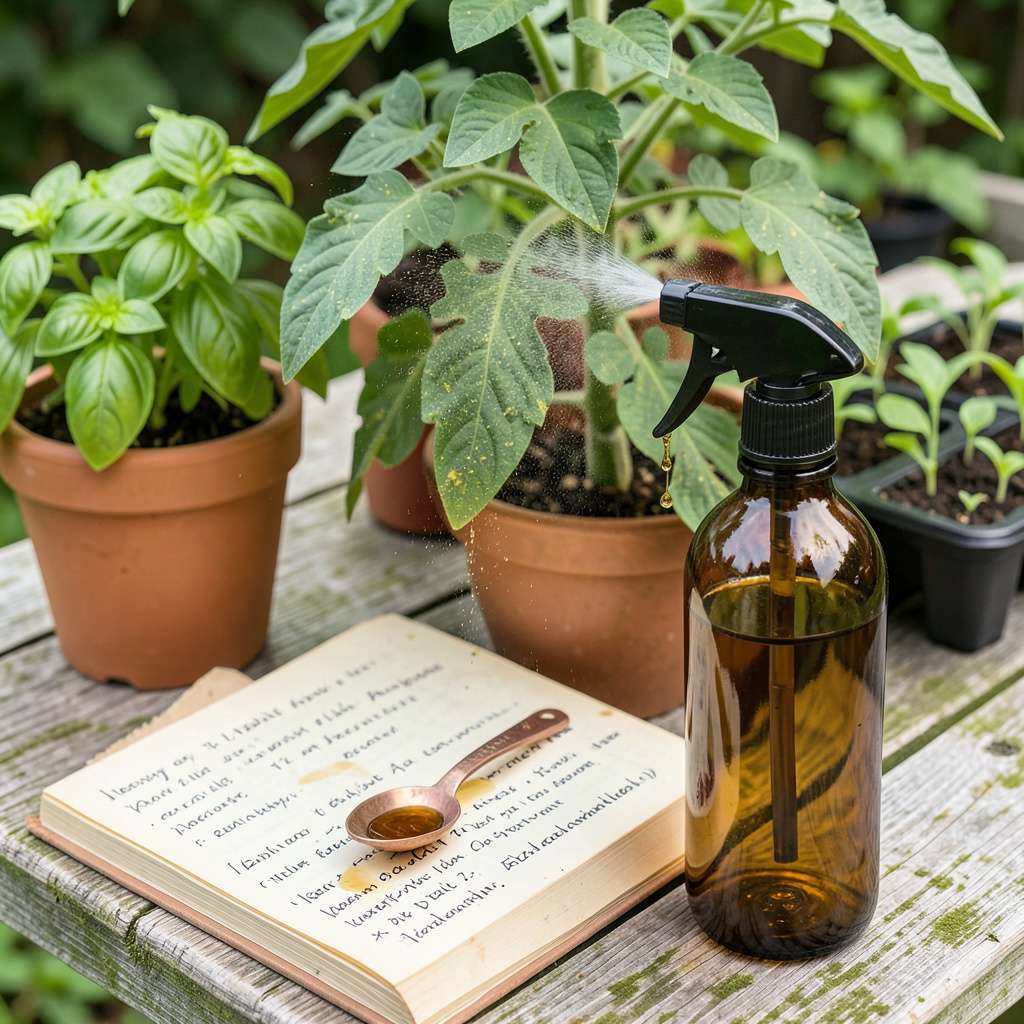
I’ll be real with you: the first time I sprayed neem oil on my aphid-infested roses, I expected maybe a slight improvement. What happened instead was nothing short of a garden miracle. Within 48 hours, the pests were gone—not just reduced, but completely vanished. That was five seasons ago, and I haven’t touched synthetic pesticides since.
Here’s the thing—most neem oil products don’t contain azadirachtin, the compound that actually disrupts pest life cycles. When you use the right formulation, you’re not just repelling insects; you’re stopping them from feeding, growing, and reproducing. My tomato plants went from lace-like leaves to thick, healthy foliage after just two applications. The difference is that dramatic.
What surprised me most was how it handled fungal issues too. Powdery mildew that used to wipe out my squash by July? Now it never gets a foothold. The oil coats leaves protectively while the azadirachtin works systemically. You’ll see plants bounce back faster from stress, with new growth emerging cleaner and stronger within 7-10 days of treatment.
Fair warning: timing and dilution matter more than you’d think. I ruined my first batch by mixing it too strong (yes, even natural products can burn leaves). Now I follow a foolproof ratio that works for everything from delicate herbs to tough shrubs—no guesswork, no plant casualties. Here’s exactly how to make it work in your garden.
📚 In This Guide
Here’s my straightforward method for applying this natural solution—effective against pests without harming your plants.
Apply neem oil in the early morning or late evening when temperatures are below 90°F. Direct sunlight combined with oil can burn leaves, especially on delicate plants like tomatoes or basil. I always check the forecast first—rain within 24 hours means I’ll wait, as water washes away the treatment before it works.
Look for active pests or their damage before spraying. You’ll see chewed leaves, sticky residue (aphid honeydew), or tiny webs (spider mites). Don’t spray preventatively—neem oil works best when pests are present but populations are still small. Early intervention means fewer applications later.
Shake the neem oil bottle vigorously before measuring—azadirachtin settles at the bottom. I use 1 tablespoon of neem oil concentrate per 1 gallon of warm water. Add ½ teaspoon of mild liquid soap as an emulsifier to help the oil disperse evenly in water.
Mix in a clean sprayer, not your watering can. The soap helps break down the oil into tiny droplets that cling to leaves instead of beading up. Stir gently but thoroughly—you’ll see the liquid turn cloudy white when properly emulsified. Test spray a small area first; if droplets form evenly, your mix is ready.
Spray both the tops and undersides of leaves until they glisten but don’t drip. Pests hide on leaf undersides, so that’s where the oil needs to contact them. I work from the bottom up, holding the nozzle 6-8 inches from the plant for even coverage without damaging foliage.
Don’t forget stems and the soil surface around the base. Some pests (like fungus gnats) live in the soil, and neem oil disrupts their life cycle there too. Avoid spraying open flowers—it can harm pollinators. If you must treat flowering plants, do it in the evening when bees are less active.
Neem oil breaks down quickly in sunlight and rain, so reapply every 7-14 days for active infestations. I mark my calendar after the first application—consistency matters more than concentration. For maintenance, a monthly spray keeps most pests from gaining a foothold.
Watch for changes in pest activity. You’ll notice fewer new damage signs within 3-5 days if it’s working. Don’t increase the concentration if results seem slow—neem oil works systemically, and overapplication can stress plants. Patience pays off with this natural approach.
Keep unused neem oil in its original container, tightly sealed, away from direct light and heat sources. I store mine in a cool basement cabinet where temperatures stay between 50-70°F. The azadirachtin degrades faster when exposed to temperature extremes or oxygen.
Wear gloves when mixing and applying—neem oil can irritate skin with prolonged contact. Wash your hands thoroughly after handling, even if you wore gloves. Keep the sprayer dedicated to neem oil only; residual oil in a repurposed sprayer can contaminate other garden treatments or harm sensitive plants.
After years of using neem oil in our gardens, we’ve learned some key lessons that make all the difference in effectiveness and plant safety.
Timing Secret: The below 90°F temperature rule in Step 1 isn’t just about preventing burns—it’s about absorption. Cool morning air helps the oil adhere better to leaves. I’ve found that spraying just after sunrise, when dew has evaporated but temperatures are still rising, gives the best results without stressing plants.
Mixing Technique: When preparing your solution in Step 2, add the 1 tablespoon of neem oil concentrate to the ½ teaspoon of mild liquid soap first before combining with water. This pre-emulsification prevents oil slicks from forming on your water’s surface. Stir with a wooden stick rather than shaking vigorously—too many bubbles can clog your sprayer nozzle.
Application Strategy: The 6-8 inches distance mentioned in Step 3 is crucial for even coverage. Hold the nozzle closer for delicate seedlings, but maintain that distance for mature plants. I always start spraying at the base of the plant and work upward—this prevents oil from dripping onto untreated lower leaves where pests often hide.
Storage Wisdom: For long-term storage mentioned in Step 5, transfer your neem oil to a dark amber glass bottle if it didn’t come in one. The 50-70°F range is ideal, but consistency matters more than the exact temperature. A basement or root cellar works perfectly—just avoid temperature fluctuations that cause condensation inside the bottle.
For preventative care, spray every 2-3 weeks. If treating an active pest infestation, apply every 5-7 days until pests disappear. Always spray in the early morning or late evening to avoid leaf burn from sun exposure. Reapply after rain!
Yes! It’s safe for vegetables, herbs, and fruit trees—just stop spraying 1-2 weeks before harvest. Avoid using it on young seedlings or stressed plants, as it may cause damage. Always do a patch test first on sensitive plants like basil or lettuce.
Azadirachtin is the active compound in neem that disrupts pest life cycles (eggs, larvae, feeding). Regular neem oil may lack sufficient azadirachtin levels, making it less effective for severe infestations. Check labels—0.5%–3% azadirachtin is ideal for pest control.
Why isn’t my neem oil spray working? Common mistakes to avoid.
Top reasons for failure:
Pro tip: Add a few drops of dish soap to help the spray stick!
Try these:
However, none match neem’s systemic + residual effects.
Neem oil with azadirachtin is a game-changer for eco-friendly pest control, offering a safe yet powerful way to protect your plants without harsh chemicals. 🌱 Whether you’re tackling aphids, fungal infections, or just maintaining garden health, this natural solution delivers results while keeping your soil and beneficial insects thriving.
Ready to give it a try? Start with a small test batch on your plants to ensure compatibility, then scale up as you see success. For best results, pair it with regular monitoring and a consistent spray schedule—your garden will thank you! Happy growing!
