
Beautiful Plants For Your Interior
Beautiful Plants For Your Interior
Three seasons ago, my tomato plants were getting decimated by something invisible—until I discovered the power of a simple neem oil soil soak. That single treatment saved my harvest and changed how I handle garden pests forever. The beauty of this method? It works below the surface, protecting roots and soil health while keeping foliage […]
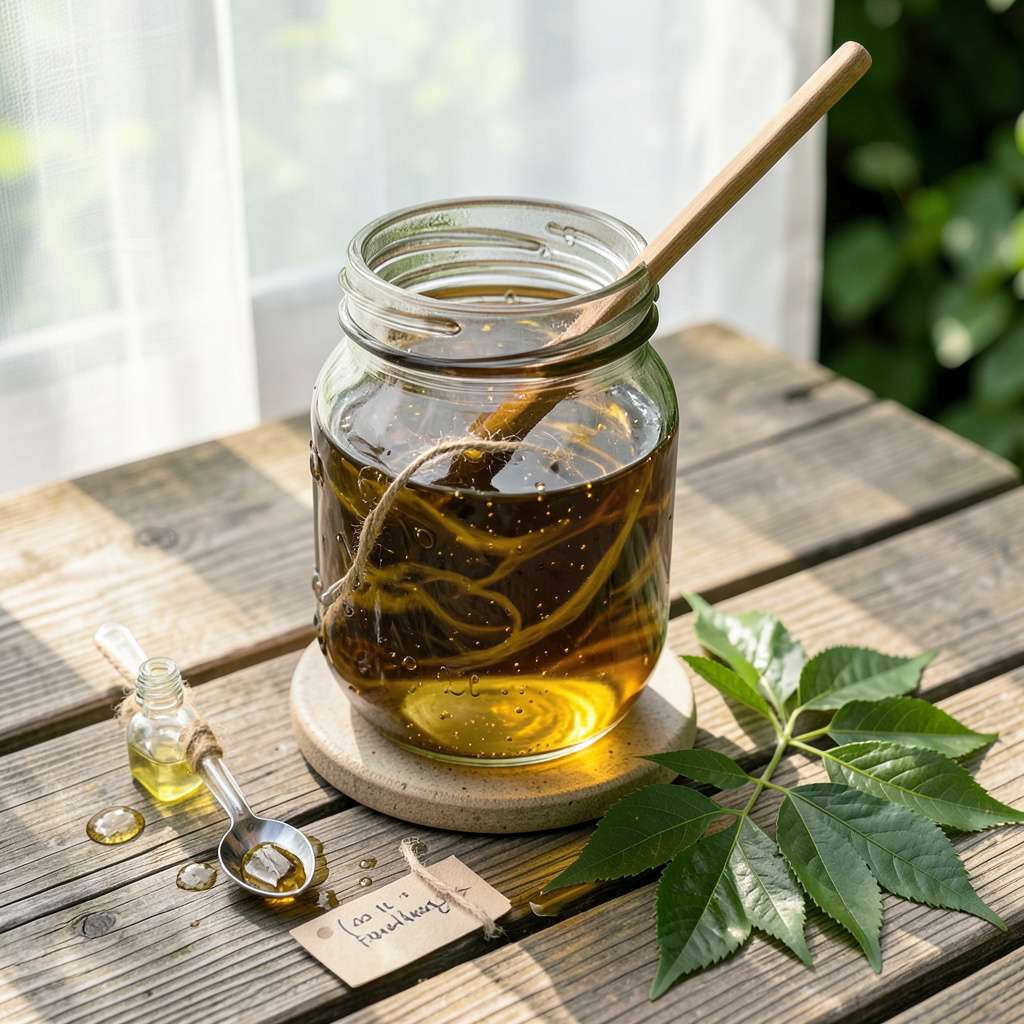
Three seasons ago, my tomato plants were getting decimated by something invisible—until I discovered the power of a simple neem oil soil soak. That single treatment saved my harvest and changed how I handle garden pests forever. The beauty of this method? It works below the surface, protecting roots and soil health while keeping foliage safe from direct sprays.
What makes this approach different is how it targets the problem at its source. Instead of chasing pests you can see, the soil soak creates an environment where harmful insects can’t thrive. I’ve used it successfully on everything from peppers to houseplants, with visible improvements in plant vigor within 7-10 days. The best part? It’s completely natural and won’t harm beneficial soil organisms when used correctly.
You’ll notice healthier root systems, fewer wilting leaves, and plants that bounce back faster from stress. The treatment also helps prevent fungal issues that often accompany pest problems. After that first successful season, I made neem oil soaks a regular part of my garden maintenance—especially during the early growing season when plants are most vulnerable.
Whether you’re dealing with stubborn gnats, root-feeding larvae, or just want to give your soil a protective boost, this method adapts to any garden setup. The supplies are simple, the process takes less than 30 minutes, and the results speak for themselves in healthier, more resilient plants.
📚 In This Guide
This method transforms your soil into a protective barrier while nourishing roots—simple, effective, and chemical-free.
Begin with cold-pressed neem oil, which retains higher azadirachtin levels (the active pest-deterrent compound). Shake the bottle vigorously before opening—neem oil separates naturally, and you need the full-strength emulsion. I measure 1 tablespoon of neem oil per gallon of water for a balanced soil soak that targets pests without harming beneficial microbes.
Warm the oil slightly by placing the bottle in a cup of hot water for 2-3 minutes. This reduces viscosity, helping it disperse evenly in water. Avoid overheating—temperatures above 120°F degrade azadirachtin. You’ll notice the oil becomes more fluid and mixes more readily when warmed properly.
Neem oil won’t dissolve in water alone, so you’ll need an emulsifier. I use 1 teaspoon of mild liquid soap (Castile or insecticidal soap) per gallon. Add the soap to 1 cup of warm water first, stirring until slightly sudsy. This pre-mix prevents oil droplets from clumping when combined with the full water volume.
Slowly drizzle the warmed neem oil into the soapy water while stirring continuously. You’re aiming for a milky, uniform emulsion—no floating oil slicks. If separation occurs, add another ½ teaspoon of soap and whisk vigorously. The proper emulsion should maintain consistency for at least 15 minutes before application.
Pour the emulsion into 1 gallon of lukewarm water (about 70-80°F) in a watering can or bucket. Stir gently but thoroughly to maintain the emulsion. Apply immediately to moist soil—neem binds best to soil particles when they’re already hydrated. Water your plants normally first if the soil is dry.
Distribute the solution evenly around the plant’s root zone until you see slight runoff from the drainage holes. For container plants, use 1 cup of solution per 6-inch pot. The soil should appear uniformly damp but not waterlogged. You’ll notice the surface darkens slightly as the neem penetrates—this indicates proper absorption.
Neem’s protective effects last 2-3 weeks in the soil. Watch for signs of renewed pest activity—yellowing leaves, visible insects, or sticky residue (honeydew from sap-sucking pests). These indicate it’s time to reapply. I recommend a preventive schedule every 3 weeks during growing season for vulnerable plants like tomatoes, roses, and basil.
The soil soak also improves root health over time. You’ll observe deeper green foliage and increased resilience to stress within 2-3 applications. Avoid using neem soaks on newly transplanted seedlings—wait until plants show 4-6 true leaves to prevent potential stress to developing root systems.
After years of experimenting with Natural Pest Control Solution”>natural pest control, I’ve learned these subtle details make all the difference in creating an effective soil soak.
Temperature Precision: The 2-3 minutes of warming neem oil in hot water is critical—any longer risks exceeding the 120°F threshold where azadirachtin begins to degrade. I use a kitchen thermometer to verify the water bath stays below 115°F, ensuring maximum pest-deterrent potency without compromising the oil’s integrity. The oil should flow like light syrup when properly warmed.
Emulsion Stability: In Step 2, achieving that milky consistency requires patience. When drizzling the warmed oil into the soapy water, stir in a figure-eight motion rather than circles—this creates better shear forces to break oil droplets into uniform suspension. If your emulsion separates within the 15-minute window, the soap-to-oil ratio needs adjustment. I’ve found that organic Castile soap maintains stability better than synthetic detergents.
Application Technique: The instruction to apply to moist soil isn’t just preference—neem oil binds to soil particles through hydrophobic interactions that require existing moisture. For container plants, water normally first, wait 30 minutes for even absorption, then apply your 1 cup of solution per 6-inch pot. You’ll see the soil surface darken as the neem penetrates the root zone, which confirms proper distribution.
Scheduling Strategy: While the 2-3 week protection window is accurate, I’ve noticed vulnerable plants like tomatoes benefit from a staggered approach. Apply to one-third of your garden each week rather than all plants simultaneously. This creates overlapping protection cycles that prevent pest population rebounds between applications. Mark your calendar for the 3-week preventive reapplication during peak growing season.
For active infestations, apply every 7–10 days until pests are gone. For prevention, a monthly soak during growing season works well. Avoid overuse—neem’s azadirachtin can build up in soil. Always water plants before applying to prevent root stress!
Yes! Neem oil is safe for vegetables, herbs, and fruit trees—just stop applications 2–3 weeks before harvest. Avoid using it on young seedlings or drought-stressed plants, as it may cause leaf burn. Always test a small area first!
Early morning or late evening is ideal to avoid sunlight breaking down the oil (UV rays reduce effectiveness). If applying to foliage too, evening helps prevent leaf scorch. Pro tip: Water soil lightly afterward to help distribution!
Yes! Try insecticidal soap (for soft-bodied pests), diatomaceous earth (for crawlers), or garlic/chili pepper sprays (repellent). For fungal issues, baking soda solutions or compost tea work too. Each has pros/cons—neem’s systemic action is unique, though!
Clumps mean the oil wasn’t properly emulsified—mix with mild soap (1 tsp/gallon) before adding water. The smell (like garlic/sulfur) fades in 24–48 hours. If odor lingers, reduce concentration or aerate soil. Store mixed solution no longer than 8 hours for best results!
A neem oil soil soak is your garden’s secret weapon—naturally repelling pests, boosting root health, and keeping plants thriving without harsh chemicals. 🌱 By integrating this simple, cost-effective method into your routine, you’re not just protecting your garden; you’re nurturing a sustainable, vibrant ecosystem.
Ready to see the difference? Start with a small batch today, monitor your plants’ progress, and adjust as needed. Your greenery will thank you—one soak at a time!
