
Beautiful Plants For Your Interior
Beautiful Plants For Your Interior
I’ll be real with you: root pests and fungal diseases can turn a thriving garden into a graveyard overnight. After losing half my pepper plants to root rot last summer, I discovered the game-changer that saved my remaining crops—a simple neem oil soil drench that works at the root level where problems start. The beauty […]
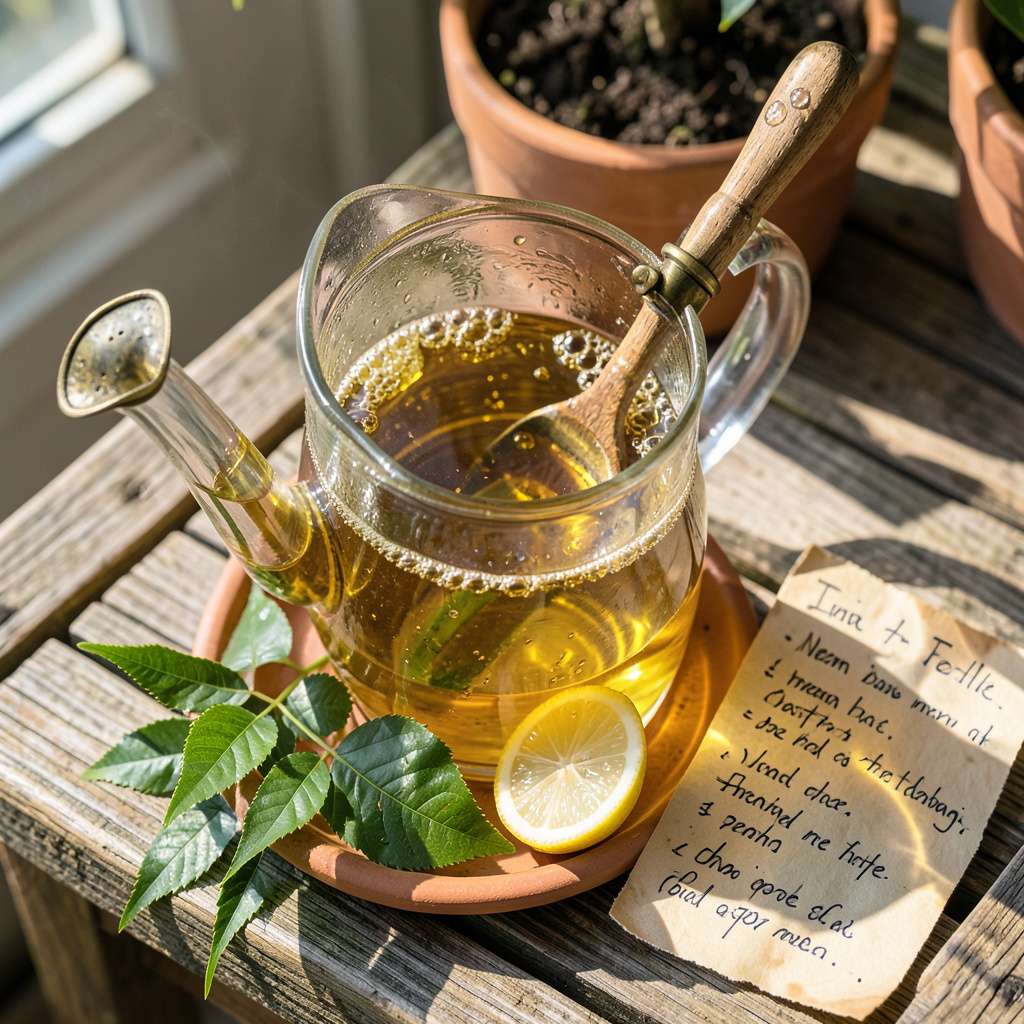
I’ll be real with you: root pests and fungal diseases can turn a thriving garden into a graveyard overnight. After losing half my pepper plants to root rot last summer, I discovered the game-changer that saved my remaining crops—a simple neem oil soil drench that works at the root level where problems start.
The beauty of this method is its simplicity. No complicated sprays, no daily monitoring—just a straightforward treatment that protects plants from the ground up. I’ve used it on everything from delicate seedlings to established fruit trees, and the difference in plant vigor is undeniable. Within 48 hours, you’ll notice healthier foliage and stronger growth patterns.
What makes this approach special is how it targets hidden threats. While most treatments focus on what you can see, a soil drench addresses the unseen battles happening underground. The neem oil disrupts pest life cycles and prevents fungal spores from taking hold, all without harming beneficial soil organisms when used correctly.
Perfect for organic gardeners, container plants, or anyone tired of watching their garden struggle with invisible enemies. The process takes less than 30 minutes and pays dividends all season long. Here’s exactly how to make it work for your plants.
📚 In This Guide
This method transforms your soil into a fortress against pests while nourishing roots—here’s how to do it right.
Begin by mixing 1 tablespoon of cold-pressed neem oil with 1 teaspoon of mild liquid soap (I use Castile) in 1 gallon of warm water. The soap acts as an emulsifier, preventing the oil from separating and ensuring even distribution through the soil. Stir vigorously until the mixture appears uniformly cloudy—this indicates proper emulsification.
Use warm water (around 80°F) to help dissolve the oil completely. If you notice oil droplets floating after mixing, add another ½ teaspoon of soap and stir again. The solution should maintain its milky appearance for at least 30 minutes before application.
Check that your soil is moderately dry before applying the drench. Insert your finger 2 inches deep—if the soil feels damp but not soggy, it’s ready. Overly wet soil prevents proper absorption, while bone-dry soil may repel the solution. I typically water lightly 24 hours before the drench if the soil tests too dry.
For container plants, tilt the pot slightly to observe drainage. If water pools on the surface, wait 12-24 hours before proceeding. The ideal soil texture should crumble slightly when squeezed but hold its shape—this ensures the neem solution penetrates evenly without pooling or running off.
Pour the solution slowly at the base of the plant, directing it toward the outer 2/3 of the root zone (where feeder roots concentrate). Use about 1 cup of solution per 12 inches of plant height for container plants, or 1 gallon per 2 square feet for garden beds. The goal is deep saturation without runoff.
Watch for the solution to disappear into the soil within 10-15 seconds—this indicates proper absorption. If pooling occurs, pause for 5 minutes to let it soak in, then continue. I use a watering can with a narrow spout for precision, avoiding foliage contact which can cause phytotoxicity in direct sunlight.
Observe your plants over the next 48 hours for signs of stress (yellowing leaves or wilting) which rarely occurs but signals overapplication. The neem oil’s systemic effects begin within 2-3 days, with maximum pest protection achieved after 7 days. You’ll notice fewer gnats, reduced fungal gnat larvae, and healthier root systems.
For preventive maintenance, reapply every 3-4 weeks during growing season or immediately after heavy rainfall which can leach the oil. I mark my calendar and rotate applications with compost tea for balanced soil biology. The soil should develop a slightly earthier smell after treatment—a sign the neem is integrating properly with the microbial community.
Withhold watering for 24-48 hours post-application to allow the neem oil to bind with soil particles. Avoid fertilizing for 5-7 days—neem’s natural compounds need time to establish without chemical interference. You may see temporary surface crusting; gently scratch the top ¼ inch of soil to restore porosity if needed.
Resume normal care after 3 days, but reduce water volume by 20% for the first week—the neem treatment improves moisture retention. I typically see new growth emerge within 5-7 days post-treatment, often darker green and more vigorous than before, indicating the roots are thriving in their protected environment.
After years of experimenting with Natural Pest Control You Need to Try”>natural pest control, I’ve learned these subtle but game-changing details that make all the difference in your soil drench results.
Solution Stability: The 30-minute holding time for your neem oil mixture isn’t arbitrary—it’s when you’ll notice if your emulsification failed. I’ve found that using water exactly at 80°F creates the most stable emulsion. If you see separation after 30 minutes, don’t panic: add that extra ½ teaspoon of soap and stir vigorously for another 2 minutes. The milky consistency should hold, which ensures even distribution when you apply it to your soil.
Absorption Technique: In Step 3, when you’re watching for that 10-15 second absorption window, here’s what nobody tells you: the solution should disappear like water into a sponge, not sit on top like oil on pavement. If you’re working with clay-heavy soil, you might need to pause for the full 5 minutes between applications to prevent runoff. I use a turkey baster for precision with small plants—it gives me better control than even a narrow-spout watering can.
Post-Application Observation: Those first 48 hours are critical. I check my plants at dawn and dusk during this period, looking for subtle signs beyond just wilting. Healthy plants will actually perk up more than usual in the mornings after treatment—the neem stimulates root activity. If you notice the soil developing that earthier smell mentioned in Step 4, that’s your confirmation the treatment is working at the microbial level.
Long-Term Strategy: The 3-4 week reapplication schedule isn’t just about pest control—it’s about building soil resilience. I’ve noticed that plants treated consistently every 3 weeks develop noticeably stronger root systems over a season. Mark your calendar for the shorter 3-week interval during peak growing season or if you’ve had heavy rains, as the instructions suggest. Your plants will reward you with that darker green, more vigorous growth mentioned in Step 5.
For active infestations, apply every 7–14 days until pests disappear. For prevention, a monthly drench during growing season works well. Avoid overuse—neem’s azadirachtin can build up in soil. Always water plants before applying to prevent root stress.
Yes! Neem oil is safe for vegetables, herbs, and fruit trees—just stop applications 2–3 weeks before harvest. Avoid using it on delicate plants like lettuce or spinach (leaf burn risk). For ornamentals, test a small area first.
Try insecticidal soap (for soft-bodied pests) or beneficial nematodes (for soil-dwelling larvae). Compost tea or garlic/chili sprays can also deter pests naturally. Each has pros/cons—neem’s systemic action is hard to beat, though!
Neem’s sulfur compounds create a garlic-like odor that fades in 1–2 days. If the smell lingers, you may have used too much oil (stick to 1–2 tbsp per gallon). Sunlight helps break it down faster—apply in morning for best results.
Yellowing often means root stress from over-concentration or dry soil. Flush the soil with water, skip the next drench, and check your mix (max 1% neem oil). Avoid applying in direct sun or to waterlogged plants.
A neem oil soil drench is your garden’s secret weapon for natural pest control and healthier roots! 🌱 By targeting soil-dwelling pests and fungi without harsh chemicals, you’re giving your plants a fighting chance to thrive. Whether you’re battling gnats, nematodes, or damping-off, this simple, cost-effective method delivers results—just consistency is key.
Ready to see the difference? Start with a small test batch on one plant, track its progress, and scale up as you gain confidence. Your garden (and the beneficial bugs!) will thank you. 🐞 Grab your supplies and get drenching!
