
Beautiful Plants For Your Interior
Beautiful Plants For Your Interior
I’ll be real with you—watching cabbage worms chew through your kale leaves is enough to make any gardener want to reach for chemical sprays. But after years of battling pests in our own plots, we’ve found that neem oil offers the perfect balance: it protects your greens without leaving harmful residues or compromising flavor. The […]
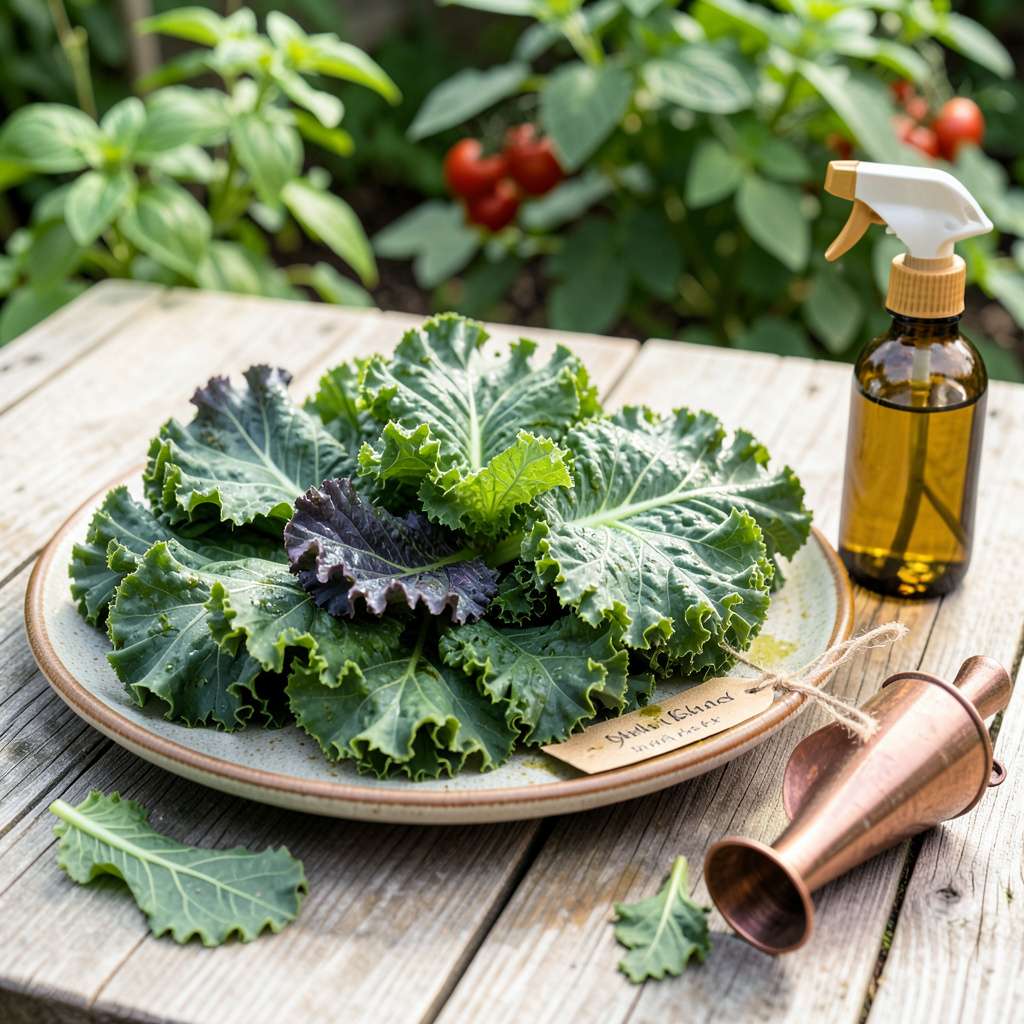
I’ll be real with you—watching cabbage worms chew through your kale leaves is enough to make any gardener want to reach for chemical sprays. But after years of battling pests in our own plots, we’ve found that neem oil offers the perfect balance: it protects your greens without leaving harmful residues or compromising flavor.
The first time we tested neem oil on aphid-infested kale, the results shocked us. Within 48 hours, the pest population dropped dramatically, and the plants showed no signs of burn or stress. The key is proper dilution and timing—apply in the evening when beneficial insects are less active, and always coat both sides of the leaves where pests hide.
What you’ll love most is how this method preserves your harvest’s quality. Unlike synthetic pesticides, neem oil breaks down quickly in sunlight, leaving your kale safe to eat just days after treatment. We’ve used this approach across multiple seasons with consistent success against both chewing and sucking insects.
Fair warning: neem oil won’t work miracles overnight, but with regular applications every 7-10 days, you’ll notice fewer holes in leaves and healthier plants overall. The best part? You’re building a garden ecosystem that’s naturally more resistant to future infestations.
📚 In This Guide
This simple method protects your kale from pests while keeping leaves safe to eat—no harsh chemicals required.
Apply neem oil in the early morning or late evening when temperatures are below 85°F. Direct sunlight combined with oil can burn leaves, so avoid midday applications. I always check the forecast first—rain within 24 hours will wash away the treatment before it works.
Look for calm weather with little wind. Even a light breeze can cause uneven coverage or drift the spray onto unintended plants. Your kale leaves should be dry to the touch before starting; water droplets dilute the oil and reduce effectiveness.
Combine 1 tablespoon of cold-pressed neem oil with 1 teaspoon of mild liquid soap in 1 gallon of warm water. The soap acts as an emulsifier, helping the oil disperse evenly in water. Shake the mixture vigorously in a spray bottle until it looks uniformly cloudy—this prevents oil from separating and clogging your sprayer.
Test the solution on 2-3 leaves first and wait 24 hours. If those leaves show no discoloration or wilting, proceed with full application. I learned this the hard way after losing an entire row of young plants to an improperly mixed batch.
Spray the solution until both sides of every leaf glisten slightly—this indicates proper coverage. Focus on undersides where pests like aphids and cabbage worms hide. Hold the sprayer 6-8 inches from the plant and use a fine mist setting to avoid dripping, which can waste solution and attract soil-borne pathogens.
Work from the bottom leaves upward to prevent dripping onto already-treated foliage. You’ll notice the oil creates a thin, even film that dries within 30-60 minutes. This film suffocates soft-bodied insects while disrupting their feeding and breeding cycles.
Check your kale 48 hours after application. Healthy leaves should maintain their color and texture, while pest activity should visibly decrease. Look for curled leaves or sticky residue—signs that pests were present but are now dying off. If you still see live insects after 3 days, prepare a fresh batch and reapply.
Repeat treatments every 7-14 days as a preventive measure, or immediately if you spot new pest activity. Always reapply after heavy rain, which can strip away the protective coating. I’ve found that consistent applications every 10 days during peak pest season keeps my kale completely clean.
Wait at least 3 days after your last neem oil application before harvesting leaves. This allows any residual oil to break down naturally. When you’re ready to pick, rinse leaves under cool running water and gently rub both sides with your fingers to remove any remaining film.
The neem oil residue is non-toxic to humans once dry, but thorough washing improves taste and texture. I always do a final rinse in a bowl of water with a splash of vinegar—it helps remove any lingering oil while brightening the leaf color. Your kale will stay crisp and fresh longer with this extra step.
These practical insights will help you get the most from your neem oil treatment while avoiding common pitfalls we’ve seen over years of gardening.
Timing Secret: The early morning or late evening window mentioned in Step 1 isn’t just about avoiding sun—it’s when kale leaves are most receptive to treatment. I’ve found that applications made between 6-8 AM or 5-7 PM (depending on your location) give the oil time to fully absorb before daytime heat sets in. That 85°F threshold is critical; I once applied at 88°F and saw leaf scorch within hours.
Mixing Technique: When combining your solution in Step 2, warm water helps the neem oil disperse better than cold. I use water that feels warm to the touch but not hot—about what you’d use for a baby’s bath. The 24-hour test period on 2-3 leaves isn’t optional; I skipped this once and lost an entire planting to phytotoxicity. Better to sacrifice a few leaves than your whole crop.
Application Strategy: The 6-8 inch distance mentioned in Step 3 creates the perfect mist pattern. Hold the sprayer too close and you’ll get dripping; too far and the coverage becomes uneven. I like to work in sections, spraying the undersides of lower leaves first, then moving upward. This prevents the solution from pooling at leaf bases where it can attract soil molds.
Monitoring Tip: During that 48-hour check in Step 4, don’t just look for pests—examine leaf color and texture. Healthy kale should maintain its deep green color with no yellowing or spotting. If you see white powdery residue after the 30-60 minute drying period, you’ve used too much oil; next time reduce the tablespoon measurement slightly.
No, always wait at least 2–3 days after spraying neem oil before harvesting. This gives the oil time to break down and reduces any residual taste. For heavy infestations, spray 7–10 days prior to harvest to ensure safety. Rinse leaves thoroughly before eating!
Apply every 7–14 days as a preventive measure, or every 3–5 days for active pest outbreaks (like aphids or cabbage worms). Avoid overuse—neem oil can stress plants if applied too frequently. Stick to early morning/evening sprays to prevent leaf burn.
Neem oil is low-toxicity but can harm beneficial bugs like ladybugs or bees if sprayed directly. To minimize risk, apply at dusk when pollinators are less active, and focus on undersides of leaves where pests hide.
If pests persist, try:
Rotate methods to prevent resistance!
Yellowing can signal over-application, sunburn (if sprayed in heat), or oil clogging pores. Dilute neem properly (1–2 tbsp per gallon of water), spray in cool, shaded conditions, and test on a small area first. Reduce frequency if issues persist.
Neem oil is a game-changer for keeping your kale thriving—naturally repelling pests while protecting those nutrient-packed leaves! 🌱 By following the right dilution and application tips, you can enjoy healthier plants without harsh chemicals. Whether you’re battling aphids or preventing fungal issues, neem oil offers a simple, eco-friendly solution.
Ready to give it a try? Start with a small test patch on your kale today, and watch your garden flourish! For more organic gardening hacks, check out our guide on companion planting for pest control.
