
Beautiful Plants For Your Interior
Beautiful Plants For Your Interior
Ferns bring that lush, prehistoric vibe to any space—until pests or fungal spots start ruining their delicate fronds. I’ve lost count of how many Boston ferns I’ve nursed back from the brink after spider mites moved in, and neem oil became my secret weapon. The tricky part? Ferns are sensitive, so what works on tougher […]
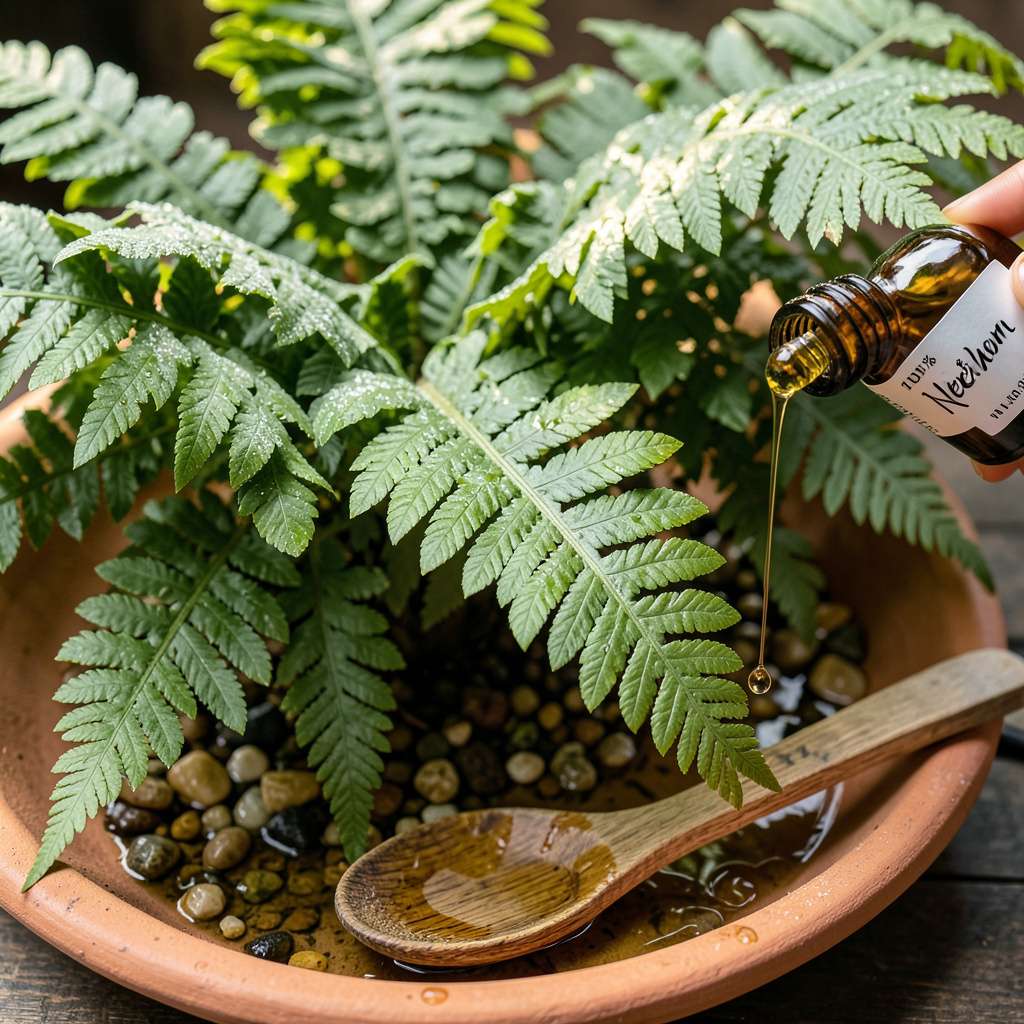
Ferns bring that lush, prehistoric vibe to any space—until pests or fungal spots start ruining their delicate fronds. I’ve lost count of how many Boston ferns I’ve nursed back from the brink after spider mites moved in, and neem oil became my secret weapon. The tricky part? Ferns are sensitive, so what works on tougher plants can burn their leaves faster than a summer drought.
Here’s the thing—neem oil isn’t just an insecticide; it’s a three-in-one solution for pests, fungi, and even some bacterial issues. But ferns demand a gentler approach. I ruined my first batch by using full-strength oil (learned that the hard way). Now I use a 1% dilution with warm water and a drop of castile soap, applied when the plant’s not in direct sunlight.
You’ll notice the difference within 48 hours—pests start disappearing, new growth comes in cleaner, and the fronds keep that vibrant green without crispy edges. The key is timing: evening applications work best, and you’ll want to repeat every 7-10 days until the problem’s gone. No more watching your ferns turn into a bug buffet.
Works for maidenhair, staghorn, and even finicky bird’s nest ferns. Just remember: always test spray a single frond first. If it looks happy after 24 hours, you’re good to treat the whole plant. Here’s exactly how to mix and apply it safely.
📚 In This Guide
This gentle approach protects delicate fronds while keeping pests away—no leaf burn, just healthy plants.
Start with 100% cold-pressed neem oil (not pre-mixed sprays). I always check the label to confirm it’s pure neem with no additives that could irritate ferns’ sensitive foliage. Avoid any products labeled “neem oil concentrate” or “neem oil soap”—these contain additional ingredients that may cause leaf burn.
The oil should be dark yellow to brown and have a strong, nutty-garlic scent. If it smells rancid or looks cloudy, it’s expired and will harm your plants rather than help them. Store unopened bottles in a cool, dark place to maintain potency.
Mix 1 teaspoon neem oil with 1/2 teaspoon mild liquid soap (I use Castile) in 1 quart of warm water. The soap acts as an emulsifier, helping the oil disperse evenly in water. Shake vigorously in a spray bottle until the mixture looks milky—this ensures proper distribution.
Test the solution first by spraying a small section of one frond. Wait 24 hours to check for any discoloration or wilting. Ferns are particularly sensitive, so this step prevents damaging your entire plant. If you see any negative reaction, dilute the mixture further with water.
Spray the solution early in the morning or late afternoon when temperatures are below 85°F. Direct sunlight combined with neem oil can scorch leaves. Focus on the undersides of fronds where pests hide, but coat both sides lightly for full protection.
Use a fine mist setting on your sprayer to avoid dripping. You want the leaves to glisten slightly, not appear soaked. I hold the sprayer 8-10 inches from the plant and move continuously to prevent over-application in one spot. Never apply when rain is expected within 24 hours.
Check your ferns 2-3 days after application for pest activity. Neem oil works gradually, so don’t expect immediate results. Look for reduced webbing (spider mites), fewer visible insects, and no new damage to fronds. The oil disrupts pests’ life cycles, so consistent application is key.
Reapply every 7-14 days for active infestations, or monthly for prevention. Always re-test your mixture on a small area before full application—fern sensitivity can change with seasons. I mark my calendar to track applications and watch for any cumulative effects on leaf health.
After each use, rinse your sprayer thoroughly with warm, soapy water to prevent clogging. Neem oil residue hardens in nozzles and can ruin equipment. I keep a dedicated spray bottle just for neem applications to avoid cross-contamination with other plant treatments.
Store your neem oil mixture in a cool, dark place for up to 2 weeks. After that, the emulsification breaks down and the oil separates. For longer storage, mix fresh batches as needed. Proper cleanup and storage ensure your neem oil remains effective for future applications.
Working with ferns requires extra care, and I’ve learned these nuances through years of trial and error.
Product Selection: In Step 1, when choosing your neem oil, I can’t stress enough how important it is to get 100% cold-pressed oil. I once made the mistake of using a pre-mixed spray labeled “neem oil” and ended up with brown spots on my ferns. The additives in those products can be too harsh for delicate fronds. Always check that the oil has that characteristic nutty-garlic smell – that’s your guarantee of freshness and potency.
Application Technique: When you reach Step 3, the 8-10 inch distance mentioned isn’t arbitrary. I learned this after accidentally scorching some ferns by spraying too close. That distance creates a fine mist that coats evenly without pooling. Also, remember to move the sprayer continuously – I like to use a gentle sweeping motion, similar to painting a wall. This prevents any single area from getting too much solution.
Timing Wisdom: The 24-hour waiting period in Step 2 is absolutely crucial. I know it’s tempting to skip this test, especially when you’re eager to treat your plants, but ferns can react unpredictably. Once I applied neem oil to an entire fern without testing first, and within hours the fronds started curling. That small test spray saves you from potentially damaging your entire plant. If you see any discoloration after 24 hours, dilute your mixture with more water before full application.
Storage Insight: For Step 5, I’ve found that storing the neem oil mixture in a dark-colored glass bottle extends its effectiveness beyond the 2-week mark. The dark glass protects it from light degradation. Also, always give your spray bottle a good shake before each use – the oil naturally separates over time, and you want that even distribution for consistent results.
Yes, but dilution is key! Mix 1 tsp neem oil + ½ tsp mild soap per quart of water and spray in the early morning/evening to avoid leaf burn. Ferns have delicate foliage, so test a small area first and avoid oversaturating. Never apply in direct sunlight!
For active infestations (like aphids or mealybugs), spray every 5–7 days until pests disappear. For prevention, a monthly treatment works. Always reapply after rain! Overuse can stress ferns—stick to the schedule.
Try insecticidal soap (gentler) or horticultural oil (for dormant ferns). For fungal issues, baking soda spray (1 tbsp baking soda + 1 quart water + drop of soap) can help. Always patch-test alternatives first!
This usually means sunburn (sprayed midday) or over-concentration. Rinse leaves with water immediately and move the plant to shade. Next time, reduce oil ratio and spray at dusk. Healthy ferns bounce back in 1–2 weeks.
Yes! Indoor ferns benefit from quarterly neem oil sprays to prevent spider mites/gnats. Tip: Wipe leaves with a damp cloth 24 hours post-spray to remove residue and improve photosynthesis. Avoid use if humidity is below 40%—dry air + oil = stress.
Neem oil can be a game-changer for keeping your ferns pest-free—without the risk of leaf burn when used correctly! 🌿 By diluting it properly, testing small areas first, and applying it at the right time, you’ll protect your ferns while harnessing nature’s pest-fighting power.
Ready to give it a try? Start with a small batch on one frond and observe for 24 hours. Once you see success, treat the rest of your plant with confidence! For more natural gardening tips, check out our guide on organic pest solutions.
