
Beautiful Plants For Your Interior
Beautiful Plants For Your Interior
Nothing ruins a canna lily’s tropical drama faster than pests chewing through those bold leaves. I learned this the hard way when Japanese beetles turned my prize plants into lace last summer. Neem oil became my secret weapon—not just for beetles, but for the aphids and fungal spots that love cannas too. The beauty of […]
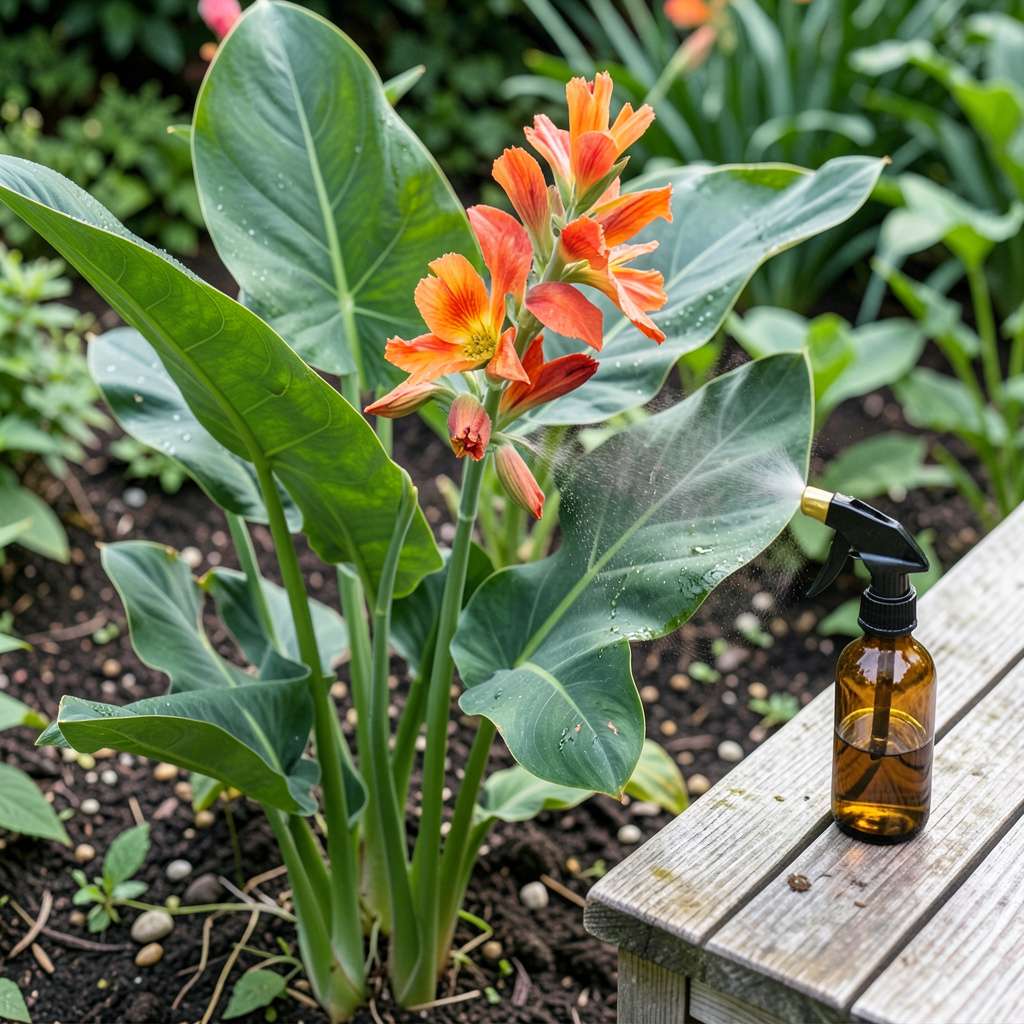
Nothing ruins a canna lily’s tropical drama faster than pests chewing through those bold leaves. I learned this the hard way when Japanese beetles turned my prize plants into lace last summer. Neem oil became my secret weapon—not just for beetles, but for the aphids and fungal spots that love cannas too.
The beauty of neem oil lies in its triple action: it smothers soft-bodied insects, disrupts their life cycles, and prevents fungal spores from spreading. My cannas now stay lush from July through first frost, with leaves so clean they practically glow. The key is timing applications right—before problems explode, not after.
You’ll want to apply in early morning or evening (never in direct sun) to avoid leaf burn. A simple spray bottle and 1 tablespoon Pest Control“>Neem Oil Per Gallon of Water: Essential Gardening Tips”>neem oil per gallon of water with a drop of dish soap does the trick. I mark my calendar for reapplication every 10-14 days during peak pest season.
Best part? This method protects pollinators while targeting only the bad guys. My garden hums with bees all summer, and the cannas stand tall without chemical residues. Here’s exactly how to mix and apply it for maximum protection with minimum fuss.
📚 In This Guide
This simple process protects your plants naturally while encouraging those bold, tropical blooms you love.
Apply neem oil in the early morning or late evening when temperatures are below 85°F. Direct sunlight combined with oil can burn canna lily leaves, so timing matters. I always check the forecast first—rain within 24 hours will wash away the treatment before it works.
Look for dry foliage before starting. Wet leaves dilute the oil and reduce effectiveness. If you’ve recently watered, wait until the surface moisture evaporates completely. The leaves should feel dry to the touch but not crispy or wilted.
Combine 1 tablespoon neem oil, 1 teaspoon mild liquid soap (as an emulsifier), and 1 gallon warm water in a spray bottle. Shake vigorously until the mixture looks uniformly cloudy—this prevents oil droplets from clumping and damaging plant tissue. I use a permanent marker to label my spray bottle so I never confuse it with plain water.
Test the solution on a single leaf first. Wait 24 hours to check for any adverse reaction like yellowing or spotting. Canna lilies are generally tough, but some varieties have more sensitive foliage. If the test leaf looks normal, you’re safe to proceed with full application.
Spray both the top and underside of leaves until they glisten but aren’t dripping. Pests like aphids and spider mites hide underneath, so complete coverage is crucial. I work from the bottom up, letting the mist drift downward naturally. Pay special attention to new growth and flower buds where pests congregate.
Hold the sprayer 8-12 inches from the plant for even distribution. Move in smooth, overlapping motions rather than spot-spraying. You’ll notice the leaves darken slightly when properly coated—a good sign the oil is adhering. Avoid spraying open flowers directly to protect pollinators.
Reapply every 7-14 days throughout the growing season, or immediately after rain. Consistency prevents pest infestations rather than just treating them. I mark my calendar with “Neem Day” so I don’t forget—skipping applications gives pests a chance to establish themselves.
Watch for these signs the treatment is working: fewer visible pests, no new leaf damage, and healthier-looking foliage. You might see some existing pests for a day or two after application—that’s normal as the oil disrupts their life cycle. The real test is whether new damage appears after 5-7 days.
Check your canna lilies 2-3 days after each application. Look for any leaf discoloration, which could mean the solution was too strong. If you see this, dilute your next batch with an extra ½ cup water. The leaves should maintain their normal green color with just a slight sheen from the oil.
For severe infestations, you can apply twice weekly for 2-3 weeks, then return to the regular schedule. I’ve found this aggressive approach works for Japanese beetles, which are particularly stubborn. Always water the plants deeply the day before heavy applications—hydrated plants handle treatments better.
After years of experimenting with natural pest control, I’ve learned that success with neem oil comes down to a few key details that make all the difference.
Timing is Everything: The early morning or late evening application window below 85°F isn’t just a suggestion—it’s critical. I learned this the hard way after applying neem oil on a sunny afternoon and watching my canna lily leaves develop unsightly brown spots. The oil essentially cooks the leaves under direct sunlight. Always check your weather app for both temperature and rain forecasts before starting.
The Mixing Method That Prevents Problems: When combining the 1 tablespoon neem oil, 1 teaspoon mild liquid soap, and 1 gallon warm water, here’s what nobody tells you—warm water helps the soap dissolve completely, which prevents oil separation. I use water that’s warm to the touch but not hot (about 90°F works perfectly). Shake the bottle for a full 30 seconds until the mixture looks like cloudy lemonade. This step determines whether you’ll get even coverage or oily spots on your leaves.
Application Technique for Maximum Coverage: The 8-12 inch spraying distance mentioned in Step 3 is ideal for creating a fine mist rather than heavy droplets. I’ve found that working in a circular motion from the base of the plant upward ensures you don’t miss any leaves. Pay special attention to the undersides where pests love to hide. A good test: after spraying, the leaves should look slightly darker when wet, like they’ve just been rained on but not soaked.
Monitoring for Best Results: Those 2-3 days after application mentioned in Step 5 are when you’ll see the most telling signs. I always make it a habit to inspect my canna lilies with a flashlight at dusk—this is when many pests are most active. Look for any unusual leaf curling or discoloration, which could indicate either pest stress (good) or solution strength issues (bad). The slight sheen on leaves should remain, but if you see white residue, you’ve used too much oil in your mixture.
Apply neem oil every 7–14 days as a preventative or every 5–7 days if treating an active pest infestation (like aphids or spider mites). Always spray in the early morning or late evening to avoid leaf burn from sun exposure. Light rain? Reapply afterward!
Yes, but avoid spraying open blooms directly—focus on leaves and stems. Neem oil is safe for flowers, but bees and pollinators may be less active if applied heavily. Opt for early morning applications when pollinators are less active.
Use 1–2 teaspoons of cold-pressed neem oil per 1 gallon of water, plus ½ teaspoon of mild liquid soap (as an emulsifier). Shake well before spraying! For stubborn pests, increase to 1 tablespoon per gallon but test on a small area first.
If pests persist, try:
Rotate methods to prevent resistance!
Yellowing can signal overapplication, sunburn (if sprayed midday), or oil clogging pores. Dilute the mix, spray only at dusk, and rinse leaves with water if residue builds up. If issues persist, pause use and check for fungal diseases.
Neem oil is a game-changer for keeping your canna lilies thriving—naturally repelling pests while boosting their lush, vibrant blooms! 🌿✨ With the right dilution, timing, and application, you can protect your plants without harsh chemicals. Whether you’re tackling aphids, spider mites, or fungal issues, this eco-friendly solution delivers results.
Ready to give it a try? Start with a small test patch on your canna lilies, then scale up as you see success. For even better results, pair neem oil with good gardening practices like proper watering and soil care. Happy gardening—your cannas will thank you! 🌸
