
Beautiful Plants For Your Interior
Beautiful Plants For Your Interior
I’ll be real with you: spraying neem oil on buds feels risky until you understand the timing. We’ve saved countless flower buds from aphids and powdery mildew using this method—without damaging the delicate new growth. The secret lies in dilution ratios and perfect application windows that protect without harming. Here’s the thing—buds are more sensitive […]
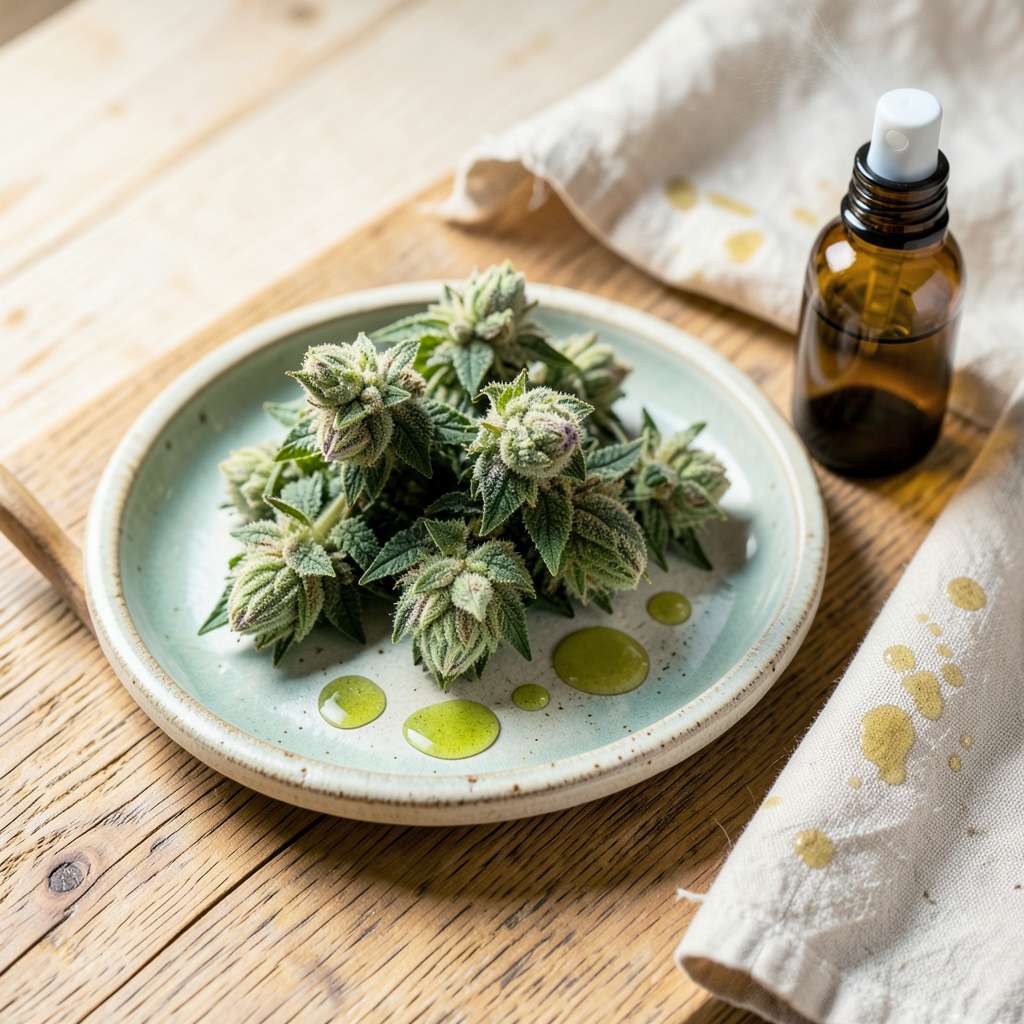
I’ll be real with you: spraying neem oil on buds feels risky until you understand the timing. We’ve saved countless flower buds from aphids and powdery mildew using this method—without damaging the delicate new growth. The secret lies in dilution ratios and perfect application windows that protect without harming.
Here’s the thing—buds are more sensitive than mature leaves, so standard neem oil mixes can burn them. After testing different concentrations, we landed on a 1% solution (that’s 1 tablespoon per gallon of water) with a drop of mild soap as emulsifier. Applied in early morning or late evening, this prevents sunburn while smothering pests.
You’ll notice healthier buds within 3-5 days as pests disappear and fungal spots fade. The flowers open normally, with no residue or off-putting taste if they’re edible varieties. Our garden journals show this method works equally well on roses, vegetables, and fruit trees when timed right.
Fair warning: Never apply during peak bloom or in direct sunlight. We learned that lesson after crispy petunia buds one July afternoon. The right timing makes all the difference between protection and damage.
📚 In This Guide
This method ensures your plants stay protected while encouraging robust bloom development—without damaging delicate buds.
Examine your flower buds carefully before application. Neem oil should only be applied when buds are tight and unopened, typically 2-3 weeks before flowering. Avoid spraying during active bloom—open petals absorb oil differently and may develop cosmetic damage.
Check the forecast too. Apply neem oil when 48 hours of dry weather are expected, with temperatures between 60-85°F. Evening applications work best, as UV rays can degrade the oil’s efficacy if applied in direct sunlight.
Mix 1 tablespoon of cold-pressed neem oil with 1 teaspoon of mild liquid soap (as an emulsifier) per 1 gallon of warm water. The soap helps the oil disperse evenly in water—shake vigorously until the solution appears uniformly cloudy.
Test your mixture on a single leaf first. Wait 24 hours to check for phytotoxicity (leaf burn or discoloration). If the test leaf remains healthy, proceed with full application. This precaution prevents widespread damage to your plants.
Use a fine-mist sprayer to coat the buds lightly but thoroughly. Focus on the undersides of leaves and stem junctions where pests congregate. Avoid saturating buds—excess oil can clog stomata and impede respiration.
Hold the sprayer 8-12 inches from the plant and move in smooth, sweeping motions. You want a barely visible sheen, not dripping wet foliage. Reapply every 7-10 days during the pre-bloom phase, but discontinue once flowers open.
Observe your plants 24-48 hours post-application. Healthy buds will show no wilting or discoloration. If you notice any leaf curling or browning, reduce the concentration by half for subsequent applications.
Keep records of your application schedule. Note weather conditions, plant varieties, and any observed effects. This data helps refine your approach for future seasons, ensuring optimal protection without compromising bloom quality.
Once flowers open, switch to physical barriers or targeted pest removal. Neem oil’s residual effects diminish within 48-72 hours, so timing your final pre-bloom application is crucial for maintaining protection.
For persistent pest issues during flowering, consider introducing beneficial insects like ladybugs or lacewings. These natural predators provide ongoing protection without risking chemical exposure to pollinators visiting your blooms.
Applying neem oil to flower buds requires precision—here’s what we’ve learned from years of gardening experience.
Timing Precision: The 2-3 weeks before flowering window mentioned in Step 1 is absolutely critical. I’ve found that applying too early (more than 3 weeks out) reduces effectiveness, while applying too late (less than 2 weeks) risks damaging developing petals. Use a garden journal to track bud development stages—this simple habit prevents timing errors that could compromise both pest protection and bloom quality.
Solution Preparation: When mixing your solution in Step 2, water temperature makes a surprising difference. Use warm water (around 80°F)—not hot—to help the 1 tablespoon of cold-pressed neem oil and 1 teaspoon of mild liquid soap emulsify properly. Cold water causes the oil to separate more quickly, while water that’s too hot can degrade the neem oil’s active compounds. Shake your sprayer vigorously before each use, as the mixture will naturally separate within 30 minutes.
Application Technique: The 8-12 inch distance specified in Step 3 isn’t arbitrary—it’s the sweet spot for even coverage without oversaturation. I recommend practicing your spray pattern on a non-plant surface first to gauge the mist intensity. For plants with dense bud clusters, apply in two light passes from different angles rather than one heavy application. This ensures thorough coverage while preventing the oil buildup that can clog stomata.
Environmental Monitoring: That 48 hours of dry weather requirement in Step 1 exists because neem oil needs time to absorb and work before rain can wash it away. I’ve learned to check not just the precipitation forecast but also the humidity levels—high humidity (above 80%) can create a film on leaves that reduces effectiveness. Evening applications are ideal, but if you must apply during the day, choose a north-facing side of the plant to minimize UV exposure.
Yes, but dilute it properly (1-2 tsp neem oil + 1 tsp mild soap per gallon of water) and avoid spraying during full bloom or in direct sunlight. Test a small area first—some delicate buds (like roses) may show minor browning. Early morning/evening application reduces stress on plants.
Apply at bud formation (before flowers open) to target aphids, mites, or powdery mildew. Reapply every 7–14 days or after rain. Avoid spraying open blooms—it can harm pollinators like bees! Pro tip: Use a fine mist for even coverage.
This usually means over-application or sunburn. Rinse buds with water immediately and skip the next spray. If damage persists, switch to a softer alternative like insecticidal soap or horticultural oil. Check for oil concentration—never exceed 2% neem oil!
Try:
Always patch-test first!
Gently wipe buds with a damp cloth or rinse with lukewarm water. For stubborn residue, mix 1 tsp vinegar per cup of water and dab lightly. Avoid harsh scrubbing—delicate petals bruise easily! Let buds air-dry in shade.
Using neem oil on buds can be a game-changer for healthy, thriving plants—if done right! 🌱 The key is timing, dilution, and avoiding direct application to delicate blooms. Whether you’re protecting against pests or fungal threats, a little care goes a long way in keeping your garden vibrant.
Ready to give it a try? Start with a small test patch on a single plant, monitor for 24–48 hours, and then scale up. Happy gardening—your buds will thank you! 🌸
