
Beautiful Plants For Your Interior
Beautiful Plants For Your Interior
Calathea leaves should gleam like polished emeralds—not sport spider mite webs or powdery mildew spots. I’ve rescued dozens of struggling calatheas with one simple tool: neem oil. This natural treatment tackles pests and fungal issues without harsh chemicals, keeping those stunning patterned leaves vibrant and healthy. The first time I treated a calathea with neem […]
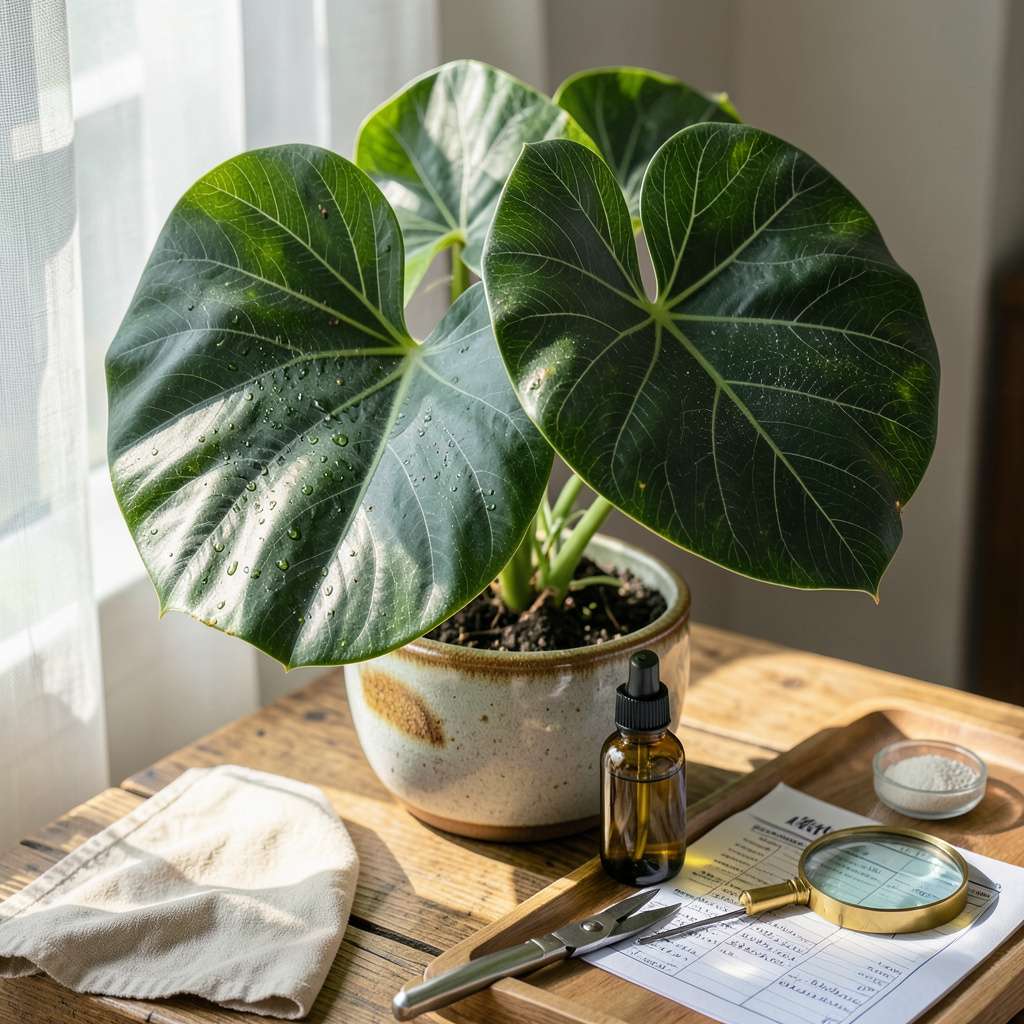
Calathea leaves should gleam like polished emeralds—not sport spider mite webs or powdery mildew spots. I’ve rescued dozens of struggling calatheas with one simple tool: neem oil. This natural treatment tackles pests and fungal issues without harsh chemicals, keeping those stunning patterned leaves vibrant and healthy.
The first time I treated a calathea with neem oil, I watched new growth emerge pest-free within days. The key is proper dilution and application—too strong burns leaves, too weak wastes time. My method uses a 1% solution applied carefully to both leaf surfaces, focusing on undersides where pests hide.
You’ll notice results fast: spider mites disappear within 24-48 hours, fungal spots stop spreading immediately, and leaves regain their natural sheen. The treatment even prevents future infestations when used monthly. No more yellowing edges or crispy brown patches ruining your plant’s beauty.
Safe for indoor use when applied correctly, this approach works for all calathea varieties—from rattlesnake to orbifolia. I’ll show you exactly how to mix, apply, and maintain the treatment for long-term success. Your calathea’s transformation starts here.
📚 In This Guide
This method protects your calathea’s delicate foliage while enhancing its natural shine—no residue, no damage.
Before applying neem oil, examine your plant thoroughly under bright light. Look for early signs of pests like spider mites (tiny webs on leaf undersides) or scale insects (small brown bumps along stems). Check for yellowing edges or brown crispy patches, which indicate stress rather than pest activity.
Run your fingers gently along the leaf surfaces—healthy calathea leaves feel smooth and slightly waxy. If you detect a sticky residue (honeydew from pests) or fine webbing, treatment is urgent. Note that neem oil works preventatively too, so don’t wait until you see visible infestations.
Use cold-pressed neem oil (not cosmetic-grade) and mix it at 1 teaspoon per quart of warm water. The water temperature should feel lukewarm to your wrist—about 80°F—to help emulsify the oil properly. Add ½ teaspoon of mild liquid soap (I use Castile) as an emulsifier to prevent oil separation.
Shake the mixture vigorously in a spray bottle until it forms a milky solution. Test-spray a small area on one leaf and wait 24 hours to check for phytotoxicity (leaf burn). Calatheas are sensitive, so this step isn’t optional. If you see any browning or spotting, dilute the solution further with water.
In the early morning or late evening (when stomata are open but light is indirect), mist the solution lightly over the entire plant, focusing on leaf undersides where pests hide. Hold the bottle 12-18 inches away to create a fine mist rather than heavy droplets. Avoid saturating the soil—neem oil can disrupt beneficial microbes in the root zone.
Use a soft paintbrush (size 2-4) to gently coat stems and leaf axils where pests congregate. The brush ensures coverage without bending delicate calathea leaves. Wipe any excess oil from leaf surfaces with a microfiber cloth after 10 minutes to prevent clogged pores—calatheas breathe through their leaves.
Check your plant daily for 3-5 days after application. You’ll know it’s working when you see reduced pest activity and new growth emerges clean. Neem oil disrupts pest life cycles, so you may notice existing adults die off within 48 hours, but eggs require a second application in 7-10 days to break the cycle completely.
Between treatments, maintain 50-60% humidity around your calathea—neem oil works best when plants aren’t stressed by dry air. If leaves develop a dull film, wipe them gently with a damp cloth. Healthy calathea leaves should reflect light like polished jade after proper neem oil treatment.
For prevention, apply neem oil every 4-6 weeks during active growing seasons (spring through fall). Reduce to every 8 weeks in winter when growth slows. Always apply to new leaves as they unfurl—these are most vulnerable to pests but also most responsive to neem’s protective qualities.
Store your neem oil mixture in a cool, dark place for up to 2 weeks (shake before each use). For longer storage, keep concentrated neem oil in its original container away from light and heat. I’ve found that marking application dates on my calendar prevents both over-treatment and missed preventive sprays.
Applying neem oil to calathea requires precision—these details make the difference between healthy leaves and accidental damage.
Solution Preparation: The 80°F water temperature in Step 2 isn’t arbitrary. I’ve found that water cooler than this causes the neem oil to separate despite vigorous shaking, while warmer water can degrade the oil’s active compounds. Use a kitchen thermometer for accuracy, especially if your tap water runs cold. The 1 teaspoon per quart ratio is equally critical—more oil risks burning leaves, while less won’t effectively combat pests.
Application Technique: In Step 3, the 12-18 inch spraying distance creates the ideal droplet size. Closer spraying produces heavy droplets that pool on leaves, while farther distances waste solution. I use a painter’s tape measure to verify my distance until it becomes instinctive. The 10-minute waiting period before wiping excess oil is non-negotiable—calatheas’ stomata need this exact time to absorb the treatment without suffocating.
Monitoring Protocol: The 3-5 day observation window in Step 4 reveals more than just pest activity. Watch for subtle changes in leaf turgor (firmness) and color intensity. I’ve noticed that properly treated calatheas develop a deeper green hue within 48 hours as their natural defenses strengthen. If you see any leaf curling during this period, it typically indicates either over-application or insufficient humidity—both easily corrected.
Long-Term Strategy: The 4-6 week preventive schedule in Step 5 aligns perfectly with calathea’s growth cycles. New leaves emerge every 3-4 weeks during active growth, and applying neem oil just as they unfurl provides maximum protection. I mark both application dates and new leaf emergence dates in my garden journal to maintain this synchronization. The 8-week winter interval accounts for reduced metabolic activity—applying more frequently during dormancy can stress the plant.
For pest prevention, spray a diluted neem oil solution every 4-6 weeks. If treating active infestations (like spider mites or fungus gnats), apply weekly until pests disappear. Always test a small leaf area first and avoid overuse—Calatheas are sensitive!
Avoid applying neem oil to crispy, brown, or torn leaves—it can worsen stress. Instead, prune damaged foliage first, then treat healthy leaves. Focus on new growth for best results. Neem oil works best as a preventative, not a cure for existing damage.
Apply in the early morning or late evening to avoid leaf burn from sunlight. Calatheas’ delicate leaves are extra sensitive when wet! Keep plants in shade for 24 hours post-application, and never spray in direct sun or high humidity.
Yes! Try insecticidal soap (gentler but less long-lasting) or horticultural oil for pests. For fungal issues, a baking soda spray (1 tsp baking soda + 1L water) works mildly. Always rinse leaves after treatment to prevent residue buildup.
Yellowing often means overapplication or poor dilution. Neem oil can clog pores if not mixed properly (stick to 1 tsp oil + 1L water + a drop of dish soap). Wipe leaves with a damp cloth to remove excess oil, and skip the next treatment.
Neem oil is your Calathea’s best friend—keeping pests at bay while boosting those stunning, glossy leaves! 🌿✨ With the right dilution and application, you’ll enjoy a thriving, pest-free plant without harsh chemicals. Remember, consistency is key: regular treatments and proper care will keep your Calathea happy and healthy.
Ready to give it a try? Start with a small test spray today, and watch your Calathea flourish like never before! For more plant care tips, check out our guide on humidity-loving houseplants next.
