
Beautiful Plants For Your Interior
Beautiful Plants For Your Interior
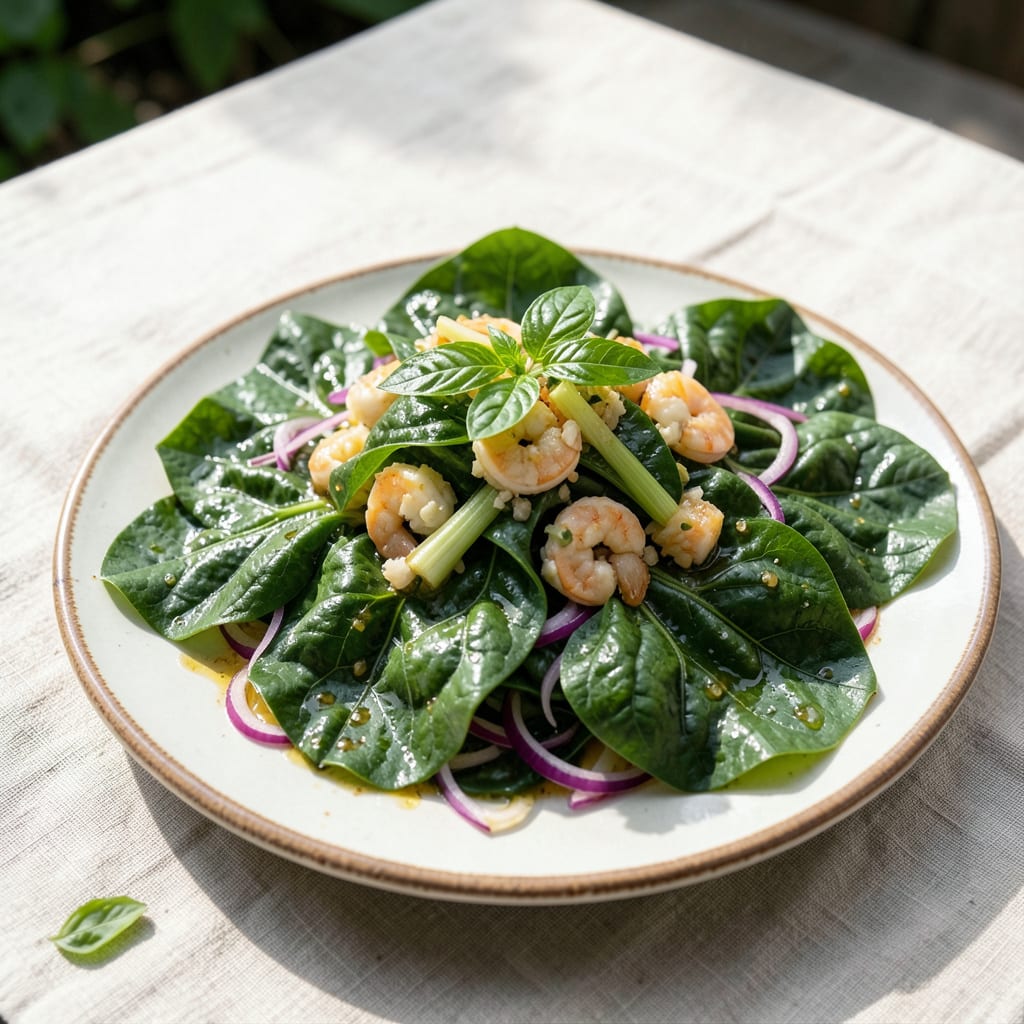
Morning glory vines transform any space with their lush green leaves and rapid growth. I’ve watched these climbers cover a bare trellis in 6 weeks, creating a living wall of vibrant foliage.
The heart-shaped leaves aren’t just pretty—they’re the powerhouse behind the plant’s health. Give them full sun, consistent moisture, and something to climb, and they’ll reward you with dense, thriving greenery all season.
📚 In This Guide
Here’s how I coax vibrant, healthy foliage from morning glory vines every season.
Morning glories thrive in full sun with at least 6-8 hours of direct light daily. Choose a spot with well-draining soil—waterlogged roots lead to yellowing leaves and stunted growth. I always test drainage first by digging a 1-foot hole and filling it with water. If it drains within 1 hour, you’re good to go.
Loosen the soil to a depth of 12 inches and mix in 2-3 inches of compost to improve fertility. Morning glories aren’t picky, but rich soil encourages lush foliage. Avoid heavy clay or overly sandy spots, as both extremes stress the plant and reduce leaf vitality.
Soak seeds overnight in lukewarm water to soften the hard outer coat, which speeds up germination. Plant them ½ inch deep and 6 inches apart if sowing directly. For transplants, dig a hole slightly larger than the root ball and place the seedling so the soil level matches the surrounding ground.
Water immediately after planting to settle the soil and eliminate air pockets. You’ll see the first leaves within 7-14 days if conditions are right. Keep the soil consistently moist but not soggy—morning glories wilt dramatically when thirsty but bounce back quickly once watered.
Morning glories are natural climbers, and their leaves develop best when the vines can ascend. Install a trellis, fence, or stakes at planting time to avoid disturbing roots later. I use a 5-foot tall bamboo trellis angled slightly for stability. Gently twine young vines around the support as they grow to encourage upward movement.
Without support, vines sprawl across the ground, leading to smaller, less vibrant leaves and increased disease risk from poor air circulation. You’ll notice the difference in foliage density within 2-3 weeks of proper training.
Water deeply at the base 2-3 times per week, allowing the top 1 inch of soil to dry between waterings. Overhead watering causes leaf spots and mildew, so I always use a soaker hose or watering can with a narrow spout. Morning glories are drought-tolerant once established, but consistent moisture keeps leaves lush.
Feed with a balanced, water-soluble fertilizer every 2-3 weeks during the growing season. I switch to a low-nitrogen formula once vines start blooming to prioritize leaf health over excessive flower production. Yellowing leaves often signal nitrogen deficiency, so adjust accordingly.
Pinch back the growing tips when vines reach 12 inches tall to encourage bushier growth and more foliage. Remove any yellow or damaged leaves immediately to prevent disease spread. I inspect the vines weekly for pests like aphids, which cluster on new growth and undersides of leaves.
Deadhead spent blooms regularly to redirect energy toward leaf production. Morning glories are self-seeders, so removing old flowers also prevents unwanted spread next season. With proper care, your vines will produce an abundance of heart-shaped, vibrant green leaves throughout the growing season.
Small adjustments make a world of difference when growing these vines for their foliage.
The Sun Requirement: Don’t settle for partial shade—the 6-8 hours of full sun mentioned in Step 1 is non-negotiable for vibrant leaves. Morning glories in shady spots produce sparse, pale foliage that lacks the deep green color you’re after. If your garden has limited sun, consider container growing on a sunny patio.
Drainage Test: That 1 hour drainage test from Step 1 is your best insurance against root rot. If water lingers longer, amend the soil with more compost or consider raised beds. I’ve lost entire plantings to waterlogged soil—it’s not worth the risk.
Support Timing: Install your trellis at planting time as Step 3 suggests. Retrofitting support later disturbs the root system and can set back growth by weeks. A 5-foot tall structure works perfectly, but even a simple string system between stakes will dramatically improve leaf development.
Pruning Technique: When vines hit that 12 inches tall mark in Step 5, pinch aggressively—don’t be timid. Removing the top 2-3 inches of growth forces the plant to branch out, creating that dense, leafy look you want. The more you pinch early on, the bushier your vines will become.
No, morning glory vine leaves are not typically edible. While some varieties may have culinary uses in certain cultures, most contain alkaloids that can be toxic if ingested. Always research specific types before considering consumption.
Yellowing leaves often signal stress from overwatering, poor drainage, or nutrient deficiencies. Check soil moisture and sunlight exposure (6+ hours daily is ideal) and adjust care as needed.
Yes! Use a sunny windowsill or grow lights, and provide a trellis for climbing. Ensure pots have drainage and water when the top inch of soil feels dry. Expect slower growth than outdoors.
Curling leaves usually indicate underwatering or pest issues like aphids. Inspect leaves for bugs and maintain consistent moisture without waterlogging the soil.
For similar lush foliage, try sweet potato vines, clematis, or ivy. These offer vibrant greenery and varying care needs to suit different garden conditions.
