
Beautiful Plants For Your Interior
Beautiful Plants For Your Interior
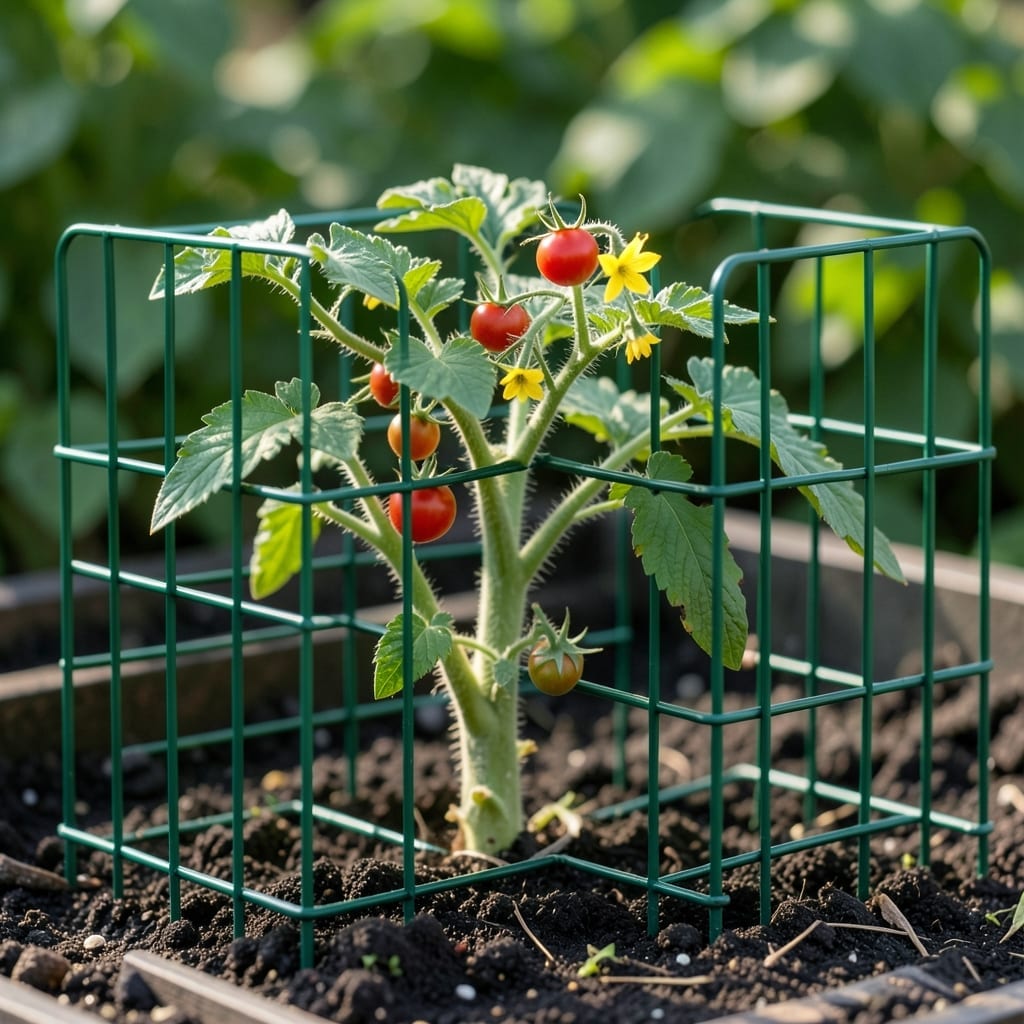
Small tomatoes need support just like their big cousins. I built my first set of miniature cages from cheap materials, and suddenly my patio plants stopped sprawling across the deck and started producing double the fruit.
These work for cherry, grape, and small determinate varieties that would flop without help. The trick is using sturdy wire and proper spacing—too big and they tip, too small and they strangle the plants.
You’ll get tidy plants that are easier to harvest and less prone to disease. Plus, they free up ground space for other crops. Installation takes 20 minutes with basic tools.
Perfect for containers, raised beds, or any tight spot. Here’s how to build and use them.
Even the sturdiest miniature tomato cages can fail under certain conditions. Understanding the root causes helps you prevent collapse and ensure your plants thrive. Below are the most common scientific and practical reasons why these supports give way.
Tomato plants, especially indeterminate varieties, produce heavy fruit clusters. When the cumulative weight exceeds the cage’s load-bearing capacity (often 10–15 lbs for standard wire cages), the structure bends or topples. This happens because most DIY cages use thin gauge wire (e.g., 1/4-inch mesh), which lacks the tensile strength to resist gravitational force from dense foliage and fruit.
Cages often tip over because they’re not securely anchored. Shallow stakes or flimsy ties allow wind or plant movement to dislodge the base. The lever effect—where force applied at the top (e.g., a gust of wind) amplifies at the bottom—can pull stakes from loose soil. For stability, anchors must penetrate at least 6–8 inches into firm ground.
Cheap materials like flimsy plastic or thin bamboo can’t handle the dynamic stress of growing plants. Metals prone to rust (e.g., uncoated steel) weaken over time, while wooden stakes may rot in moist soil. Galvanized steel or powder-coated wire resists corrosion, and thicker gauges (e.g., 9- or 10-gauge) distribute weight more effectively.
If vines grow lopsidedly (e.g., due to uneven sunlight), the cage experiences asymmetrical load. One side bears most of the weight, causing the structure to lean or twist. Pruning and training vines evenly across the cage prevents this imbalance.
Even the sturdiest miniature tomato cages can run into trouble. Here’s how to tackle the most common problems—and prevent them next season.
Fix: Reinforce wobbly cages by staking them. Drive a wooden or metal stake into the soil beside the cage, then secure the cage to it with zip ties or soft plant ties. For flimsy wire cages, add horizontal supports by weaving garden twine between the vertical wires every 12 inches.
Prevention: Choose thicker-gauge wire (at least 9-10 gauge) or opt for pre-built cages with reinforcement rings. Anchor cages early—before plants grow heavy—by burying the legs 6 inches deep.
Fix: Prune aggressively! Remove suckers (the shoots between the main stem and branches) weekly to redirect energy into fruit production. For overgrown plants, gently weave new growth through the cage openings or add a second cage on top, securing it with clips.
Prevention: Select determinate tomato varieties (like ‘Patio’ or ‘Tiny Tim’) for miniature cages, as they stay compact. If growing indeterminates, use taller cages (4+ feet) or trellises from the start.
Fix: Spray the cage and plant with neem oil or insecticidal soap at dusk to target pests like aphids or whiteflies without harming pollinators. For larger pests (e.g., hornworms), handpick them off daily.
Prevention: Elevate cages slightly off the ground with bricks or pavers to deter crawling pests. Rotate crops yearly and remove plant debris in fall to reduce overwintering pests.
Fix: Thin out dense foliage to improve airflow, focusing on the plant’s center. Water at the base (not overhead) to keep leaves dry, and apply a copper fungicide if you spot early blight or mildew.
Prevention: Space cages at least 2 feet apart. Use cages with wider gaps (4–6 inches between wires) to allow air circulation. Water in the morning so foliage dries quickly.
💡 Pro Tip: For a quick DIY upgrade, wrap the bottom 12 inches of the cage with hardware cloth to block burrowing pests and add stability!
For cherry tomatoes, use cages at least 3 feet tall with 4-6 inch gaps between wires. This gives vines room to climb while supporting heavy fruit clusters. Dwarf varieties may only need 2-foot cages.
They work great for peppers, cucumbers, and small vining flowers. Just ensure the plants’ mature size matches the cage dimensions to prevent overcrowding.
Anchor each leg 6-8 inches deep or attach to stakes. For extra stability, connect cages with horizontal supports or weigh the base with rocks.
Galvanized steel wire (9-10 gauge) resists rust and handles weight best. Avoid thin plastic or untreated wood, which degrade quickly in outdoor conditions.