
Beautiful Plants For Your Interior
Beautiful Plants For Your Interior
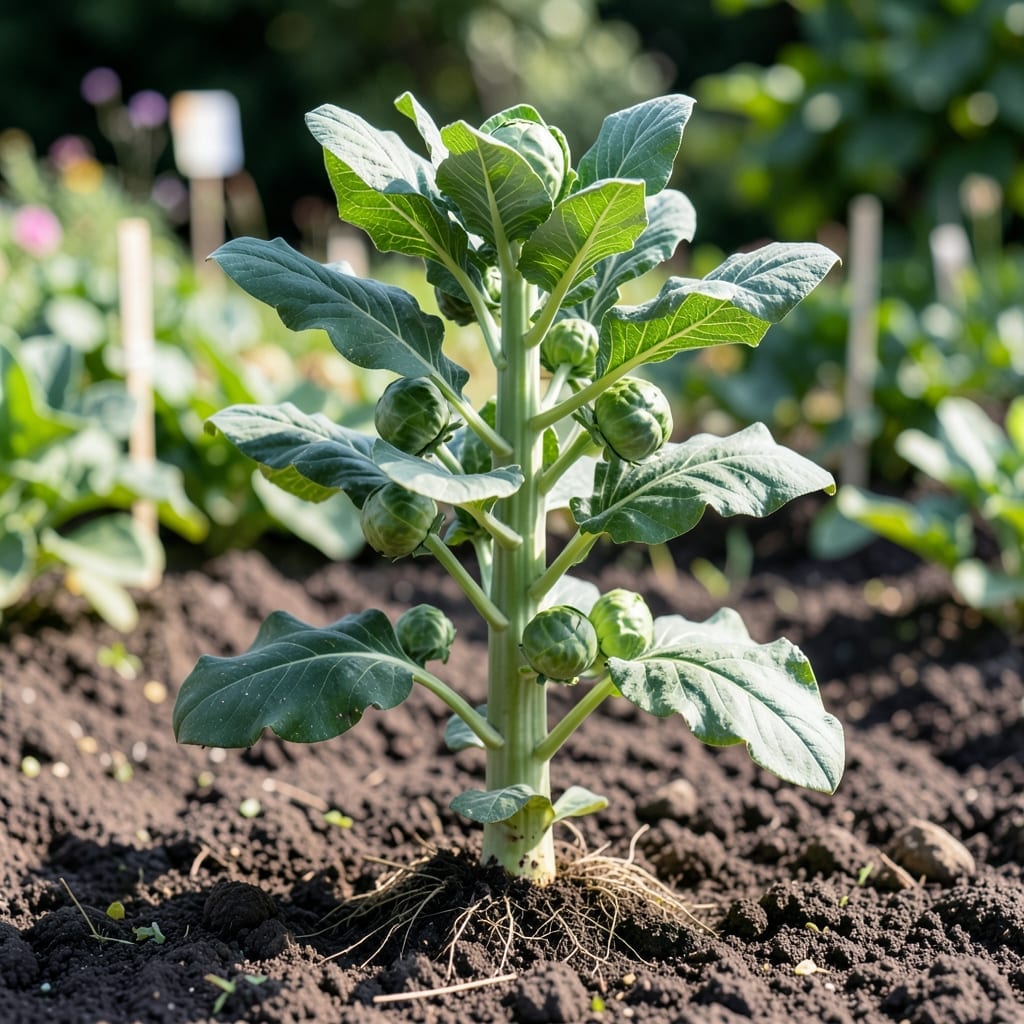
There’s nothing quite like the satisfaction of watching your 🥬 Brussels Sprout plants reach full maturity. But knowing when they’re truly ready can make all the difference between bitter sprouts and sweet, tender ones.
I’ve learned that timing and care during this final stage are the key to a bountiful harvest. With the right approach, you can ensure your plants thrive until the very end.
From soil needs to watering tricks, I’ll share what works best for mature Brussels Sprout plants in zone 6a. These small adjustments can lead to bigger, healthier yields.
Let’s dive into how to give your plants the attention they deserve during this critical growth phase.
I always watch for visual cues that signal my brussel sprout plants are nearing maturity. The first thing I check is the sprout size—they should be 1-2 inches in diameter. Anything smaller means they need more time to develop their sweet flavor.
Another clear indicator is the color and firmness. Mature sprouts are bright green and feel solid to the touch. If they’re loose or opening, they’ve likely passed their prime. Lower leaves turning yellow is also a natural sign of maturity.
| Maturity Sign | What to Look For |
|---|---|
| Sprout Size | 1-2 inches in diameter |
| Firmness | Hard and compact |
| Color | Deep green and vibrant |
| Leaf Yellowing | Lower leaves turn yellow |
| Harvest Window | 90-120 days after planting |
I’ve learned that timing is critical for the best flavor. Harvesting too early results in bitter sprouts, while waiting too long can make them woody and tough. The ideal window is typically 90-120 days after planting.
I also pay attention to the plant’s overall appearance. A mature brussel sprout plant stands 2-3 feet tall with a sturdy stalk. The sprouts grow in a spiral pattern along the stem, starting from the bottom and moving upward.
If you notice the lower sprouts are ready but the upper ones aren’t, don’t worry. This is normal. I harvest the mature sprouts first and leave the others to continue growing. This staggered approach gives me a longer harvest period.
I always check the sprout’s attachment to the stalk. Mature sprouts should come off with a gentle twist. If they’re stubborn, they’re not quite ready. A sharp pruning knife can also be used for a clean cut.
Another tip: cool weather enhances the flavor of brussel sprouts. A light frost can even make them sweeter. I often leave my plants in the garden until the first light frost for the best taste.
Don’t forget to inspect for pests as the plant matures. Aphids and cabbage worms love brussel sprouts. I use row covers or organic sprays to keep them at bay without harming the plant.
Finally, I make sure the soil stays moist but not waterlogged. Consistent watering is key, especially as the sprouts develop. Drought stress can lead to bitter or misshapen sprouts, so I keep a close eye on moisture levels.
With these signs in mind, I’m confident in knowing exactly when my brussel sprouts are ready to pick for the best flavor and texture 🌱
When your Brussels sprout plant reaches maturity, it’s time to harvest those delicious sprouts. I always check for 1-2 inch diameter sprouts that feel firm to the touch. This stage typically arrives 90-120 days after planting. 🌱
Harvesting too early can leave you with bitter sprouts, while waiting too long may cause them to split open. I recommend starting from the bottom of the stalk and working upward as sprouts mature at different rates.
After harvesting, I keep sprouts unwashed and untrimmed to preserve freshness. They’ll stay crisp in the fridge for 3-5 days if stored properly. For longer storage, I blanch and freeze them for up to 12 months.
A common mistake I see is neglecting post-harvest care. Always handle sprouts gently to avoid bruising. I also remove any yellow or damaged leaves immediately to prevent spoilage from spreading. 🌿
If you’re growing multiple plants, stagger your planting by a few weeks. This ensures a continuous harvest rather than one overwhelming batch. It’s a trick I use every season for a steady supply.
Finally, don’t forget to compost plant debris after the final harvest. This returns nutrients to the soil and prepares your garden for the next planting cycle. ✂️