
Beautiful Plants For Your Interior
Beautiful Plants For Your Interior
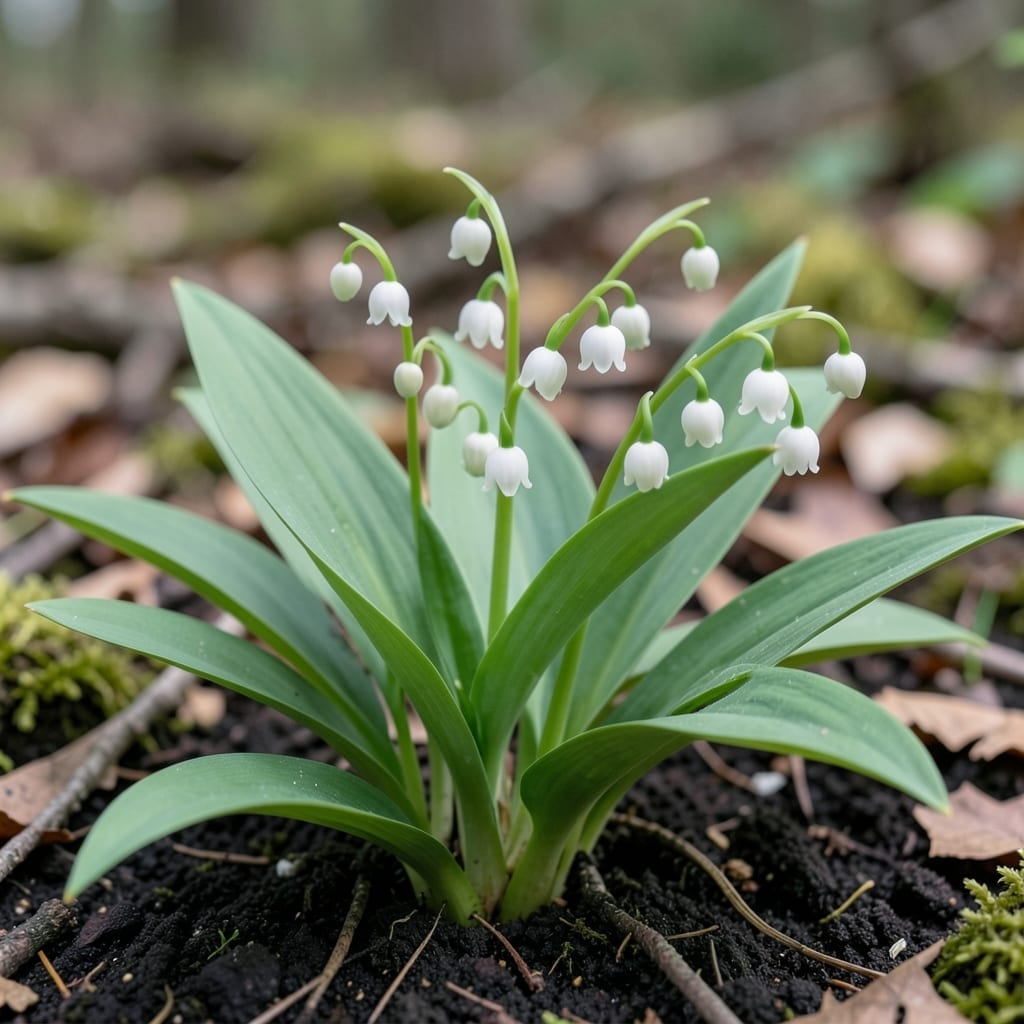
Watching your Lily Of The Valley enter its budding stage is a magical moment. Those tiny green nubs hold the promise of fragrant, bell-shaped blooms that will transform your garden.
But do you know the subtle signs that predict a spectacular display? Timing your care right can mean the difference between a lackluster show and a lush, fragrant masterpiece.
I’ll walk you through the key indicators of healthy budding and what they mean for your plant’s future. From color changes to stem growth, these clues are easier to spot than you think.
Discover how to nurture those buds into their full potential with simple, seasonal care tips that ensure your 🌸 Lily Of The Valley thrives from the first sign of life to full bloom.
Recognizing early budding signs in lily of the valley ensures you provide the right care at the right time. I look for tiny green nubs appearing at the base of the stems, which are the first visible flower buds.
These buds often appear as small teardrop shapes and will slowly swell as they develop. Healthy buds should look plump and firm, not shriveled or discolored.
| Bud Stage | Appearance | Care Tip |
|---|---|---|
| Early Bud | Tiny green nubs | Keep soil moist |
| Swelling Bud | Teardrop shape | Avoid high-nitrogen fertilizer |
| Pre-Bloom | White tips visible | Provide partial shade |
The color change from green to pale white at the bud tips signals the final stage before blooming. This transition typically happens 1-2 weeks before the flowers open.
Stem growth also accelerates during budding. I notice my plants develop sturdier stems as the buds mature, which helps support the weight of the future flowers.
Healthy leaf development is another key indicator. The leaves should appear lush and bright green, providing energy for the budding process.
It’s important to distinguish between flower buds and leaf shoots. Flower buds are rounder and appear in clusters, while leaf shoots are flatter and emerge singly.
If you notice yellowing or browning on the buds, it may indicate blight or nutrient deficiency. I recommend checking your plant’s soil moisture and sunlight exposure immediately.
For the best results, I keep my lily of the valley in partial shade with consistent moisture during the budding stage. This mimics their natural woodland habitat.
Remember, these plants thrive in cool temperatures. If the buds appear during a heatwave, I provide extra shade to protect them from stress.
With these tips, you’ll confidently spot the early signs of budding and ensure a spectacular bloom every year 🌿
As your lily of the valley enters its budding phase, consistent moisture becomes critical. I recommend 1 inch of water weekly, ideally in the early morning to prevent fungal issues. The soil should stay evenly moist but never waterlogged.
The buds thrive in partial shade, needing only 2-4 hours of gentle sunlight daily. Too much direct sun can scorch the delicate buds, while deep shade may stunt their growth.
⚠️ Avoid Over-Fertilizing
High-nitrogen fertilizers can delay blooming. Stick to a 5-10-10 balanced feed every 6-8 weeks during fall to prep for spring buds.
A well-draining soil rich in organic matter supports healthy bud development. I always mix in compost before planting to ensure nutrients are available. Mulching with leaf mold helps retain moisture without suffocating the roots.
Watch for yellowing leaves or drooping stems, which often signal overwatering or poor drainage. Adjust your care immediately if you spot these warning signs to save the emerging buds.
For potted lily of the valley, increase watering to every 5-7 days since containers dry out faster. Ensure pots have drainage holes to prevent root rot during this critical stage.
With the right balance of water, shade, and nutrients, your plants will reward you with fragrant bell-shaped blooms come spring. Patience and attention to detail make all the difference 🌿