
Beautiful Plants For Your Interior
Beautiful Plants For Your Interior
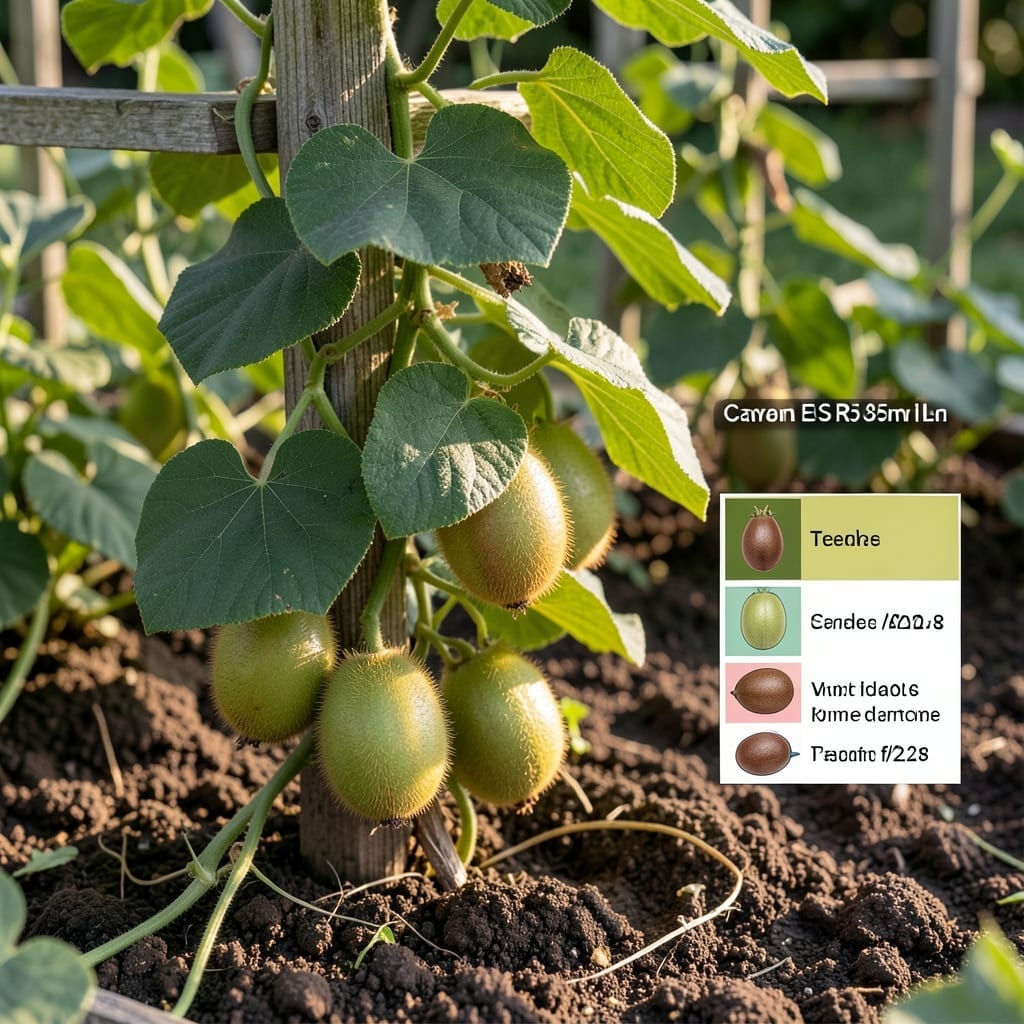
Picking Kiwi 🥝 at the perfect stage of ripeness is the secret to enjoying their sweet, tangy flavor at its best.
Whether you’re growing them in your garden or selecting them at the market, knowing the visual clues can make all the difference.
I’ll show you how to discover the subtle signs that tell you when your fruit is ready to be picked or enjoyed.
From color changes to texture and aroma, you’ll learn how to determine ripeness like a pro with this simple guide.
Determining the perfect ripeness for kiwis ensures the best flavor and texture. I’ve found that relying on visual cues like skin color and firmness works best for home growers.
For green kiwis, the skin shifts from bright green to a dull brownish-green as they ripen. Gold kiwis develop a golden hue and a slightly wrinkled skin when ready.
| Stage | Skin Color | Firmness | Aroma |
| Unripe | Bright green | Very hard | None |
| Ripe | Dull brownish-green | Slight give | Sweet fragrance |
| Overripe | Wrinkled | Very soft | Fermented smell |
I always check the firmness of the fruit first. A ripe kiwi yields slightly to gentle pressure, similar to a ripe avocado. If it’s rock-hard, it’s not ready yet.
The aroma near the stem is another great indicator. A sweet, fruity smell signals ripeness, while no smell means it needs more time. Overripe kiwis may have a fermented odor.
For internal checks, I cut open one fruit. The seeds should be black in a ripe kiwi, while white or green seeds mean it’s still maturing. The flesh should be bright green or gold depending on the variety.
I’ve learned that gold kiwis often ripen faster than green ones. They also tend to be sweeter and smoother in texture when fully ripe. Always store them at room temperature to speed up ripening.
If you’re growing kiwi vines in your garden, I recommend harvesting when the first frost approaches. This prevents the fruit from becoming too soft on the vine. A sharp pruner helps avoid damaging the fruit.
After harvest, I let my kiwis ripen indoors. Placing them in a paper bag with an apple speeds up the process due to the ethylene gas released by the apple.
Remember, a kiwi ripeness chart is just a guide. Your senses are the best tools. With practice, you’ll recognize the perfect kiwi every time.
🌱Once you’ve harvested your kiwis, you can control their ripening process with simple household methods. I find that room temperature storage works best for gradual ripening, while cool environments slow it down effectively.
To accelerate ripening, place your kiwis in a paper bag with an apple or banana. These fruits release ethylene gas, which speeds up the process naturally. Check daily for your desired ripeness level.
For a slower approach, simply leave your kiwis on the counter at room temperature. This method typically takes 2-4 days depending on the fruit’s initial ripeness and ambient conditions.
If you need to halt ripening completely, the refrigerator is your best option. Kiwis will keep for up to 2 weeks when stored properly in the fridge, maintaining their current ripeness level.
Remember that golden kiwis often ripen faster than green varieties, so check them more frequently. I always recommend testing one fruit first to gauge the batch’s progress.
These simple techniques give you full control over your kiwi harvest, ensuring you enjoy them at their peak flavor whenever you’re ready. Ethylene gas truly is a gardener’s secret weapon for post-harvest management. 🌱