
Beautiful Plants For Your Interior
Beautiful Plants For Your Interior
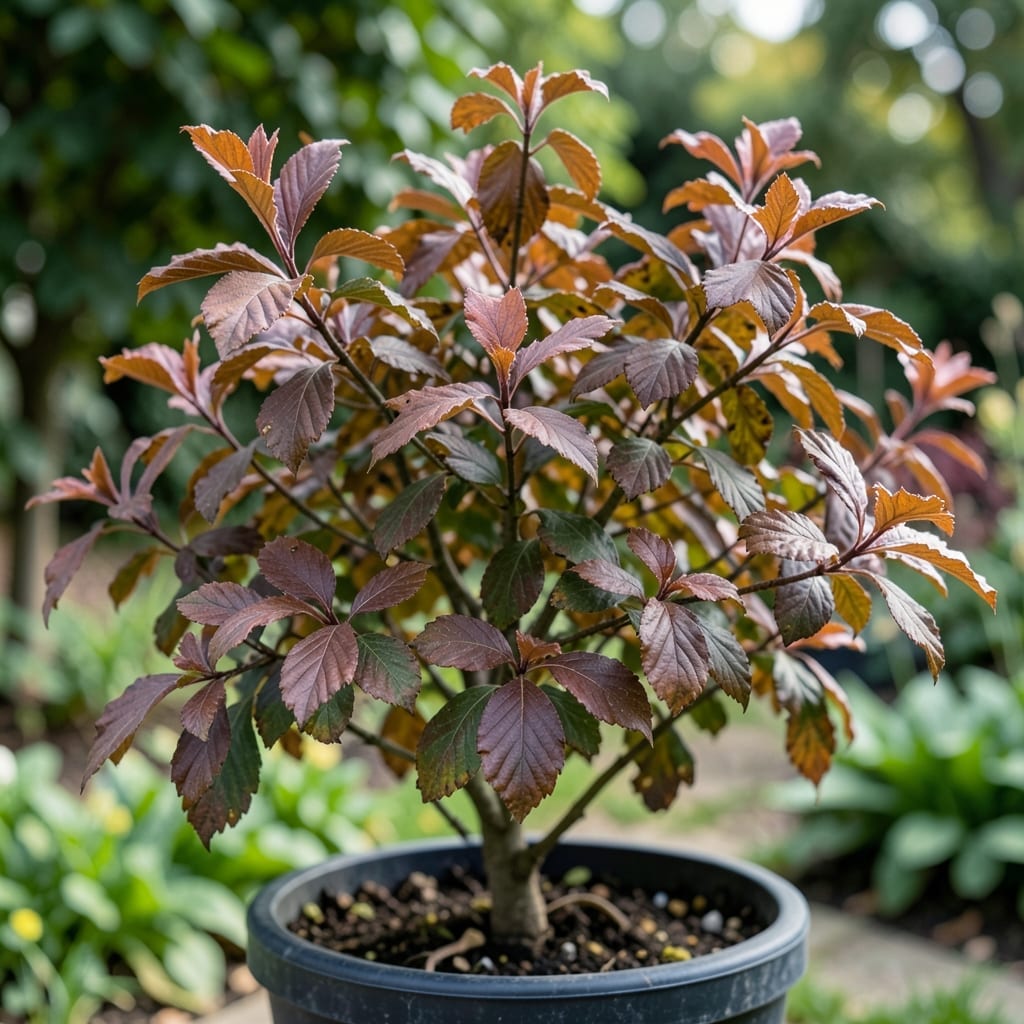
Brown leaves on Indian hawthorn usually mean leaf spot disease is moving in. I’ve seen this exact problem wipe out healthy shrubs in 2-3 weeks if left unchecked.
The good news? Early action with proper treatment and prevention stops the spread and restores your plants to their vibrant green glory.
Quick trip to the garden center. These supplies tackle leaf spot fast.
| Ingredient | Amount | Notes |
|---|---|---|
| Copper Fungicide Spray 🧪 | 1 gallon | Ready-to-use formula |
| Pruning Shears ✂️ | 1 piece | Sterilize between cuts |
| Neem Oil 💧 | 1 quart | Cold-pressed for efficacy |
| Garden Gloves 🪣 | 1 pieces | Nitrile for chemical protection |
| Leaf Rake 🌿 | 1 piece | Remove fallen debris |
| Soil Test Kit 🌡️ | 1 piece | Check pH and nutrients |
| Organic Mulch 🪵 | 2 gallons | Pine bark or straw |
| Watering Can 💧 | 1 piece | Avoid overhead watering |
[recipe_ingredient_scaler]
Copper fungicide is your frontline defense—Bonide or Southern Ag brands work reliably (look for 1% copper). I grab mine from Home Depot or Tractor Supply when I spot the first brown spots. Neem oil is a great organic backup, but cold-pressed versions pack more punch than refined.
No copper spray? Neem oil mixed with water (1 tbsp per gallon) slows the spread but won’t cure advanced cases. Pruning shears must be sterilized with rubbing alcohol between cuts (or you’ll spread the disease). Any mulch works, but pine bark resists compaction better than straw.
Store fungicides in a cool, dry shed—they last 2-3 years unopened. Gloves and shears keep indefinitely if cleaned after use. I mark my fungicide spray date on the bottle so I know when it’s time to reapply.
Tackle leaf spot disease systematically, and your shrubs will bounce back stronger than ever.
Start by putting on your nitrile garden gloves to protect against fungal spores. Use the leaf rake to gather all fallen leaves and browned foliage from beneath the shrub. This isn’t just cleanup—those leaves harbor the fungus that’s spreading the disease.
Bag and discard this material immediately. Don’t compost it, as home compost piles rarely reach temperatures high enough to kill the pathogens. I’ve learned the hard way that skipping this step just reinfects the plant next season.
With your pruning shears (sterilized with rubbing alcohol between cuts), thin out dense growth to improve air circulation. Focus on removing branches that rub together or grow inward. Better airflow means leaves dry faster after rain, which discourages fungal growth.
Mix and apply the 1 gallon copper fungicide spray according to label instructions, covering all leaf surfaces until they glisten. Reapply every 7-10 days during wet seasons or as directed. Copper fungicides work preventatively, so don’t wait until you see new spots.
Use the soil test kit to check pH and nutrient levels. Indian hawthorn prefers slightly acidic soil (6.0-6.5 pH). If your test shows alkalinity above 7.0, amending with sulfur may help create less fungus-friendly conditions.
Also check for excess nitrogen, which promotes lush growth that’s more susceptible to disease. The results will tell you exactly what adjustments your soil needs. I always test in 3-4 spots around the plant for accurate readings.
Dilute the 1 quart neem oil as directed and spray all leaf surfaces, focusing on undersides where fungal spores often land. Neem works as both a fungicide and preventative, disrupting the disease’s life cycle. Apply in the early morning to prevent leaf burn.
Spread the 2 gallons organic mulch in a 2-inch layer around the base, keeping it 3 inches away from the trunk to prevent rot. Pine bark mulch is ideal as it slightly acidifies the soil over time while preventing spores from splashing up during rain.
Switch to using your watering can at the base of the plant rather than overhead watering. Wet foliage is a fungal invitation. Water deeply but less frequently—only when the top 2 inches of soil feel dry.
I water my established Indian hawthorns about once weekly during dry spells. If you must use sprinklers, do it early enough that leaves have time to dry completely before evening. This single change can dramatically reduce new infections.
Start by assessing the health of your Indian hawthorn plants and identifying the extent of brown leaf issues. Purchase fungicides or organic treatments like neem oil or copper-based sprays, which are effective against leaf spot diseases. Check your gardening tools and ensure they’re clean to prevent spreading infections. This is also a good time to research specific symptoms and confirm the diagnosis, as early intervention is key.
Prepare your treatment plan. If using chemical fungicides, mix them according to label instructions and store them safely. For organic options, like baking soda or soap sprays, pre-mix solutions to save time. Inspect the affected plants again and remove heavily infected leaves or branches to reduce the spread. Water the plants lightly the night before to help them absorb treatments better.
Apply treatments early in the morning or late afternoon to avoid heat stress. Spray fungicides or organic solutions evenly on both sides of the leaves, focusing on affected areas. Prune any additional diseased foliage with sterilized shears. If the issue is severe, consider applying a second treatment later in the day for thorough coverage.
After treatment, rinse your tools with a bleach solution to prevent contamination. Monitor the plants for the next few days for signs of improvement or worsening. Keep a garden journal to track treatments and results, which helps refine your approach for future outbreaks. Water deeply if the plants show signs of stress, but avoid overhead watering to limit fungal spread.