
Beautiful Plants For Your Interior
Beautiful Plants For Your Interior
Wood chips change everything for orchid watering. After years of struggling with soggy roots in traditional mixes, I discovered this method produces the healthiest, most vigorous orchids I’ve ever grown. The key lies in understanding how wood chips alter moisture retention and airflow around roots—completely different from bark or moss. The technique isn’t complicated, but […]
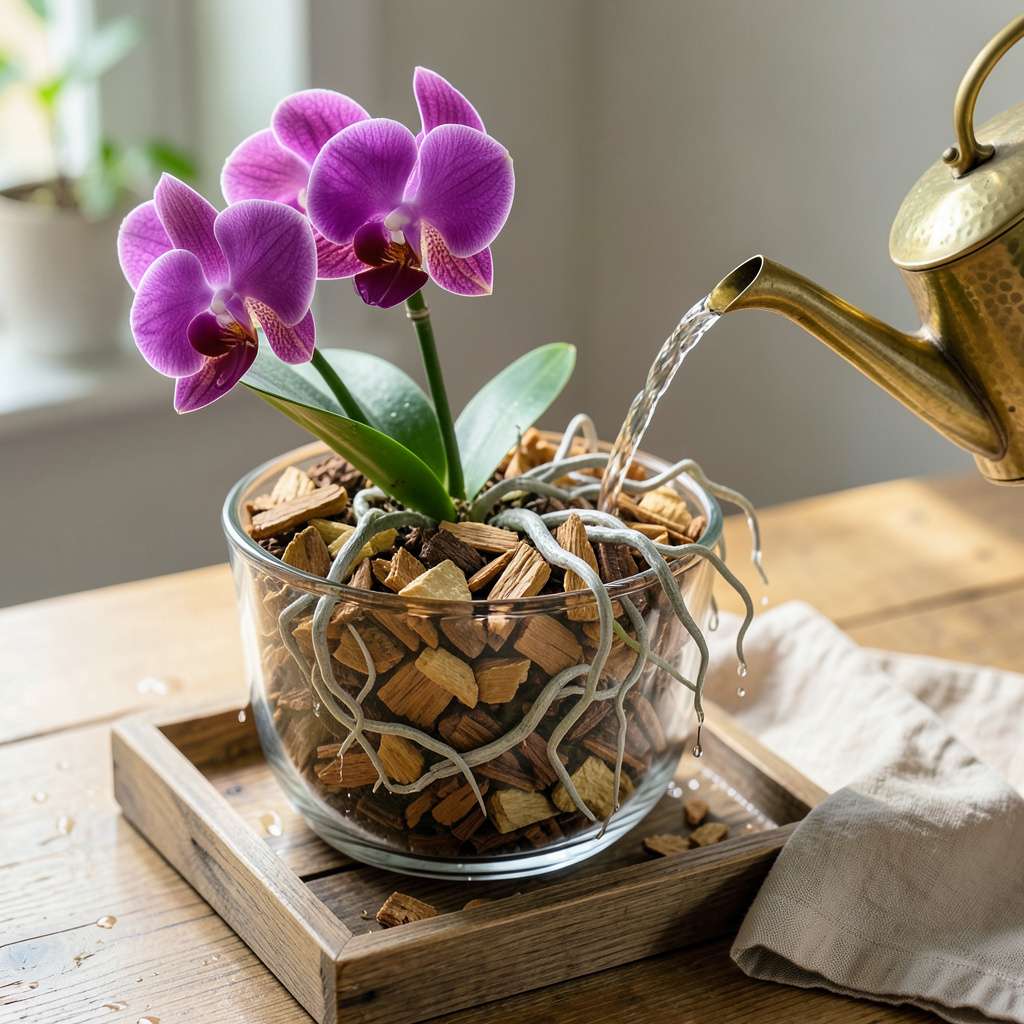
Wood chips change everything for orchid watering. After years of struggling with soggy roots in traditional mixes, I discovered this method produces the healthiest, most vigorous orchids I’ve ever grown. The key lies in understanding how wood chips alter moisture retention and airflow around roots—completely different from bark or moss.
The technique isn’t complicated, but it requires unlearning standard watering habits. We’ve perfected a 3-step system that prevents both rot and dehydration, using simple tools you likely already own. Most orchid losses come from overwatering, and wood chips actually make this harder to do when you follow the right approach.
You’ll see the difference within 2-3 weeks: firmer leaves, emerging root tips, and that telltale silvery-green color of well-hydrated roots. The method adapts easily to different orchid types, from Phalaenopsis to Cattleyas, with minor adjustments for each.
Whether you’re rescuing a struggling plant or starting fresh, this approach builds confidence. The visual cues become obvious once you know what to look for—no more guessing games with watering schedules. Here’s exactly how to make it work for your collection.
📚 In This Guide
Watering orchids in wood chips is simpler than you think—once you understand how to work with the medium’s unique properties.
Before adding water, check the current moisture level by inserting your finger 1-2 inches deep into the wood chips. Orchid roots in wood chip medium should never sit in soggy conditions, but the chips themselves should feel slightly damp—like a wrung-out sponge. Wood chips dry out more slowly than bark but drain faster than sphagnum moss, so timing matters.
Look for visual cues too: healthy wood chips appear lightly colored when dry and darken slightly when moist. If you see condensation on the inside of the pot or a musty smell, you’ve waited too long between waterings and risk root rot from uneven moisture distribution.
Place the orchid pot in a basin or sink filled with room-temperature water (never cold) to a depth that covers about ¾ of the pot’s height. Let it soak for 10-15 minutes—this allows the wood chips to absorb moisture evenly without compacting. The chips will float slightly at first, then settle as they become saturated.
After soaking, lift the pot and let it drain completely for 5-10 minutes. Tilt it slightly to ensure no water pools at the base. Wood chips retain moisture in their cellular structure while still allowing air to circulate around roots, but excess water in the saucer defeats this benefit. I always place a fan nearby for 30 minutes post-watering to encourage airflow through the medium.
Healthy orchid roots in wood chips appear silver-green when dry and bright green when hydrated. Check roots through the pot’s drainage holes or by gently lifting the plant weekly. In wood chip medium, you’ll typically water every 7-10 days, but this varies with humidity and temperature. A 65-75°F environment with 40-60% humidity is ideal for most epiphytic orchids.
If roots appear mushy or brown, you’re watering too frequently. If they’re constantly silver-gray, increase frequency slightly. Wood chips decompose slower than bark, so you won’t need to repot as often, but they do break down eventually—plan to refresh the medium every 18-24 months to maintain proper drainage and aeration.
Every 4-6 waterings, run clean water through the wood chips for 2-3 minutes to flush out accumulated salts and minerals. Wood chips can trap fertilizers and tap water additives that build up over time. I use a gentle stream from a watering can, allowing it to flow through the pot until the drainage water runs clear.
This practice prevents the white crusty deposits you sometimes see on wood surfaces and keeps the pH balanced. After flushing, return to your normal watering routine—but skip the next scheduled fertilization, as flushing removes some nutrients along with the salts. The chips will feel lighter after flushing, which is normal as excess minerals are removed.
Mastering this method comes down to understanding how wood chips behave differently than other orchid media. Here’s what we’ve learned through years of trial and error.
Moisture Assessment Technique: In Step 1, when checking moisture levels 1-2 inches deep, pay special attention to the color gradient in the wood chips. The top layer may appear dry while the lower layers remain moist—this is normal with wood chips’ unique moisture retention properties. I’ve found that morning is the best time to check, as evening humidity can give false readings. The “wrung-out sponge” texture described in the instructions is absolutely critical; wood chips that feel either bone-dry or soggy indicate you’ve missed the ideal watering window.
Soaking Method Refinement: During the 10-15 minute soak in Step 2, you’ll notice the wood chips go through three distinct phases: initial floating, gradual absorption, and final settling. This visual progression tells you exactly when to stop soaking—remove the pot when about 80% of the chips have sunk to the bottom. The 5-10 minute drainage period afterward is equally important; I use a timer and actually tilt the pot at a 45-degree angle for the last 2 minutes to ensure complete water removal from the chip structure.
Environmental Monitoring: The 7-10 day watering frequency mentioned in Step 3 assumes ideal conditions of 65-75°F and 40-60% humidity. In practice, you’ll need to adjust based on your specific environment. I keep a small hygrometer near my orchids and have noticed that when humidity drops below 35%, the wood chips dry out about 25% faster. Conversely, in very humid conditions (above 70%), you might extend to 12 days between waterings. The root color indicators—silver-green when dry and bright green when hydrated—are your most reliable guides regardless of the calendar.
Flushing Best Practice: For the monthly flushing in Step 4, I recommend using collected rainwater or distilled water if possible, as tap water minerals are often what you’re trying to remove. The 2-3 minute flushing time is perfect—long enough to remove salt buildup but not so long that you leach out all the beneficial nutrients. After flushing, I always do a “lift test” with the pot: properly flushed wood chips will feel about 15-20% lighter than before, which is exactly what you want for optimal aeration.
Orchids in wood chips dry out slower than in bark but still need consistent moisture. Water every 5–7 days in warm climates or when the top inch feels dry. Adjust based on humidity— less in high humidity, more if the air is dry. Always check root color (silver-green = thirsty; bright green = hydrated).
No! Regular soil suffocates orchid roots by holding too much water. Wood chips (or bark) mimic their natural epiphytic habitat, allowing airflow and drainage. Soil = root rot risk. Stick to chunky, airy mixes like fir bark, coconut husk, or—you guessed it—wood chips!
Brown roots often signal overwatering or poor drainage. Wood chips should never stay soggy—ensure your pot has drainage holes and water only when the mix is nearly dry. Trim mushy roots with sterilized scissors and repot in fresh chips if needed. Act fast to save your plant!
Skip the guesswork! Use the finger test: Poke your finger 1–2 inches into the chips. If they feel damp, wait. If dry, water thoroughly until it drains freely. Pro tip: Lift the pot—heavy = wet, lightweight = time to water. A wooden skewer also works (like testing a cake!).
Yes! Soak new wood chips in lukewarm water for 24 hours to remove tannins and debris. Rinse well before planting—this prevents fungal growth and pH swings. Skipping this step may stress your orchid. Re-soak every 6–12 months to refresh the mix.
Mastering how to water orchids in wood chips is all about balance—keeping moisture consistent while avoiding soggy roots. 🌿 With the right technique (soaking, misting, or the ice cube trick) and a watchful eye on drainage, your orchids will thrive in their cozy bark home.
Now that you’re equipped with the know-how, put it into practice! Start by checking your orchid’s moisture level today—then adjust your routine as needed. For even more confidence, explore our guide on fertilizing orchids in wood chips next. Happy growing! 💐
