
Beautiful Plants For Your Interior
Beautiful Plants For Your Interior
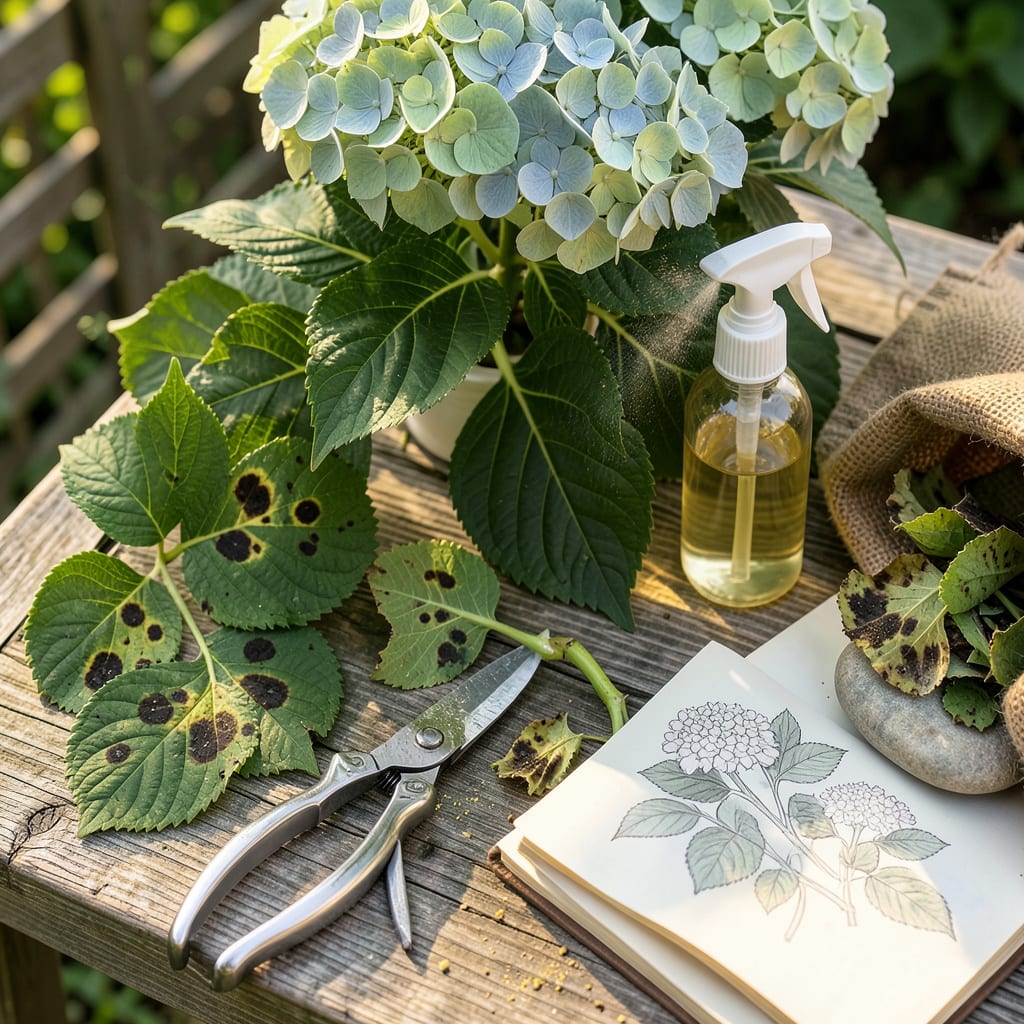
Those ugly black spots on your hydrangea leaves aren’t just unsightly—they’re a warning sign. I’ve dealt with this exact issue in my garden, and the good news is that with the right approach, your plants can bounce back stronger than ever. The spots usually mean a fungal infection taking hold, often from too much moisture or poor air circulation around the leaves.
You’ll want to act quickly before it spreads, but don’t panic—this is completely fixable. I’ve had success with simple organic treatments that clear up the problem in about 2-3 weeks. The key is removing infected leaves first, then adjusting your care routine to keep it from coming back. Your hydrangeas will thank you with lush, spot-free foliage by next blooming season.
📚 In This Guide
Here’s my tried-and-true method for restoring your hydrangeas to their vibrant, spot-free glory—naturally and effectively.
Start by carefully examining your hydrangea leaves, focusing on both the tops and undersides. Black spots often appear as circular lesions with yellow halos, typically caused by fungal pathogens like Cercospora or Anthracnose. I use clean, sharp pruners to remove every affected leaf—don’t hesitate to be thorough.
Dispose of the infected leaves in a sealed bag (never compost them, as this spreads the fungus). Between cuts, wipe your pruners with rubbing alcohol to prevent cross-contamination. This immediate removal stops the fungus from spreading to healthy foliage and reduces the pathogen load in your garden.
Fungal diseases thrive in damp, stagnant conditions. Thin out your hydrangea by removing about one-third of the oldest stems at the base. This opens up the center of the plant, allowing air to circulate freely. I aim for spacing that lets me see through the shrub when I crouch down.
If your hydrangea sits in deep shade, consider relocating it or pruning nearby plants to provide morning sun with afternoon shade. Six hours of filtered sunlight daily helps leaves dry quickly after rain or watering. You’ll notice fewer new spots appearing within 2-3 weeks of improving airflow.
Mix 1 tablespoon of baking soda and 1 teaspoon of mild liquid soap in 1 gallon of water for a safe, effective fungicide. I spray this solution on all leaf surfaces—top and bottom—every 7-10 days until new growth appears spot-free. The baking soda alters the pH on leaf surfaces, making them inhospitable to fungal spores.
Apply the spray in the early morning so leaves dry quickly in the sun. Avoid evening applications, as prolonged moisture overnight actually encourages fungal growth. You’ll see existing spots stop enlarging within 3-5 days of your first treatment, though they won’t disappear completely (new growth will be clean).
Water your hydrangea at the base using a soaker hose or drip irrigation, keeping the leaves completely dry. I water deeply 2-3 times per week (more in extreme heat), always in the morning. The goal is moist soil with dry foliage—fungus can’t spread without wet leaves.
If you’ve been using overhead sprinklers, switch immediately. Check soil moisture by digging 2 inches deep—it should feel moist but not soggy. Mulch with 2-3 inches of pine bark to prevent soil splashing onto leaves during rain, which is a common way spores spread upward.
Apply a balanced organic fertilizer (like fish emulsion or compost tea) every 4-6 weeks during the growing season. I’ve found healthy, vigorous hydrangeas resist fungal infections much better than stressed plants. The nitrogen boosts leaf production to replace damaged foliage.
In early spring, spread 1 inch of compost around the base (avoiding direct stem contact) to introduce beneficial microbes that compete with fungal pathogens. You’ll notice your hydrangea produces thicker stems and more abundant blooms the following season—clear signs of improved overall health and disease resistance.
These practical insights will help you tackle black spots more effectively and avoid common pitfalls that could slow your hydrangea’s recovery.
Pruning Precision: When removing affected leaves in Step 1, make sure to cut at least 1/2 inch into healthy tissue beyond the black spot’s edge. I learned this the hard way after seeing spots reappear when I cut too close to the damage. Also, don’t forget to examine the undersides of leaves—fungal spores often start there before becoming visible on top.
Sunlight Strategy: The morning sun recommendation in Step 2 isn’t just about drying leaves—it’s about timing. I’ve found that 6 hours of morning light (before 2 PM) provides enough energy for recovery while protecting tender new growth from harsh afternoon rays. If relocation isn’t possible, consider using shade cloth to filter intense midday sun.
Spray Technique: For the fungicidal spray in Step 3, I can’t stress enough how important it is to cover both leaf surfaces completely. Use a fine mist setting and spray until you see tiny droplets forming on the leaves—this ensures the baking soda solution makes full contact with potential spores. Also, mark your calendar for those 7-10 day intervals—consistency is key to breaking the fungal life cycle.
Watering Wisdom: The 2-inch soil depth check in Step 4 is more critical than you might think. I use a simple chopstick to test moisture—if it comes out with soil clinging to it, you’re good. If it’s clean, water deeply. This method prevents both overwatering (which encourages fungus) and underwatering (which stresses the plant). Remember, hydrangeas would rather be slightly dry than sitting in soggy soil.
Yes, if caused by fungal diseases like Cercospora or Anthracnose, spores can spread via wind, water, or tools. Isolate infected plants, sterilize pruners with rubbing alcohol, and avoid overhead watering to prevent contamination. Healthy plants are less susceptible, so boost their defenses with balanced fertilizer!
Not immediately, but severe infections weaken the plant over time, reducing blooms and vitality. Early treatment (like neem oil or copper fungicide) stops progression. Remove heavily damaged leaves to redirect energy to new growth. Most hydrangeas recover with proper care!
Start with pruning infected leaves, then apply a baking soda spray (1 tbsp baking soda + 1 tsp dish soap + 1 gallon water). Reapply every 7–10 days. For stubborn cases, use neem oil (follow label rates). Improve airflow by thinning branches to speed drying.
Treat at the first sign of spots—early morning is ideal (leaves dry faster, reducing fungal growth). Avoid evening applications. For prevention, apply fungicides in early spring before leaves emerge, especially in humid climates. Repeat after heavy rain.
Hydrogen peroxide (3% solution, 1:10 dilution with water) can help disinfect leaves, but avoid vinegar—it’s too harsh and may burn foliage. Test spray a small area first. Stick to proven fungicides (like copper) or baking soda mixes for safer, effective results.
