
Beautiful Plants For Your Interior
Beautiful Plants For Your Interior
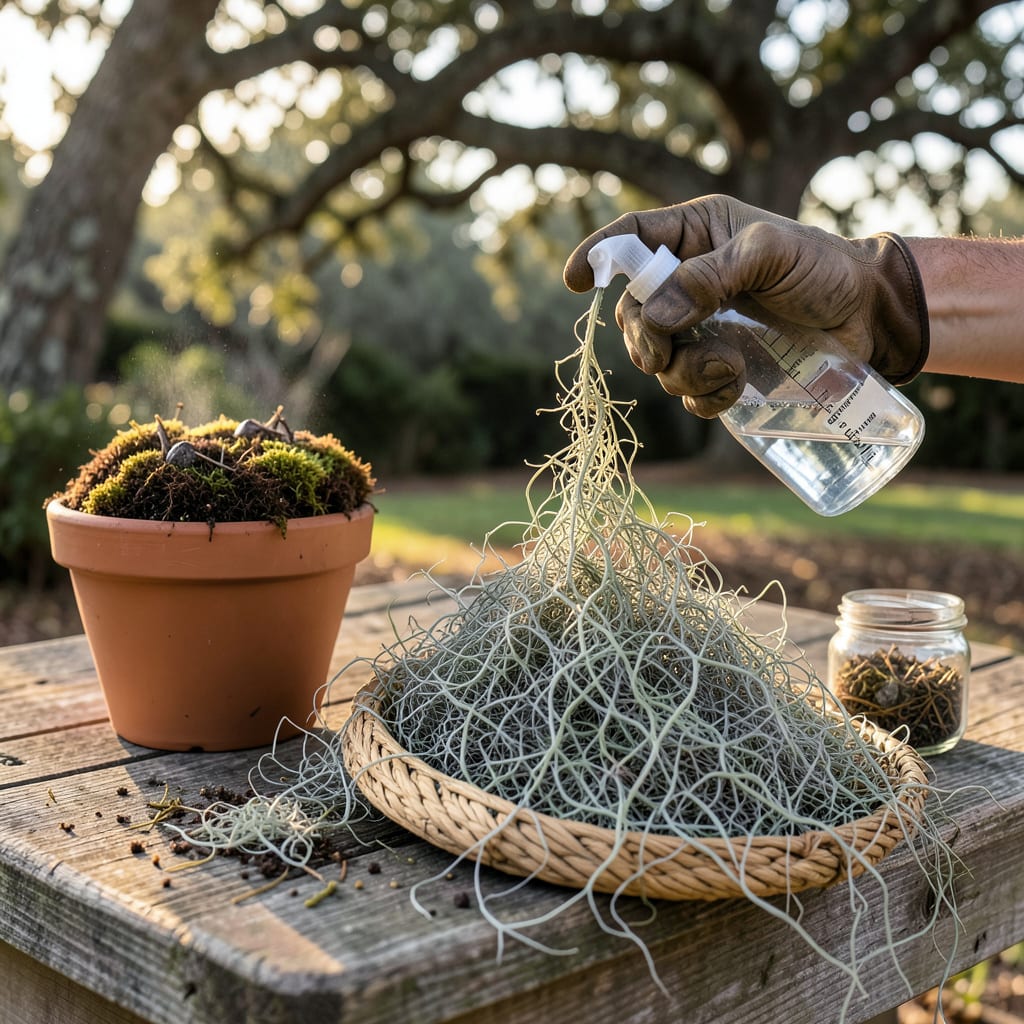
There’s something magical about watching Spanish moss sway in the breeze, transforming ordinary spaces into Southern-inspired retreats. I’ve moved this ethereal plant to new homes more times than I can count, and the secret lies in mimicking its natural conditions—high humidity, gentle airflow, and that perfect dappled sunlight it craves.
What most people don’t realize is that transplanting isn’t about force—it’s about invitation. The moss needs to gradually attach to its new home, whether that’s a live oak branch or a porch railing. Done right, you’ll see those silvery strands start to lengthen within 4-6 weeks, proof your hanging garden is taking root in its new world.
📚 In This Guide
This simple process ensures your moss establishes quickly and grows into lush, cascading displays.
Begin by choosing vibrant, green Spanish moss that feels slightly damp but not soggy. Avoid brown or brittle clumps, as these indicate poor health. I look for strands at least 6-8 inches long—this gives you enough material to work with while allowing the original plant to recover.
Gently pull apart the moss into smaller sections about the size of your palm. You’ll notice it separates naturally at certain points. Don’t force it—let the moss guide you to its natural divisions. This prevents damage to the delicate fibers that help it absorb moisture.
Your transplant site needs partial shade and good air circulation. I’ve found the best success with locations that get morning sun and afternoon shade. Mist the area lightly before placing the moss—this helps it adhere immediately.
If attaching to trees or structures, use natural twine to loosely secure the moss. Don’t wrap tightly—the strands need room to expand as they grow. For hanging baskets, create a loose nest of moss that allows air to circulate through the center. You’ll see the difference in how quickly it establishes.
Early morning or late afternoon provides the perfect conditions for transplanting. The cooler temperatures and higher humidity reduce stress on the moss. I always check that the air feels slightly damp before beginning—this mimics the moss’s natural environment.
Place the moss sections where you want them to grow, pressing gently but not compacting. You’ll notice the strands naturally cling to rough surfaces like bark or wire. Mist thoroughly after placing, until water beads on the surface but doesn’t pool. This initial moisture is critical for the first 24-48 hours.
For the first 2-3 weeks, mist your transplanted moss daily. You’re aiming for dampness, not saturation—the strands should feel soft and pliable. I use a spray bottle set to a fine mist to avoid dislodging the delicate fibers.
After the initial period, gradually reduce watering to every 2-3 days, depending on your climate. Watch for the moss to develop a slightly silvery tint—this indicates it’s ready for less frequent watering. The color will return to vibrant green within hours of misting, showing you’ve found the right balance.
You’ll see new growth within 4-6 weeks as the moss begins extending its tendrils. Check regularly for any sections that appear dry or detached—these may need additional misting or repositioning. I’ve found that gently tucking loose strands back into place encourages reattachment.
As the moss establishes, you’ll notice it develops a more substantial feel. This is when you can reduce maintenance to occasional misting during dry periods. The most rewarding part comes when you see the first cascading growth—this means your transplant has successfully taken hold and begun its natural growth pattern.
Transplanting Spanish moss successfully comes down to understanding its natural habits and creating the right conditions. Here’s what I’ve learned from years of working with this beautiful plant.
Selection Strategy: In Step 1, when choosing your source material, look beyond just color. The healthiest moss has a slight springiness when gently squeezed – it should bounce back slowly rather than staying compressed. I’ve found that strands with small, curled tendrils at the ends establish faster than perfectly straight pieces. These tendrils are the moss’s way of reaching out to anchor itself, so they’re nature’s indicator of vigorous growth potential.
The Critical First 48 Hours: The initial moisture mentioned in Step 3 isn’t just important – it’s everything. During that first 24-48 hour window, I recommend misting every 4-6 hours rather than just once daily. Use room temperature water to avoid shocking the moss. You’ll know you’re doing it right when the strands feel plump and cool to the touch, like a well-hydrated sponge. This frequent misting mimics the high humidity of its native environment during the vulnerable transition period.
Attachment Technique: When securing moss in Step 2, here’s what nobody tells you – the way you tie matters more than what you tie with. Create loose, open loops with your twine that allow the moss to move slightly in the breeze. I’ve had best results using a simple figure-eight pattern that crosses between strands rather than wrapping around them. This method provides support while still allowing the moss to breathe and expand naturally as it grows.
Long-Term Success Secret: The 2-3 week daily misting period in Step 4 is when most people give up too soon. Watch for the moss to develop tiny, hair-like structures called rhizoids – these are its version of roots. When you see these (they look like fine white fuzz), you can confidently start reducing water. This is the moss telling you it’s successfully attaching to its new home. Before this stage, no matter how green it looks, it’s still fully dependent on you for moisture.
For best results, transplant in spring or early summer when humidity is high and temperatures are mild (60–80°F). Avoid winter—cold snaps can shock the moss. If you must move it in fall, keep it misted daily to prevent drying out. Hot, dry summers require extra shade and watering!
Expect 3–6 months for full attachment and growth. New transplants may look limp or brown at first—this is normal! Mist daily for the first 2 weeks, then reduce to 2–3 times weekly. Pro tip: Use a lightweight fishing line to secure loose clumps until roots grip the host tree.
Brown tips = underwatering; black spots = overwatering. Revive crispy moss by soaking it in lukewarm water for 10–15 minutes, then misting heavily for a week. If it stays brittle, the moss may have dried out pre-transplant—try fresh clumps from a healthier source.
No tree? No problem! Spanish moss thrives on:
Avoid metal surfaces—they can get too hot!
Nope! Spanish moss is an epiphyte—it absorbs water/nutrients from the air, not the tree. However, overloading branches with heavy clumps can stress limbs. Distribute moss evenly and avoid smothering leaves. Bonus: It provides shelter for beneficial insects like lacewings!
