
Beautiful Plants For Your Interior
Beautiful Plants For Your Interior
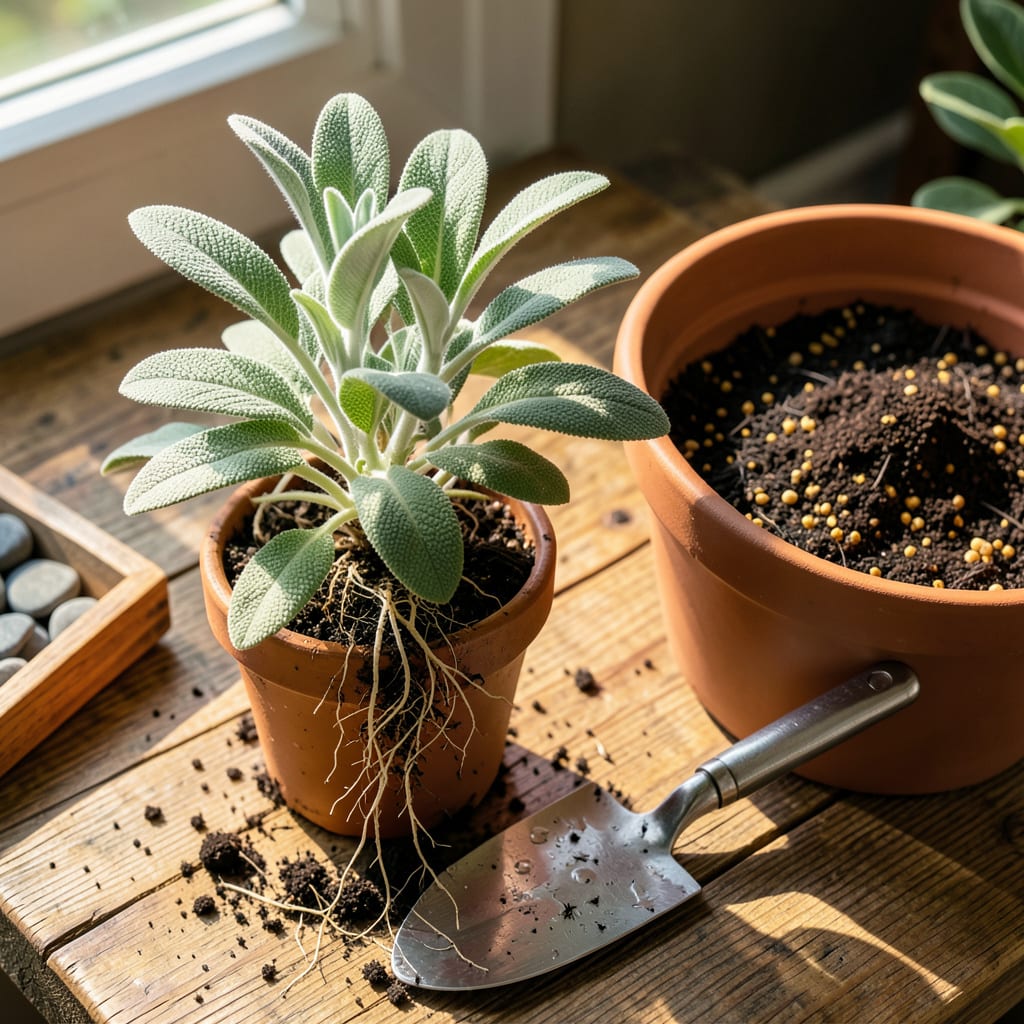
I used to lose half my sage plants during transplanting—until I figured out the timing and technique that makes them thrive. Moving sage isn’t about luck; it’s about preparing the plant and choosing the right moment. Early spring or fall works best, when the weather’s mild and the plant isn’t stressed by extreme heat or cold.
The difference between a struggling plant and one that takes off? How you handle the roots and that first week of care. I’ll walk you through the exact steps that turned my transplant failures into my most productive sage plants. No fancy tools required—just a trowel, some compost, and about 20 minutes of your time.
📚 In This Guide
Moving sage doesn’t have to be stressful—follow these simple steps and your plants will thrive in their new home.
Transplant sage in early spring or early fall when temperatures stay between 55-70°F. Avoid moving it during summer heat or winter dormancy, as stress can stunt growth. I always check the forecast for a stretch of mild, overcast days—this gives roots time to settle without immediate sun stress.
Select a spot with full sun (at least 6-8 hours daily) and well-draining soil. Sage despises soggy roots, so avoid low-lying areas where water pools. If your soil is heavy clay, mix in compost or coarse sand to improve drainage. Test by digging a 12-inch-deep hole and filling it with water—if it drains within 1 hour, the site is ideal.
Water the sage deeply 24 hours before transplanting—this keeps the root ball intact and reduces shock. Use a sharp spade to dig a wide circle around the plant, at least 6 inches from the base, to avoid slicing roots. You’ll feel resistance when you hit the root ball; that’s your cue to angle the spade underneath.
Lift the plant by the root ball, not the stems, which can snap easily. If the roots are tightly bound, gently tease them apart with your fingers. I’ve found that shaking off excess soil isn’t necessary—keeping some intact helps the plant adjust faster. Place the sage on a tarp or in a bucket if you’re not moving it immediately.
Dig a hole in the new location that’s twice as wide as the root ball but no deeper. Planting too deep suffocates the stem. Set the sage in the hole so the top of the root ball sits level with the soil surface. Backfill with native soil, pressing lightly to eliminate air pockets but avoiding compaction.
Water immediately with 1-2 gallons of water, letting it soak in slowly. This settles the soil around the roots and removes air gaps. I add a 2-inch layer of mulch (like gravel or straw) around the base, keeping it 3 inches away from the stem to prevent rot. The mulch conserves moisture and regulates soil temperature.
Keep the soil consistently moist but not soggy for the first 7-10 days. Check daily by sticking your finger 1 inch into the soil—if it feels dry, water deeply. After the first week, reduce watering to every 3-4 days, letting the top inch dry out between sessions. Sage prefers slightly dry conditions once established.
Watch for wilting or yellowing leaves, which signal stress. If leaves droop in the afternoon, the plant needs more water; if they stay limp overnight, you’re overwatering. Avoid fertilizing for 4-6 weeks—transplanted sage needs time to focus on root growth, not leaf production. Once new growth appears, you’ll know it’s successfully settled in.
Transplanting sage successfully comes down to timing, technique, and a little extra care. Here’s what I’ve learned from years of moving these resilient herbs—and how to avoid the mistakes that can set them back.
Timing is Everything: The instructions emphasize transplanting in early spring or early fall when temperatures hover between 55-70°F, and for good reason. I once tried moving sage in late spring when temperatures unexpectedly spiked to the mid-80s, and the plant struggled for weeks. Stick to the recommended window, and if possible, choose an overcast day to minimize stress. The 24-hour pre-watering in Step 2 is non-negotiable—it’s the difference between a root ball that holds together and one that crumbles apart.
Root Handling Technique: In Step 2, when digging up the sage, resist the urge to shake off all the soil from the roots. I used to think bare roots would help the plant “adjust” faster, but keeping some of the original soil intact actually reduces transplant shock. If the roots are tightly bound, gently tease them apart with your fingers rather than pulling or cutting. Also, if you’re moving the plant any distance, place it on a tarp or in a bucket to protect the roots from drying out—even a short time exposed to air can cause stress.
Watering Wisdom: The instructions call for 1-2 gallons of water immediately after planting in Step 3, and this isn’t just a suggestion. I’ve seen gardeners skip this step, thinking rain or their regular watering schedule would suffice, but that initial deep watering is critical. It eliminates air pockets around the roots and helps the soil settle. During the first 7-10 days, check the soil daily by sticking your finger 1 inch deep—if it feels dry, water deeply. Sage hates soggy roots, but it’s better to err on the side of slightly too much water than too little during this adjustment period.
Mulch Matters: The 2-inch layer of mulch mentioned in Step 3 might seem optional, but it’s a game-changer. I like to use gravel or straw, keeping it 3 inches away from the stem to prevent rot. Mulch regulates soil temperature, which is especially important if you’re transplanting in early spring or fall when nights can still be cool. It also conserves moisture, reducing the frequency of watering you’ll need to do during those critical first 7-10 days.
While sage can be transplanted in summer, it’s riskier due to heat stress. Early fall (4-6 weeks before frost) is ideal—cooler temps and consistent moisture help roots establish. If summer is your only option, choose a cloudy day, water deeply, and provide temporary shade for 3-5 days.
Watch for wilting leaves (even with moist soil), yellowing, or crispy edges—signs of shock or overwatering. Gently tug the base: if it resists, roots are anchoring; if loose, it needs more time. Mulch with straw to retain moisture and reduce stress. Most sage bounces back in 1-2 weeks!
Sage thrives in well-draining, sandy loam soil with a pH of 6.0–7.0. Mix 60% garden soil with 30% perlite/sand and 10% compost. Avoid heavy clay or overly rich mixes—they retain too much moisture, risking root rot. For containers, use a cactus/succulent blend with added coarse sand.
Yes! Harden off potted sage first: place it outdoors in partial shade for 3-5 days, gradually increasing sun exposure. Water the pot thoroughly 1 hour before transplanting, and keep the root ball intact. Dig a hole twice as wide (but no deeper) than the pot, then backfill with native soil to encourage root spread.
Cuttings are great for cloning favorite varieties (take 4-inch stems in spring/summer, dip in rooting hormone, and plant in sand), but transplanting mature sage gives you a full-grown plant faster. Use cuttings if your sage is leggy or overgrown; transplant if you need immediate harvests or landscape impact.
