
Beautiful Plants For Your Interior
Beautiful Plants For Your Interior
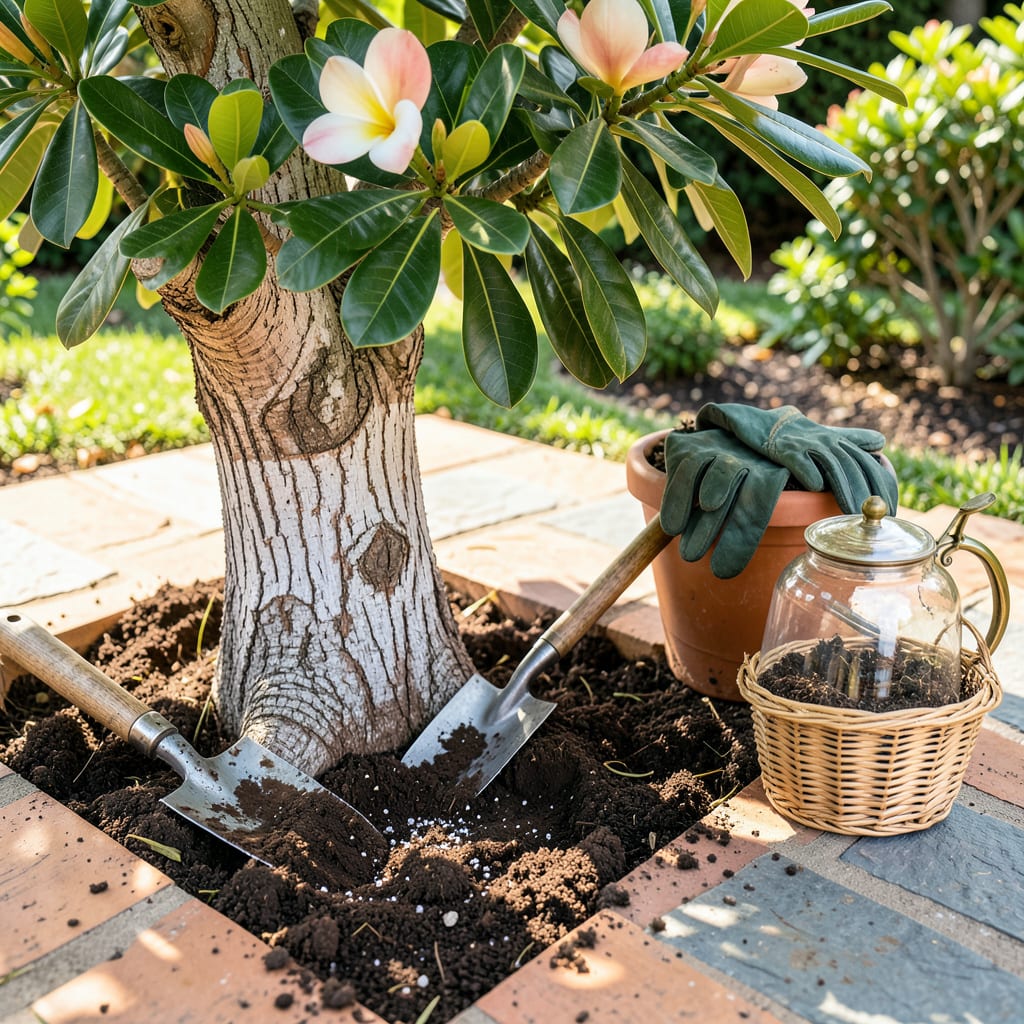
That first plumeria transplant changed everything for me. One season, my leggy, root-bound plant became a blooming powerhouse—all because I finally learned how to move it without the stress. The secret isn’t luck; it’s timing, technique, and giving those roots room to stretch in fresh, well-draining soil.
You’ll know it’s time when you see roots circling the pot or growth slowing down. Do it right, and your plumeria won’t just survive the move—it’ll reward you with bigger, brighter blooms by next summer. No green thumb required, just a little patience and the right steps.
📚 In This Guide
Moving plumeria doesn’t have to be stressful—here’s how I’ve done it successfully for years with minimal shock and maximum blooms.
Transplant plumeria in late spring or early summer when temperatures stay above 60°F at night. This gives roots time to establish before cooler weather. I always pick a spot with full sun (at least 6-8 hours daily) and protection from strong winds that can snap branches.
The new hole should be twice as wide as the root ball but no deeper. I mix the removed soil with 20% perlite or coarse sand to improve drainage—plumeria roots rot quickly in soggy conditions. Test the drainage by filling the hole with water; if it doesn’t empty within 30 minutes, amend further.
Water the plant deeply 24 hours before transplanting to hydrate roots and reduce stress. For potted plumerias, gently squeeze the container sides to loosen the root ball. If ground-planted, dig a trench around the drip line (outer edge of branches) to sever feeder roots cleanly.
Lift the plant by the root ball—not the trunk—to avoid tearing roots. You’ll feel resistance from established roots; work slowly with a sharp spade. I always keep the root ball intact with surrounding soil to prevent shock. For large specimens, have help ready—they’re heavier than they look!
Place the plumeria in the new hole at the exact same depth it grew before. The soil line on the trunk should remain visible. Backfill with your amended soil mix, tamping gently to eliminate air pockets. I create a shallow berm (raised ring) around the edge to direct water toward roots during initial waterings.
Water immediately with 2-3 gallons to settle soil around roots. Don’t fertilize yet—wait 4-6 weeks for new growth to appear. This prevents burning tender new roots. You’ll see wilted leaves for a few days; this is normal transplant shock, not a sign of failure.
Keep soil consistently moist (but not soggy) for the first 2 weeks. I check daily by sticking my finger 1 inch deep—water when it feels dry. Provide afternoon shade for 7-10 days if transplanting during hot weather; use shade cloth if needed.
Watch for new leaf growth—this signals successful root establishment. I remove any remaining wilted leaves after 10 days to encourage fresh foliage. First blooms may take 6-8 weeks to return, but they’ll be worth the wait when you see those vibrant, fragrant flowers.
After years of transplanting plumerias, I’ve learned these key details make the difference between a struggling plant and one that thrives.
Timing is Everything: The late spring or early summer window mentioned in Step 1 isn’t arbitrary—it’s when plumeria roots are most actively growing. I’ve found that transplanting when nighttime temperatures consistently stay above 60°F gives roots the best chance to establish before winter dormancy. Don’t rush this; waiting for stable warm nights prevents shock.
Root Ball Protection: When removing your plumeria in Step 2, keeping that root ball intact with surrounding soil is your top priority. I learned this the hard way after losing a mature plant to root damage. The 24-hour pre-watering isn’t just about hydration—it helps the soil cohere, making it easier to lift the root ball cleanly. For potted plants, slide a tarp underneath before lifting to prevent crumbling.
Watering Wisdom: Those 2-3 gallons of water immediately after planting in Step 3 aren’t optional—they’re essential for eliminating air pockets around roots. I use a gentle stream from a hose rather than dumping water quickly, which can create channels that bypass roots. The berm technique mentioned works best if you make it about 3 inches high and 6 inches wide—just enough to direct water where it’s needed without pooling.
Patience Pays Off: The 4-6 week waiting period before fertilizing in Step 3 tests every gardener’s patience, but I’ve seen what happens when people rush it. New roots are incredibly sensitive to fertilizer salts. Instead of watching the calendar, I wait until I see at least 2 inches of new leaf growth—then I know the roots are ready. That first bloom at 6-8 weeks will be your reward for waiting.
The ideal time is late spring to early summer (after the last frost) when temperatures stay above 60°F (15°C). This gives roots time to establish before winter dormancy. Avoid transplanting during active blooming or extreme heat—stress can stunt growth!
Only in mild climates (Zones 9-11). In cooler areas, fall transplants risk root shock before dormancy. Winter is a hard no—plumeria are dormant and vulnerable. If urgent, pot it and move indoors until spring.
Look for these signs:
Try root pruning in-place: Use a sharp spade to sever outer roots in a circle (12–18 inches from the trunk) 2–3 months before transplanting. This encourages new feeder roots to form in a compact zone, making the move easier.
Wilting is normal for 1–2 weeks (transplant shock). Keep soil moist but not soggy, provide shade, and avoid fertilizer. If wilting persists, check for:
