
Beautiful Plants For Your Interior
Beautiful Plants For Your Interior
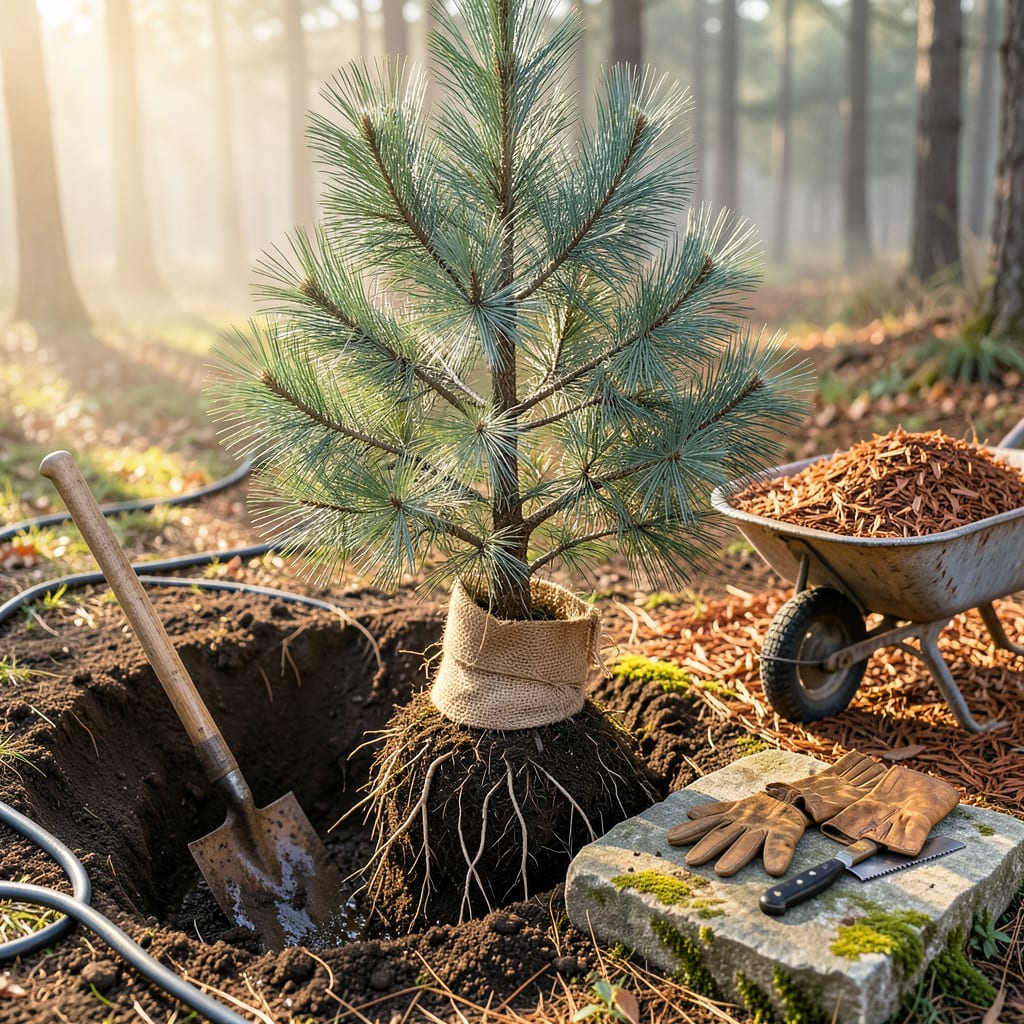
Moving a pine tree feels like relocating a small skyscraper—roots and all. I’ve learned the hard way that timing is everything: early spring or late fall, when the tree is dormant but the ground isn’t frozen, gives roots the best chance to settle in. Get this right, and you’ll avoid the heartbreak of a tree that never recovers from the shock.
The difference between a pine that thrives and one that struggles? Preparation. Water the tree deeply 3 days before digging, mark its sun-facing side, and have the new hole ready—twice as wide as the root ball, no deeper. I’ve saved more pines with a sharp spade and a bucket of water than I have with fancy fertilizers. The first 30 days after transplanting decide everything.
📚 In This Guide
Moving a pine tree takes patience and precision, but this method ensures your evergreens thrive in their new home.
Early spring or late fall—when the tree is dormant and temperatures stay between 40-60°F—is ideal for transplanting. I always start by digging the new hole first so the roots spend minimal time exposed. The hole should be twice as wide as the root ball but no deeper than the current root depth.
Test the drainage by filling the hole with water. If it doesn’t drain within 30 minutes, amend the soil with compost or sand. You’ll want the new location to match the original site’s sun exposure—pines need full sun to establish properly after moving.
Water the pine deeply 24-48 hours before digging to reduce root shock. I use a sharp spade to cut a clean circle around the tree, starting 12 inches out from the trunk for every inch of trunk diameter. For a 4-inch diameter trunk, that’s a 4-foot wide root ball.
Dig down at a slight angle to preserve as many roots as possible. Once the root ball is free, wrap it in burlap or place it on a tarp to keep the soil intact during transport. Don’t shake off the dirt—those fine feeder roots are critical for survival.
Lower the tree into the new hole, ensuring the top of the root ball sits 1-2 inches above ground level to allow for settling. Backfill with native soil, tamping gently to eliminate air pockets. I create a shallow watering basin around the base to direct moisture to the roots.
Water immediately with 5-10 gallons of water, then add a 2-3 inch layer of mulch (like pine straw or wood chips) to retain moisture. Avoid piling mulch against the trunk—this invites rot and pests.
For the first 4-6 weeks, water deeply every 3-4 days unless rain provides an inch of moisture. You’ll know the tree is stressed if needles turn yellow or drop—this means it needs more water or shade protection.
Stake the tree only if it’s unstable in windy areas, using soft straps that won’t damage the bark. Remove stakes after one year to prevent girdling. I avoid fertilizing for the first season—new roots need time to establish without chemical stress.
Transplanting success comes down to timing and technique—here’s what I’ve learned from years of moving evergreens.
Timing is Everything: The 40-60°F temperature window mentioned in Step 1 isn’t just a suggestion—it’s critical. I’ve found that early spring transplanting (just as the ground thaws) gives pines the entire growing season to establish roots. Late fall works too, but avoid periods when temperatures might dip below 40°F at night. Those 30 minutes of drainage testing in Step 1 will save you headaches later—poor drainage is the number one reason transplanted pines fail.
Root Ball Protection: When you’re digging that 12 inches per inch of trunk diameter in Step 2, don’t be tempted to cut corners. I once tried saving time with a smaller root ball and lost a 10-year-old pine. Those extra inches preserve the fine feeder roots that absorb 90% of the tree’s water. The 24-48 hour pre-watering isn’t optional either—it’s what keeps the root ball intact during transport. I use old blankets to wrap root balls for large trees; they’re more protective than burlap.
Planting Depth Precision: That 1-2 inches above ground level in Step 3 might seem like a small detail, but it’s your insurance against two problems: settling (which can bury the trunk) and root rot (from poor drainage). I always place a straight board across the hole to check the height before backfilling. And when you’re adding that 2-3 inch mulch layer, keep it shaped like a donut—thickest at the edges, thinning to nothing at the trunk. This prevents the “mulch volcano” that kills more young trees than you’d think.
Watering Strategy: The 5-10 gallons immediately after planting in Step 3 should go slowly—think gentle shower, not firehose. I use a soaker hose coiled around the root ball for the first watering. During those first 4-6 weeks when you’re watering every 3-4 days, check moisture by digging 4 inches down near the root ball. If it’s dry at that depth, you’re not watering deeply enough. Yellow needles aren’t always from underwatering—sometimes it’s from inconsistent moisture, which is worse than steady drought.
Timing is key! The best time is late winter to early spring (February–April) when the tree is dormant. Fall (September–October) works too, but avoid summer’s heat or winter’s freeze. Transplanting during dormancy reduces stress and boosts survival rates.
Smaller is safer! Trees under 6 feet tall (with a trunk diameter ≤2 inches) transplant most successfully. Larger pines (up to 10 feet) require professional equipment and expertise. For big trees, consider root pruning a year ahead to encourage compact root growth.
Patience pays off! Expect 1–2 years for full establishment. Water deeply weekly (unless rain does the job) for the first year. Mulch helps retain moisture. Avoid fertilizing the first season—let roots focus on settling in, not growing.
Don’t panic—transplant shock is normal! Check for green needles (scratch a branch; green underneath = alive). If branches are brittle and brown, it may not recover. Prevent shock by watering consistently, avoiding pruning, and shielding from wind/sun with burlap.
If moving isn’t feasible, try air-layering (for smaller pines) or planting seeds/cuttings. For instant impact, buy container-grown pines from nurseries—they adapt faster than bare-root trees. Always match the species to your climate zone for long-term success!
