
Beautiful Plants For Your Interior
Beautiful Plants For Your Interior
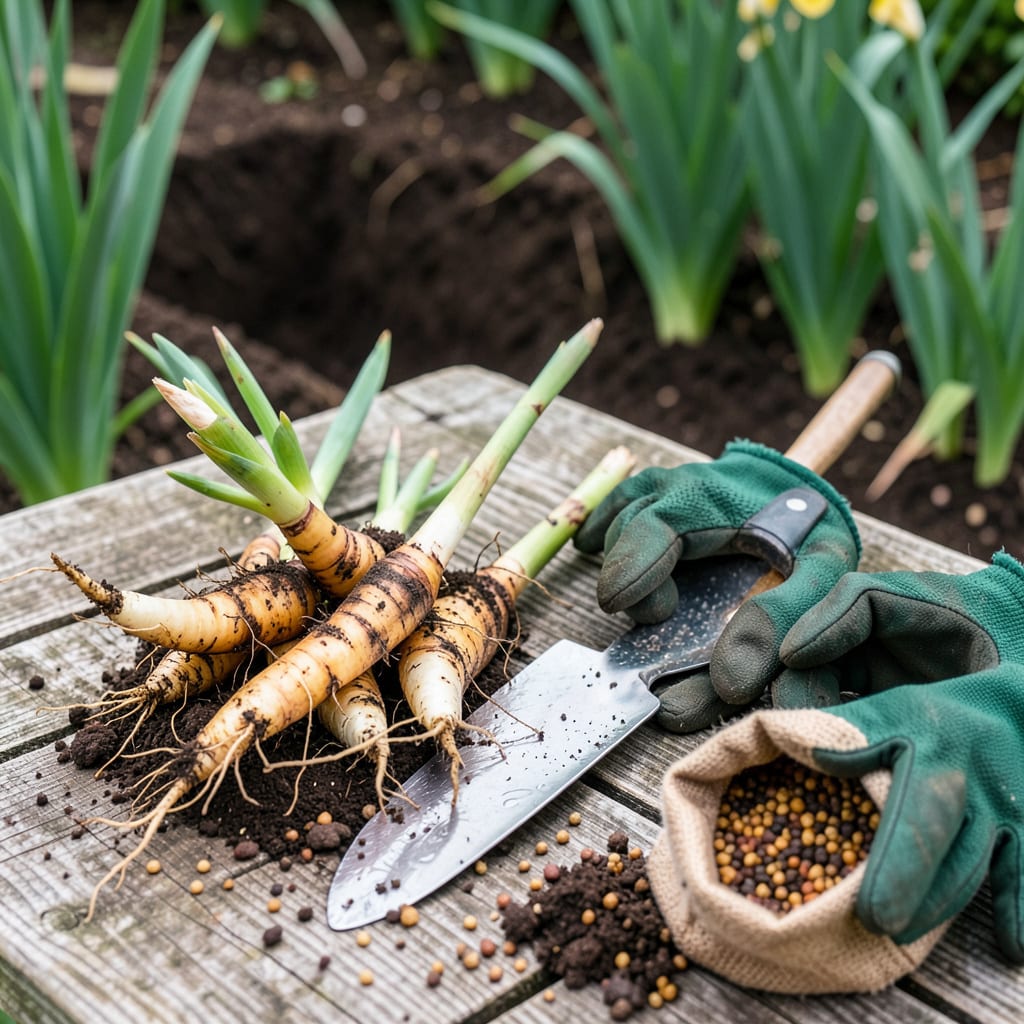
Late summer is the secret window for moving irises—when the foliage starts yellowing but the roots still have time to settle before winter. I’ve transplanted dozens of clumps over the years, and the ones moved at this stage always reward me with twice the blooms the following spring. The key is timing it right, not too early when they’re still pushing growth, not too late when the ground freezes.
You don’t need fancy tools, just a sharp trowel, some compost, and a willingness to get your hands dirty. What you’ll end up with are stronger plants that spread faster and flower more reliably than overcrowded, never-divided clumps. My irises went from sparse, weak blooms to showstopping displays after I started transplanting them properly—no green thumb required, just the right technique.
📚 In This Guide
This simple process ensures your irises establish quickly and reward you with spectacular blooms next year.
The ideal window for transplanting irises is 6-8 weeks after blooming, typically between late summer and early fall. This gives roots time to establish before winter dormancy. I always mark my calendar right after the last flowers fade so I don’t miss this critical period.
Start by cutting back the foliage to about 6 inches tall using clean pruners. This reduces water loss and makes handling easier. Gently dig around the clump with a fork, working outward from the base to avoid slicing through rhizomes. You’ll feel when the clump loosens in the soil—that’s your signal it’s ready to lift.
Once lifted, shake off excess soil and rinse the rhizomes with water to see what you’re working with. Healthy rhizomes feel firm and show plump, white roots. Discard any sections that appear mushy, hollow, or infested with iris borers (you’ll see small holes or soft spots).
Use a sharp knife to separate the rhizomes, ensuring each division has at least one fan of leaves and a portion of healthy root system. I aim for divisions about the size of my palm—too small and they won’t bloom next year, too large and they’ll crowd themselves. Trim any damaged roots with clean cuts.
Choose a location with full sun (6+ hours daily) and well-draining soil. Irises rot quickly in soggy conditions. I improve heavy clay by working in 2-3 inches of compost to the top 6-8 inches of soil. Dig holes 10-12 inches apart for bearded irises, slightly closer for Siberian types.
Create a small mound in the center of each hole and drape the rhizome over it, spreading roots downward. The top of the rhizome should sit just at soil level—burying it causes rot, while exposing it too much leads to sunburn. This positioning feels counterintuitive at first, but it prevents both major iris killers.
Backfill the hole, gently firming soil around the roots to eliminate air pockets. Water deeply immediately after planting—you want the soil moist but not waterlogged. I use a watering can with a breaker to deliver a gentle, even flow that won’t dislodge the newly placed rhizomes.
Resist the urge to mulch heavily. A light 1-inch layer of straw helps retain moisture without trapping excess water against the rhizomes. You’ll know the planting was successful when you see new white root growth within 2-3 weeks. Avoid fertilizing now—wait until early spring to prevent tender new growth before winter.
Keep the soil consistently moist (but never soggy) for the first 4-6 weeks as roots establish. You’ll notice the leaves may yellow slightly—this is normal transplant stress. Remove any completely browned foliage to prevent disease, but leave green portions to feed the rhizome.
In colder zones (below USDA 6), apply a 2-3 inch layer of straw after the first hard frost to protect against freeze-thaw cycles. Come spring, remove this mulch gradually as new growth appears. Your reward comes in 12-14 months when these transplanted divisions produce their first full flush of blooms—often more vibrant than the original planting.
Here’s what I’ve learned from years of transplanting irises—these small details make all the difference between struggling plants and spectacular blooms.
Timing is Everything: That 6-8 week window after blooming mentioned in Step 1 isn’t arbitrary—it’s when rhizomes enter their most active root growth phase. I’ve tried transplanting both earlier and later, and the results were disappointing. Earlier transplants often fail to establish before winter, while later ones don’t have enough time to develop strong roots. Mark your calendar immediately after blooms fade to catch this perfect window.
Rhizome Positioning: Step 3’s instruction about placing rhizomes just at soil level is the single most important factor for success. I learned this the hard way after losing several plants to rot from burying them too deep. The top of the rhizome should be visible at the soil surface—it feels wrong at first, but this prevents both rot and sunburn. If you’re unsure, err on the side of slightly exposed rather than buried.
Watering Wisdom: The advice in Step 4 about keeping soil moist but not waterlogged during those first 4-6 weeks is crucial. I use this trick: after watering, wait 10 minutes then check soil moisture 2 inches down. If water pools or the soil feels soggy, you’ve overdone it. Irises recover better from slight underwatering than from root rot caused by excess moisture. A gentle spray from a watering can works better than a hose for precise control.
Winter Preparation: For those in colder zones, the 2-3 inch straw mulch mentioned in Step 5 should be applied after the first hard frost, not before. I’ve made the mistake of mulching too early, which can trap heat and encourage premature growth. Wait until the ground starts freezing at night, then apply your mulch. This protects against freeze-thaw cycles that can heave rhizomes out of the ground.
The ideal time is late summer to early fall (August–October), after blooming ends but before the first frost. This gives roots time to establish before winter. In warmer climates, early spring (before new growth) also works.
Avoid transplanting during active blooming—it stresses the plant and may kill flowers. Wait until 6–8 weeks after blooming when foliage is still green but dormant. If urgent, trim flowers/stems first to redirect energy to roots.
Plant rhizomes partially exposed, with the top half above soil and roots spread below. Dig a shallow hole (3–4 inches deep), mound soil in the center, and press the rhizome lightly into place. Overburying causes rot!
Skipped blooms often mean stress from transplanting, overcrowding, or poor sunlight. Ensure 6+ hours of sun, divide clumps every 3–4 years, and avoid deep planting. Fertilize lightly in spring (low-nitrogen) to encourage flowers.
Yes! Choose a wide, shallow pot (12+ inches deep) with drainage holes. Use well-draining soil mix (add sand/perlite) and place in full sun. Container irises need more frequent dividing (every 2 years) and winter protection in cold zones.
