
Beautiful Plants For Your Interior
Beautiful Plants For Your Interior
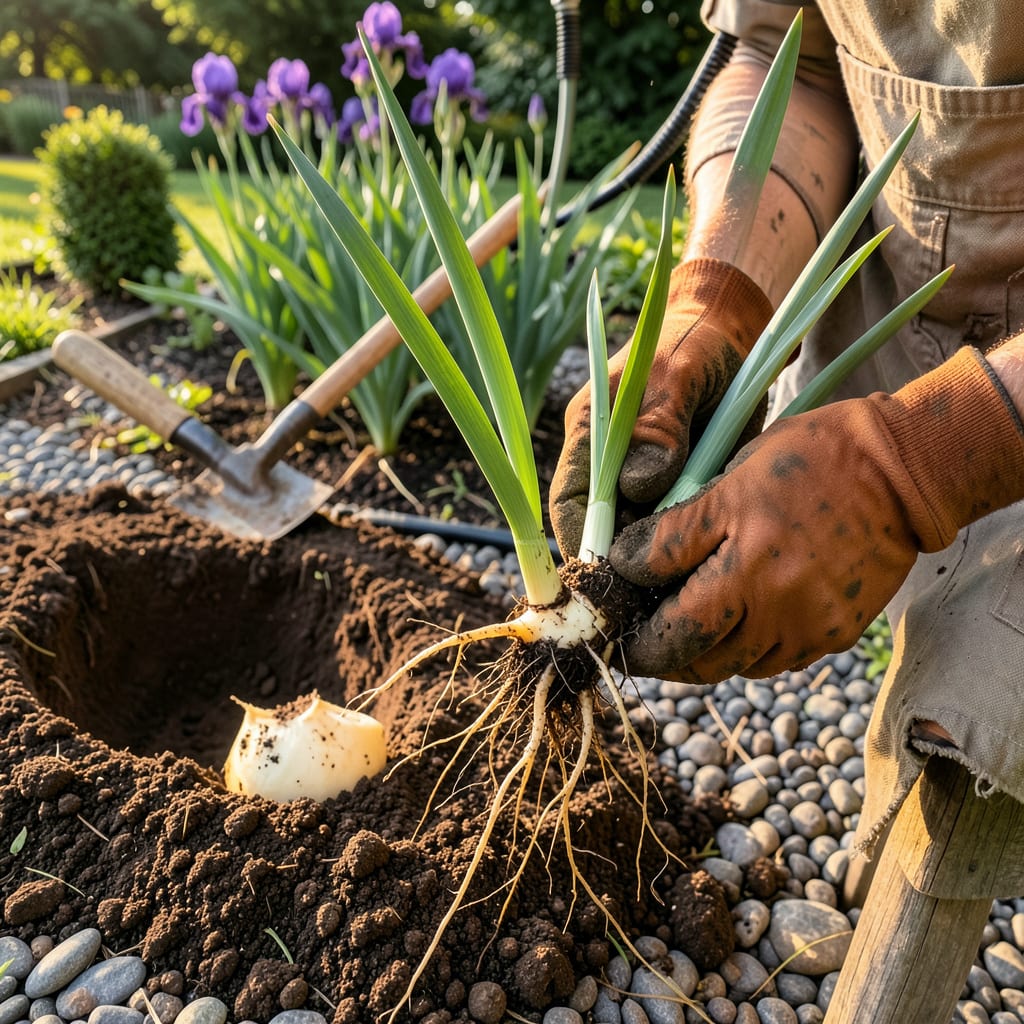
Late summer is the secret window for moving irises—when the heat breaks but roots still have time to settle before winter. I’ve relocated dozens of clumps over the years, and the plants that get transplanted at this golden moment always reward me with twice the blooms next spring. No fancy tools required, just a sharp spade, some compost, and 20 minutes per clump.
What trips up most gardeners? Planting too deep or skipping the rhizome division step. Here’s the thing—irises thrive on a little tough love. You’ll want those thick, fleshy rhizomes sitting half-exposed to the sun, not buried like potatoes. Do it right, and you’ll get clumps so vigorous they’ll need dividing again in just 3-4 years.
📚 In This Guide
With the right timing and technique, you can move your iris plants without stress—here’s how I do it for guaranteed success.
The ideal window for transplanting iris is 6-8 weeks after blooming, typically between late summer and early fall. This gives the roots time to establish before winter while avoiding the stress of flowering. I mark my calendar right after the last bloom fades so I don’t miss this critical period.
You’ll know it’s time when the foliage is still green but growth has slowed. Avoid transplanting during extreme heat or when the ground is frozen. In warmer climates (zones 8+), you can transplant as late as October, but cooler zones need earlier timing to prevent winter damage.
Select a location with full sun (6+ hours daily) and well-draining soil—iris rot quickly in soggy conditions. I test drainage by digging a 12-inch deep hole, filling it with water, and checking if it empties within an hour. If water pools, amend the soil with compost or choose a raised bed.
Loosen the soil to a depth of 12-15 inches and mix in a 2-inch layer of compost for nutrients. Space holes 12-24 inches apart depending on variety size—bearded iris need more room than Siberian types. The goal is a loose, crumbly texture that roots can penetrate easily.
Use a garden fork to carefully lift the entire clump from the ground, starting 8-10 inches away from the base to avoid slicing rhizomes. Shake off excess soil so you can see the structure clearly. Healthy rhizomes are firm and light tan—discard any soft, dark, or hollow ones immediately.
Divide the clump by gently pulling apart the rhizomes where they naturally separate. Each division should have 1-2 fans of leaves and a portion of healthy roots. I use clean pruners to trim damaged roots and cut leaves back to 6 inches tall—this reduces water loss and makes handling easier.
Place each division in its new hole so the rhizome sits partially exposed—the top should be visible above soil level. This prevents rot and encourages proper growth. Spread the roots outward in the hole and backfill with soil, pressing gently to eliminate air pockets but not compacting too firmly.
Water thoroughly after planting until the soil is moist to 6 inches deep. You’ll see the soil settle slightly—that’s normal. Don’t mulch heavily; a light 1-inch layer of straw is enough to protect new transplants without trapping moisture against the rhizomes.
Keep the soil consistently moist (but not soggy) for the first 2-3 weeks while roots establish. After that, iris are drought-tolerant and only need water during prolonged dry spells. You’ll notice new growth emerging from the center of the fans—that’s your sign the transplant was successful.
Remove any yellowing leaves as they appear, but don’t fertilize until spring. I mark my calendar to check for blooms next season—transplanted iris often take a year to flower again, but the wait is worth it for healthier, more vigorous plants.
Transplanting iris becomes much easier when you know these key details that most gardeners overlook.
Timing Precision: That 6-8 week window after blooming mentioned in Step 1 isn’t arbitrary—it’s when the plant shifts energy from flowers to root development. I’ve found that transplanting at exactly 7 weeks gives the best balance between root establishment and avoiding winter stress. Mark your calendar the day the last bloom fades, then count forward to hit this sweet spot.
Depth Discipline: When replanting in Step 4, resist the urge to bury those rhizomes completely. The “partially exposed” position might look odd at first, but it’s crucial for preventing rot. I use this trick: after backfilling, I should still see about a quarter of the rhizome above soil level. This exposure also helps the rhizome warm up faster in spring, promoting earlier growth.
Watering Wisdom: During those critical 2-3 weeks of establishment in Step 5, water deeply but infrequently. The goal is moisture 6 inches deep—I check by inserting a wooden skewer. If it comes out damp at the 6-inch mark, you’ve watered enough. Overwatering is the number one killer of newly transplanted iris, so when in doubt, wait another day before watering again.
Division Details: In Step 3, when dividing the clumps, look for rhizomes with at least one healthy fan of leaves. I’ve learned that divisions with two fans establish faster, but single-fan divisions will catch up by next season. The 6-inch leaf trim isn’t just for aesthetics—it reduces water loss through transpiration by about 40%, giving roots a better chance to establish before winter.
The ideal time is late summer to early fall (August–October), 6–8 weeks before the first frost. This gives roots time to establish before winter. Spring transplanting is possible right after blooming, but avoid extreme heat.
Avoid transplanting during active blooming—it stresses the plant and may cut short this year’s flowers. Wait until 6 weeks after flowering or plan for fall. If you must move them, trim flower stalks first to redirect energy to roots.
Plant rhizomes partially exposed, with the top ½ inch above soil and roots spread downward. Too deep = rot; too shallow = instability. In hot climates, a light dusting of soil (¼ inch) helps prevent sunburn.
Common culprits:
Yes! Use well-draining pots (12+ inches deep) with a mix of 50% potting soil + 50% grit/sand. Water deeply after transplanting, but let soil dry slightly between waterings. Containers may need winter protection in cold zones.
