
Beautiful Plants For Your Interior
Beautiful Plants For Your Interior
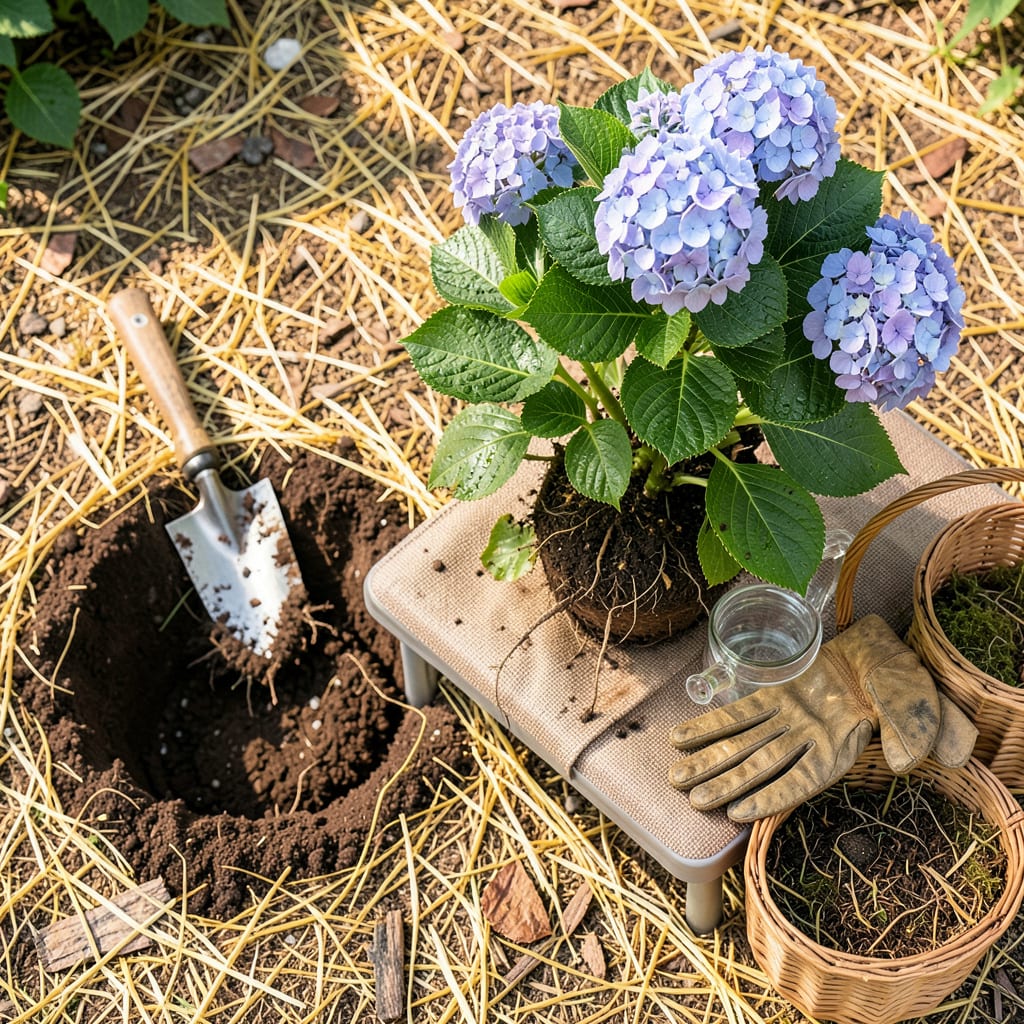
Moving a hydrangea feels like performing surgery on your garden. I’ve relocated a dozen over the years, and the ones that thrive follow a simple rule: timing and tenderness. Transplant at the wrong moment—like midsummer’s heat—and you’ll stress the plant into shock. Do it right, in early spring or fall when roots are dormant but soil is workable, and you’ll get bigger blooms the very next season.
The secret isn’t just digging a hole; it’s about respecting the root ball. Too many gardeners yank plants out by the stems or let roots dry in the sun while they “prep the new spot.” My method keeps roots moist, prunes only what’s necessary, and gets the plant back in the ground within 20 minutes. No wilting, no drama—just a hydrangea that acts like it’s been there for years.
📚 In This Guide
Moving hydrangeas doesn’t have to be stressful—here’s how I do it with minimal shock and maximum success.
Early spring or fall (when plants are dormant) is ideal for transplanting. I avoid summer moves because heat stresses plants. Start by selecting a location with partial sun (morning sun/afternoon shade works best) and well-draining soil. Dig your new hole twice as wide as the root ball but no deeper—this gives roots room to spread without sinking the plant.
Mix compost or aged manure into the soil you removed from the hole. This gives your hydrangea a nutrient boost as it establishes. Water the new hole thoroughly and let it drain before planting—you want the soil moist but not muddy when the plant goes in.
Water your hydrangea deeply 24 hours before moving—this helps the root ball hold together. Use a sharp spade to dig a trench around the plant, starting about 12 inches out from the main stem. Work your way deeper, angling the spade to lift the root ball intact.
Once you’ve loosened the roots all around, slide the spade under the base and lift gently. If the plant is large, have someone help support the top while you lift. Keep as much soil around the roots as possible—this prevents transplant shock. I always move the plant on a tarp to avoid dropping soil.
Place the hydrangea in the new hole so it sits at the same depth it was growing before. The base of the stems should be level with the surrounding soil. Backfill with your amended soil, gently firming it around the roots to eliminate air pockets. Don’t pack it tightly—roots need room to breathe.
Create a 3-4 inch high water ring around the plant by mounding soil in a circle. Fill this basin with water immediately after planting, then add more until the soil is saturated. I check by pushing my finger into the soil—it should feel moist 4 inches down. This deep watering encourages roots to grow outward.
Apply 2-3 inches of organic mulch (shredded bark works well) around the base, keeping it 3 inches away from the stems. Mulch conserves moisture and regulates soil temperature. Water deeply every 2-3 days for the first month unless rain provides an inch of water weekly.
Watch for wilting leaves in the first week—this is normal as the plant adjusts. If wilting persists beyond 7-10 days, the plant may need more water or temporary shade. I avoid fertilizing until I see new growth, which signals the roots have established. This usually takes 4-6 weeks depending on weather conditions.
Transplanting hydrangeas successfully comes down to a few key details that make all the difference between a thriving plant and one that struggles to recover.
Timing is Everything: The 24-hour pre-watering in Step 2 isn’t just helpful—it’s critical. I’ve found that deeply saturated soil acts like glue, holding the root ball together when you dig. Without this preparation, roots tear and the plant suffers unnecessary stress. If your soil is particularly dry, consider watering twice: once 48 hours before and again at the 24-hour mark.
Root Ball Protection: When digging your trench 12 inches out from the stem as directed in Step 2, work methodically in sections. I make four cuts (north, south, east, west) around the plant before attempting to lift. This quadrant approach prevents the root ball from breaking apart. For mature hydrangeas, you might need to start even farther out—up to 18 inches for plants that have been established for 5+ years.
Watering Wisdom: The 4-inch moisture check in Step 3 reveals more than you might think. When you push your finger into the soil, you’re not just checking for dampness—you’re feeling for coolness too. Warm soil at depth means your water isn’t penetrating deeply enough. I use a chopstick to create small channels in the water ring that help direct moisture straight to the roots during those first critical waterings.
First Month Monitoring: Those 7-10 days mentioned in Step 4 for normal wilting are your plant’s way of communicating. I keep a transplant journal noting daily observations: morning droop that recovers by afternoon is normal; leaves that stay crispy overnight signal trouble. The 2-3 day watering schedule works perfectly in most climates, but in extreme heat, you might need to water daily—just check that 4-inch depth each time to be sure.
The ideal time is early spring (before new growth) or fall (6+ weeks before frost). Avoid summer heat—stress can shock plants! In mild climates, late winter works too. Pro tip: Transplant on a cloudy day to reduce moisture loss.
It’s risky! Blooming plants focus energy on flowers, not root recovery. If absolutely necessary, prune back half the blooms first to reduce stress. Water deeply afterward and expect temporary wilt. Better to wait until after flowering.
Dig a hole twice as wide as the root ball but no deeper. Loosen soil at the sides to encourage root spread. For large shrubs, aim for 18–24 inches wide. Mix in compost (20–30%) for nutrient boost.
Wilting is normal for 1–2 weeks, but check for:
Yes! Bigleaf and smooth hydrangeas divide well in spring/fall. Use a sharp spade to split the root ball into sections (each with 2–3 stems). Replant immediately and water thoroughly. Avoid dividing oakleaf or panicle types—they dislike it!
