
Beautiful Plants For Your Interior
Beautiful Plants For Your Interior
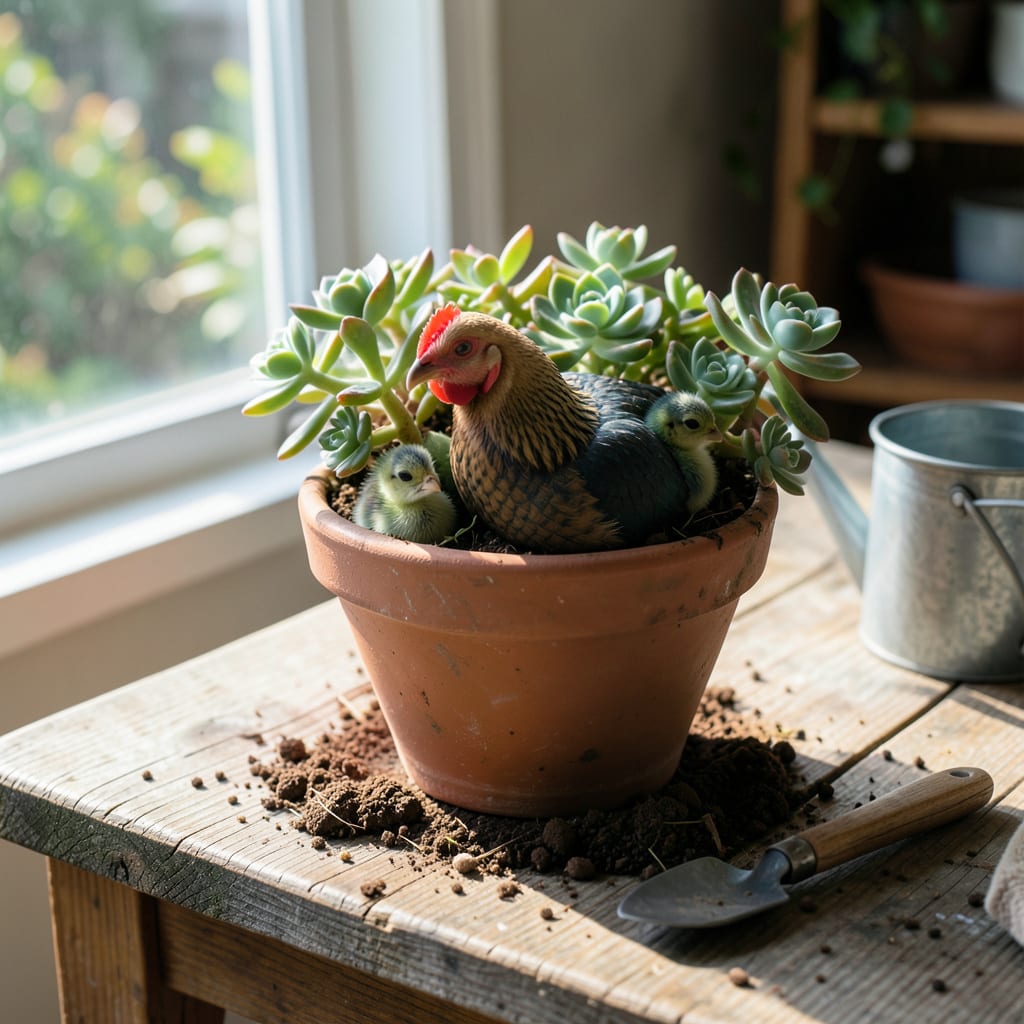
Transplanting hens and chicks can be a bit tricky, but with the right steps, you’ll be successful. 🔥 I’ve learned that timing is everything when it comes to moving these succulents. Spring and early summer are ideal times for transplanting.
First, prepare your new pot with well-draining soil – hens and chicks hate wet feet. Use a mix specifically designed for succulents to prevent waterlogged soil. When you’re ready to transplant, gently remove the plants from their original pot, taking care not to damage the roots.
Plant them at the same depth as before, making sure the rosettes are above the soil surface. Water sparingly after transplanting, as the plants are sensitive to moisture during this period. With proper care, your hens and chicks will thrive in their new home.
Keep an eye out for signs of stress, such as yellowing or dropping leaves. If you notice any issues, adjust your care routine accordingly. By following these simple steps, you’ll be able to enjoy your beautiful hens and chicks for years to come.
📚 In This Guide
Follow these simple steps to successfully transplant your hens and chicks succulents and watch them thrive.
Start by selecting a location with good drainage and full sun to partial shade. Hens and chicks prefer well-draining soil, so if your garden soil is heavy clay, consider using a raised bed or container. I like to mix in some perlite or coarse sand to improve drainage. Clear the area of any debris and weeds.
Dig a hole that’s about 2-3 inches deep and slightly wider than the root ball of the succulent you’re transplanting. If you’re creating a new bed, space the holes about 6-12 inches apart to allow for proper growth and air circulation.
Water the hens and chicks succulent a day or two before transplanting to make the soil easier to work with. When you’re ready to transplant, gently dig around the succulent, making sure to get as much of the root system as possible. I use a fork to carefully loosen the soil, working my way around the plant.
Once you’ve loosened the soil, carefully lift the succulent out of the ground, taking care not to damage the roots or disturb the surrounding soil. If the succulent is stuck, don’t force it – gently rock it back and forth until it comes free.
Place the succulent in the prepared hole, making sure the base of the plant is level with the soil surface. Fill in the hole with a well-draining soil mix, gently firming it around the roots as you go. I like to use a mix specifically designed for cacti and succulents.
Water the succulent thoroughly after planting, making sure the soil is moist but not waterlogged. Keep the soil moist during the first few weeks after transplanting, but avoid overwatering, which can lead to root rot.
Keep an eye on your transplanted succulents over the next few weeks, making sure they’re adjusting well to their new home. I check on mine regularly, looking for signs of stress or disease. Make sure to water them sparingly until they’re established.
With proper care, your hens and chicks should thrive in their new location. Enjoy watching them grow and multiply, and don’t hesitate to propagate new plants from the offsets that form around the mother plant.
A few simple strategies can make all the difference when moving your hens and chicks to their new home.
The Right Timing: Watering your succulents a day or two before transplanting makes the soil easier to work with, reducing root damage during the transfer. This simple step helps minimize stress on the plant and promotes healthier root growth.
Soil Preparation: Using a well-draining soil mix is crucial for preventing root rot in your transplanted succulents. I like to mix in some perlite or coarse sand to improve drainage, just like in Step 1 of the instructions. This helps replicate the conditions that hens and chicks thrive in.
Handling with Care: When removing the succulent, as described in Step 2, be gentle to avoid damaging the roots. Using a fork to loosen the soil around the plant is a great way to minimize root disturbance. If the succulent is stuck, gently rock it back and forth until it comes free, rather than forcing it.
Post-Transplant Care: After transplanting, keep the soil moist during the first few weeks, but avoid overwatering. Check on your succulents regularly, as mentioned in Step 4, to catch any signs of stress or disease early. Water them sparingly until they’re established, and you’ll be rewarded with healthy, thriving plants.
Review the tips above to avoid common mistakes and get the best results.
The ideal time to transplant hens and chicks is during the spring or fall when the weather is mild, allowing the succulents to establish themselves before extreme temperatures set in .
While it’s possible, summer transplanting can be challenging due to high temperatures. If you must transplant in the summer,
What if my hens and chicks are too crowded to transplant? If the plants are too dense, gently separate the chicks from the mother hen, taking care not to damage the roots. You can also propagate the chicks to create new plants .
No, it’s not recommended. Hens and chicks require well-draining soil to prevent root rot. Use a succulent-specific potting mix to ensure healthy drainage and aeration .
Common causes include overwatering, inadequate sunlight, or root damage during transplanting. Check your care routine and adjust accordingly to prevent further losses .
