
Beautiful Plants For Your Interior
Beautiful Plants For Your Interior
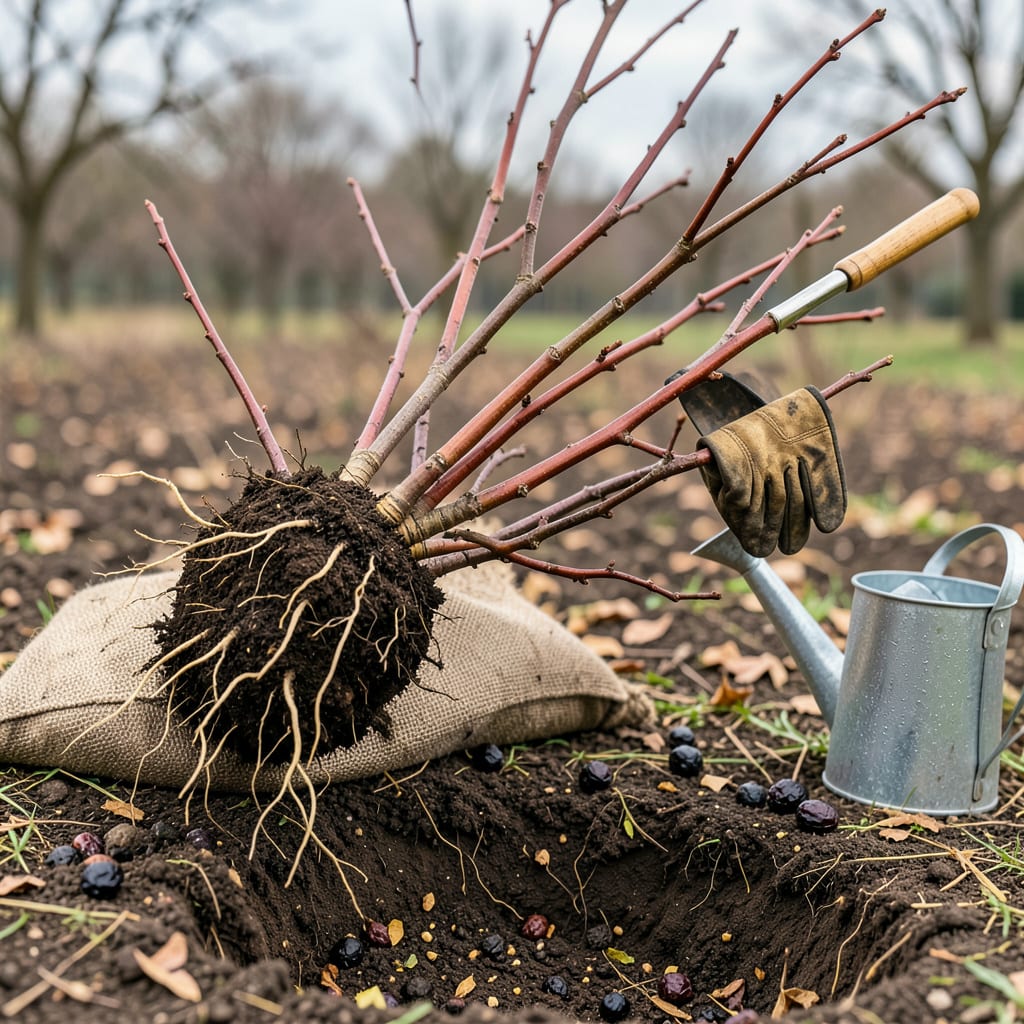
Moving elderberries feels intimidating until you realize they’re tougher than they look. I’ve transplanted dozens over the years, and the ones that thrive always follow the same simple rules: timing, root care, and the right spot. Do it in early spring before buds break, and you’ll avoid the stress that kills less-prepared plants.
The difference between a struggling shrub and one that explodes with growth next season comes down to two things: how you handle the roots and where you put them. Give them full sun, moist but well-drained soil, and room to spread—6-8 feet apart—and they’ll reward you with clusters of berries within a year. No green thumb required.
📚 In This Guide
Moving elderberries takes patience and timing, but this method ensures they thrive in their new location.
Transplant elderberries during late winter dormancy (February-March) or early fall (September-October). You’ll know the timing is right when the plant has no leaves and soil is workable but not waterlogged. I’ve found early fall works best in warmer zones (6-9), while late winter suits colder regions (3-5).
Avoid transplanting during active growth or extreme temperatures. Check the 10-day forecast—you want consistent 40-60°F temperatures with no hard freezes. The plant’s energy should be focused on root establishment, not leaf production or stress recovery.
Select a location with full sun to partial shade (minimum 6 hours direct sunlight) and well-draining soil. Elderberries tolerate wet conditions but won’t survive standing water. Dig a hole twice as wide as the root ball and 1 inch shallower—this encourages roots to spread outward rather than circle.
Amend the native soil with 50% compost to improve fertility and drainage. I mix in a handful of bone meal for phosphorus, which supports root development. Create a 3-inch-high berm around the hole’s perimeter to form a water basin—this directs moisture to the roots during establishment.
Begin by pruning the plant back by one-third to reduce transplant shock. This may seem drastic, but it balances the root-to-canopy ratio. Use a sharp spade to dig a 12-18 inch diameter root ball, working in a circle around the plant. You’ll feel resistance when you hit the main roots—this is normal.
Lift the plant by the root ball, not the stems, and immediately place it in the prepared hole. The soil line should match the original planting depth—burying the stem causes rot. Backfill with amended soil, tamping gently to eliminate air pockets. Water immediately with 2-3 gallons to settle the soil around roots.
Maintain consistent moisture for the first 4-6 weeks—the critical root establishment period. Water deeply 2-3 times weekly unless rainfall exceeds 1 inch. Mulch with 3-4 inches of wood chips to conserve moisture and regulate soil temperature, but keep mulch 2 inches away from the stem to prevent rot.
Monitor for transplant shock symptoms: wilting, leaf drop, or delayed spring growth. If you notice these, provide temporary shade with burlap for 7-10 days. Avoid fertilizing until you see new leaf growth—typically 6-8 weeks post-transplant. This ensures the plant directs energy to roots first.
Transplanting elderberries successfully comes down to understanding the plant’s needs and avoiding common pitfalls. Here’s what I’ve learned from years of experience.
Timing Precision: The late winter dormancy (February-March) or early fall (September-October) window mentioned in Step 1 isn’t arbitrary—it’s critical for root establishment. I’ve found that transplanting during these periods when temperatures stay consistently between 40-60°F gives the plant the best chance to focus energy on root growth rather than leaf production. Check your 10-day forecast carefully; even a brief cold snap below 40°F can stress the plant during this vulnerable time.
Root Ball Technique: When digging the 12-18 inch diameter root ball in Step 3, work methodically in a circular pattern. I use a sharp spade to cut cleanly through roots rather than tearing them. This may seem counterintuitive, but clean cuts actually heal better than jagged tears. Remember to lift the plant by the root ball itself, never by the stems—this prevents the delicate vascular system from separating from the roots.
Water Management: The 2-3 gallons of immediate watering after transplanting in Step 3 serves two critical purposes: it eliminates air pockets around the roots and initiates the soil-root connection. During the 4-6 week establishment period mentioned in Step 4, I recommend using a moisture meter to check soil at 4-inch depth. The surface can appear dry while deeper soil remains properly moist. This prevents both overwatering (which causes root rot) and underwatering (which leads to transplant shock).
Post-Transplant Monitoring: The 7-10 day temporary shade recommendation for stressed plants in Step 4 isn’t just about reducing light—it’s about lowering the plant’s metabolic demands. I’ve had success using 50% shade cloth instead of burlap when needed. Also, resist the urge to fertilize during those first 6-8 weeks; the bone meal added during planting provides sufficient phosphorus for root development without stimulating premature top growth.
Early spring (before new growth starts) or late fall (after leaves drop) is ideal. These times minimize stress on the plant since the weather is cool and roots can establish before summer heat or winter frost. Avoid transplanting during flowering or extreme temperatures.
It’s risky! Summer heat stresses plants, and elderberries may struggle to recover. If you must transplant in summer, do it on a cloudy day, water deeply afterward, and provide temporary shade. Mulch heavily to retain moisture and reduce shock.
Aim for a root ball at least 12–18 inches in diameter for young plants (3–5 years old) and 24+ inches for mature bushes. The deeper the better—elderberries have extensive roots, so preserve as much of the root system as possible to ease the transition.
Try propagation instead! Take hardwood cuttings in late winter or softwood cuttings in early summer. Dip in rooting hormone, plant in moist soil, and keep humid. This avoids transplant shock and lets you grow new plants from the original.
Common causes: underwatering (keep soil moist but not soggy), transplant shock (be patient—it may take weeks to recover), or poor soil (amend with compost). Trim back ⅓ of the foliage post-transplant to reduce stress and redirect energy to roots.
