
Beautiful Plants For Your Interior
Beautiful Plants For Your Interior
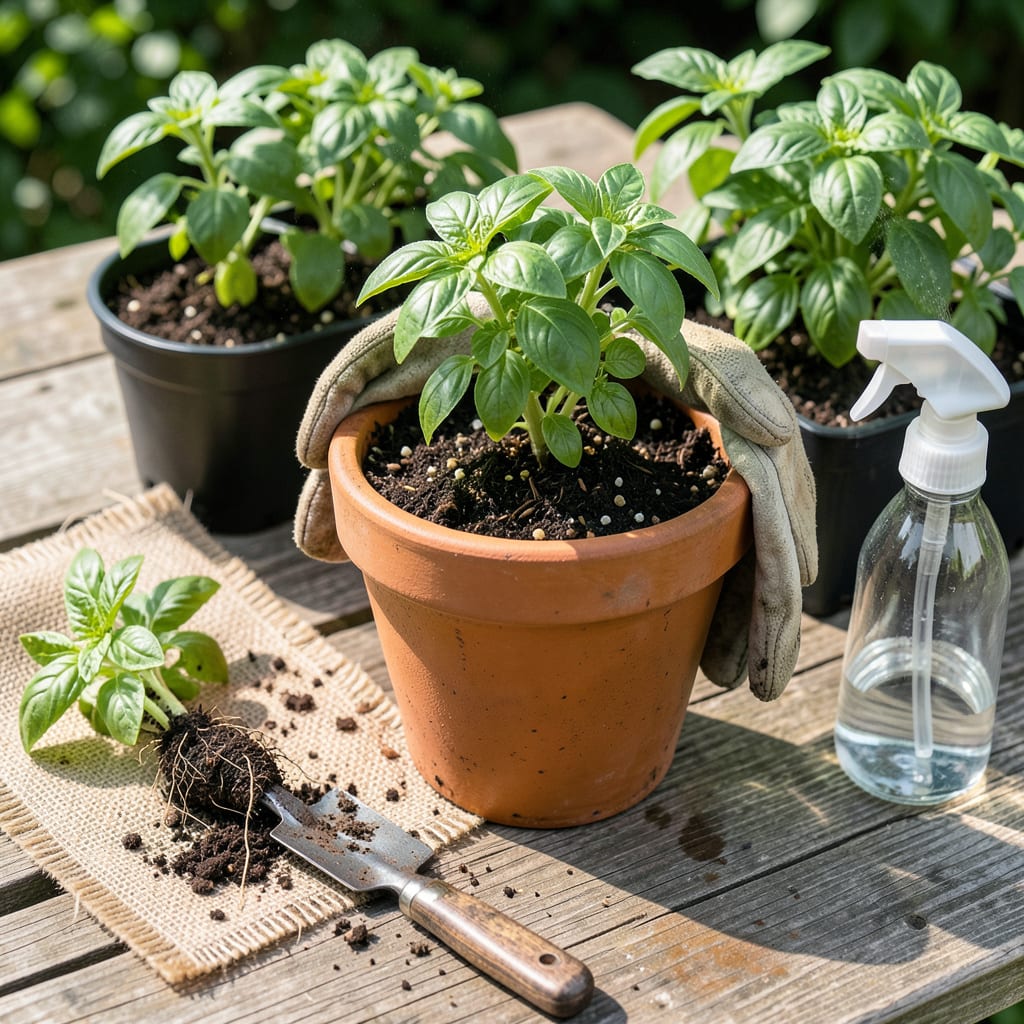
That first basil transplant changed everything for me. One minute, you’ve got a spindly seedling barely holding on—next thing you know, it’s a bushy, fragrant powerhouse producing more leaves than you can use. The secret isn’t luck; it’s timing and technique. Move plants too soon or too rough, and they sulk for weeks. Do it right, and they’ll reward you with double the growth in half the time.
I’ve killed my share of basil from bad moves (yes, even the “unkillable” varieties). What finally worked? Warm soil, gentle hands, and a 5-minute hardening-off trick that prevents shock. Whether you’re upgrading pots or moving plants outside, the process is simpler than you think—no green thumb required. Here’s how to make every transplant take.
📚 In This Guide
Moving basil from its starter home to a bigger space doesn’t have to be stressful—here’s how I do it without shocking the plants.
Choose a container that’s at least 6-8 inches deep with drainage holes. Basil roots rot quickly in soggy soil, so proper drainage is non-negotiable. I prefer terra cotta pots because they wick away excess moisture through the walls, but any well-draining container works.
Fill your new container with fresh potting mix—don’t reuse old soil, as it may harbor pests or diseases. Leave about 1 inch of space at the top to prevent water from spilling over when you water. Gently firm the soil with your fingers to remove air pockets, but don’t compact it tightly.
About 1 hour before moving your basil, water the seedlings thoroughly. This helps the root ball hold together and reduces transplant shock. The soil should feel moist but not waterlogged—if water pools on the surface, you’ve added too much.
You’ll know the plants are ready when the soil feels uniformly damp to your fingertip. Avoid transplanting when the soil is bone-dry or the plants are wilted from thirst. This is the moment that matters: healthy, hydrated plants recover fastest from the move.
Turn the original container on its side and gently squeeze the sides to loosen the root ball. Support the base of the stem between your fingers while easing the plant out. If roots are circling the bottom, lightly tease them apart with your fingers to encourage outward growth.
Dig a hole in the new container that’s just deep enough to accommodate the root ball. Place the basil so it sits at the same depth as before—burying the stem too deep can cause rot. The first set of leaves should remain above the soil line. Fill around the roots with soil, pressing lightly to eliminate air gaps.
After transplanting, water the basil until you see moisture draining from the bottom of the pot. This settles the soil around the roots and removes air pockets. I use room-temperature water to avoid shocking the plant—cold water can stunt growth for 24-48 hours.
Place the transplanted basil in bright, indirect light for the first 2-3 days. Direct sun immediately after transplanting can scorch tender leaves. You’ll see the plants perk up within hours if you’ve done it right. Keep the soil consistently moist (but not soggy) for the first week as roots establish.
Check your basil daily for the first week. Yellowing lower leaves are normal as the plant redirects energy to new growth, but if the top leaves droop or darken, you’re either overwatering or the plant needs more light. Basil thrives in 6-8 hours of direct sunlight once established.
Begin fertilizing with a half-strength balanced liquid fertilizer after 7-10 days, when you see new leaf growth. This is your signal the roots have recovered. Pinch back the top set of leaves when the plant reaches 6 inches tall to encourage bushier growth—you’ll get twice the harvest this way.
Transplanting basil successfully comes down to a few key details that make all the difference between thriving plants and struggling ones.
Watering Wisdom: The 1-hour pre-transplant watering in Step 2 isn’t just about moisture—it’s about root cohesion. I’ve found that plants watered exactly 1 hour before moving have root balls that hold together perfectly during transfer, while those watered too soon or too late often fall apart. Check moisture by inserting your finger up to the second knuckle—it should feel evenly damp, not dripping wet.
Depth Discipline: In Step 3, planting at the same depth as the original container is critical. I learned this the hard way after burying stems too deep on my first attempt—every one of those plants developed stem rot within days. The first set of leaves should remain just above soil level; this is your visual guide. If you accidentally plant too deep, gently lift and reposition immediately.
Light Transition Strategy: Those 2-3 days of bright, indirect light mentioned in Step 4 aren’t optional. I once skipped this step and placed basil directly in full sun—within hours, the leaves developed pale, papery patches. East-facing windowsills work perfectly for this transition period. Watch for the plants to stand upright and firm up—this tells you they’re ready for more direct light.
Root Recovery Timing: The 7-10 day waiting period before fertilizing in Step 5 exists for a reason. I’ve seen gardeners eager to boost growth add fertilizer at day 5, only to burn tender new roots. True recovery shows in new leaf growth—not just perking up of existing leaves. When you see that first pair of fresh leaves emerging from the center, that’s your green light to begin half-strength feeding.
You can do both! Pots (at least 6–8 inches deep) are great for control over soil and drainage, while ground planting works if your soil is well-draining and warm (60°F+). Pro tip: Start seeds indoors or in small pots first—basil hates cold shocks!
Transplant when seedlings have 2–4 true leaves (about 3–4 weeks old) and nighttime temps stay above 50°F. Morning transplanting reduces stress. Avoid midday sun—it can wilt tender plants! Wait until after the last frost if moving outdoors.
Wilting often means transplant shock (too much sun/wind) or overwatering. Yellow leaves? Check for poor drainage or nutrient deficiency. Trim damaged leaves and shade plants for 2–3 days. Water gently—keep soil moist, not soggy!
Yes! Rinse roots to remove gel (if present), separate stems gently, and plant in fresh potting mix. Warning: Grocery basil is often root-bound—trim leggy roots and expect some wilting as it adjusts. Choose organic to avoid pesticide stress.
1) Move to partial shade immediately. 2) Trim top leaves to reduce stress. 3) Water with lukewarm (not cold!) water + a drop of liquid fertilizer. 4) Cover with a plastic dome (or bag) for 24 hours to retain humidity. Most bounce back in 3–5 days!
