
Beautiful Plants For Your Interior
Beautiful Plants For Your Interior
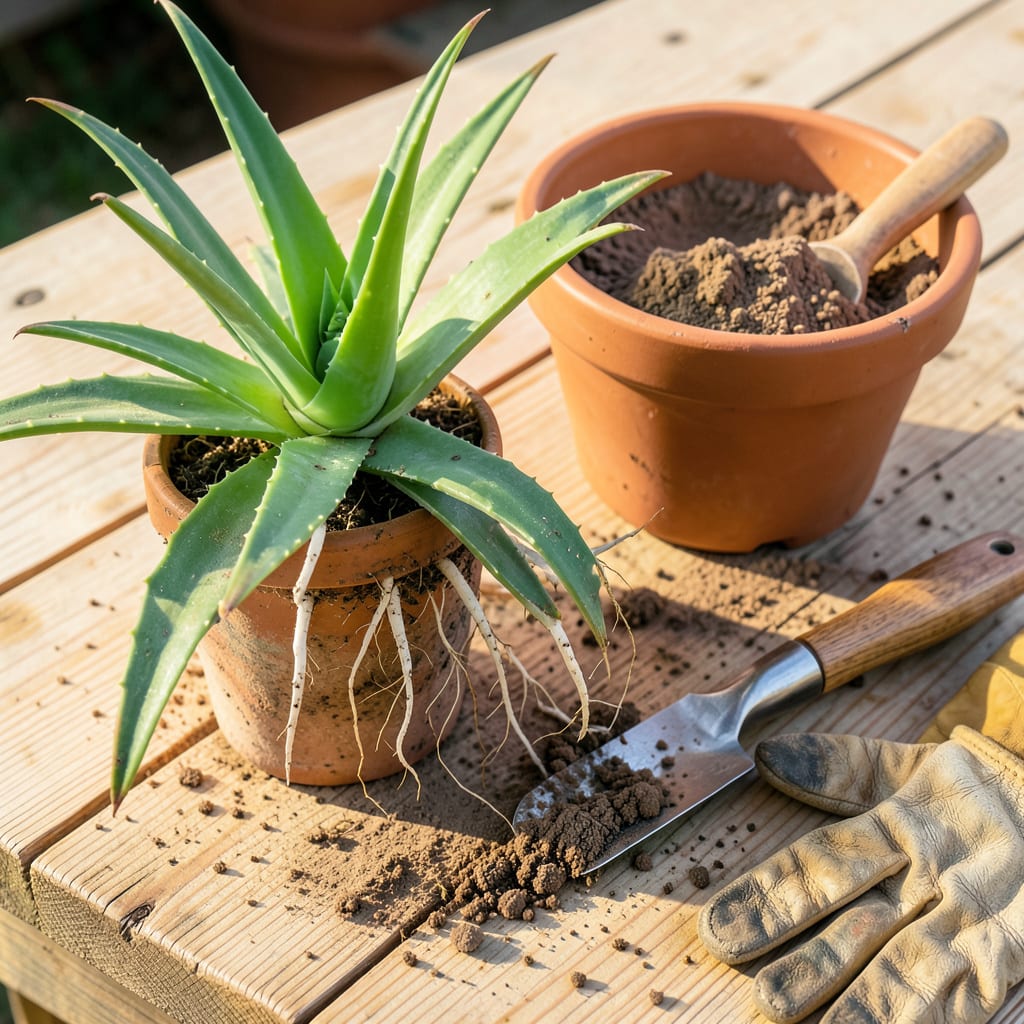
That moment when your aloe vera outgrows its pot is exciting—it means you’ve kept it alive long enough to thrive. I’ve transplanted dozens of these resilient plants, and the process is simpler than you’d think. The key is timing: spring or early summer gives roots the best chance to establish before cooler weather.
What surprises most people is how little aloe vera actually needs to bounce back. A well-draining pot just 1-2 inches larger than the current one, some gritty cactus mix, and gentle handling of those thick roots. Within weeks, you’ll see new growth pushing up from the center—proof your plant’s happier in its new home. No green thumb required, just patience and the right approach.
📚 In This Guide
Moving your aloe to a new home doesn’t have to be stressful—here’s how to do it without harming the plant.
Choose a pot that’s 1-2 inches wider than the current one, with drainage holes at the bottom. Aloe roots rot easily in soggy conditions, so drainage is non-negotiable. I prefer unglazed terracotta because it wicks away excess moisture through the clay.
Fill the new pot one-third full with a well-draining cactus or succulent mix. Avoid regular potting soil—it holds too much water. If you’re reusing a container, scrub it with a mild bleach solution (1 part bleach to 9 parts water) to kill any lingering pathogens.
Water the aloe lightly 2-3 days before transplanting. This firms up the soil, making it easier to slide the plant out without damaging roots. Turn the pot sideways, tap the rim gently on a table, and ease the plant out by cradling the base of the leaves.
If the roots are circling tightly, loosen them with your fingers. Don’t worry if a few break—aloe recovers quickly. Shake off old soil gently, but don’t remove it all. The goal is to disturb the roots as little as possible while giving them room to spread.
Place the aloe in the new pot so the base sits ½ inch below the rim. This prevents water from pooling around the stem. Add soil around the sides, pressing lightly to eliminate air pockets. Leave the top 1 inch of soil loose—this helps water drain away from the stem.
Don’t water immediately. Wait 5-7 days before giving it a thorough drink. This lets any damaged roots callous over, reducing rot risk. You’ll know it’s time to water when the soil feels completely dry 2 inches down.
Move the transplanted aloe to a spot with bright, indirect light for the first week. Direct sun can stress it while it adjusts. After that, return it to its usual sunny location. Aloe thrives in 6-8 hours of sunlight daily but will scorch in intense afternoon rays.
Hold off on fertilizing for 4-6 weeks. The plant needs time to establish roots before processing nutrients. When you do fertilize, use a diluted succulent formula—half-strength is plenty. Watch for new growth in 3-4 weeks; that’s your sign the transplant was successful.
Transplanting aloe vera doesn’t have to be intimidating—these practical insights will help your plant thrive in its new home.
Pot Selection Matters: In Step 1, choosing a container that’s only 1-2 inches wider than the current pot is crucial. A pot that’s too large holds excess moisture, which leads to root rot. I’ve found that unglazed terracotta works best because it allows the soil to dry out more evenly between waterings. The clay material actually pulls moisture away from the roots, mimicking aloe’s natural arid environment.
Root Handling Technique: When removing the plant in Step 2, don’t be afraid to gently massage the root ball if it’s tightly bound. I used to worry about damaging roots, but aloe is remarkably resilient. The key is to loosen just enough so the roots can spread naturally in the new pot—don’t try to untangle every single root. If a few break during the process, your aloe will recover quickly.
The Waiting Game: Step 3’s instruction to wait 5-7 days before watering is non-negotiable. I learned this the hard way after losing a plant to root rot from premature watering. This waiting period allows any damaged roots to callous over, creating a natural barrier against infection. When you finally do water, give it a thorough drink until water runs out the drainage holes—this encourages deep root growth.
Light Transition Strategy: The recommendation in Step 4 to provide bright, indirect light for the first week is designed to reduce transplant shock. I’ve noticed that aloe plants adjust best when gradually reintroduced to direct sunlight. Start with morning sun only, then slowly increase exposure over the week. This prevents sunburn while allowing the plant to acclimate to its new environment.
Got questions about transplanting your aloe vera? We’ve got answers! Here are the most common concerns—and quick fixes—to ensure your spiky friend thrives in its new home.
Aloe vera thrives when slightly root-bound, so repot only every 2–3 years or when roots crowd the container. Look for roots poking through drainage holes or slow growth—these are signs it’s time! Younger plants (under 2 years) may need annual upgrades to larger pots.
Yes! Aloe pups (offsets) can grow roots in 3–4 weeks if placed in well-draining soil. Let the cut end callus for 1–2 days before planting to prevent rot. Keep soil lightly moist (not soggy) and provide bright, indirect light. Pro tip: Dip the cut end in rooting hormone for faster growth!
Aim for spring or early summer when aloe is actively growing. Avoid winter—cold stress slows recovery. If you must transplant off-season, keep the plant in warm, stable conditions (65–75°F) and reduce watering for 2 weeks post-move.
Drooping usually means overwatering or shock. Hold off on water for 5–7 days, then resume lightly. Ensure the pot has drainage holes and use a gritty mix (50% perlite/sand). If leaves turn mushy, trim rotten roots and repot in fresh soil. Sunburn? Shield from direct light for a week.
Nope! Regular soil retains too much moisture, risking root rot. Mix 1 part potting soil with 1 part perlite/pumice and ½ part coarse sand for sharp drainage. Pre-made cactus/succulent soil works too—just add extra perlite (20–30%) for aloe’s desert-loving roots.
