
Beautiful Plants For Your Interior
Beautiful Plants For Your Interior
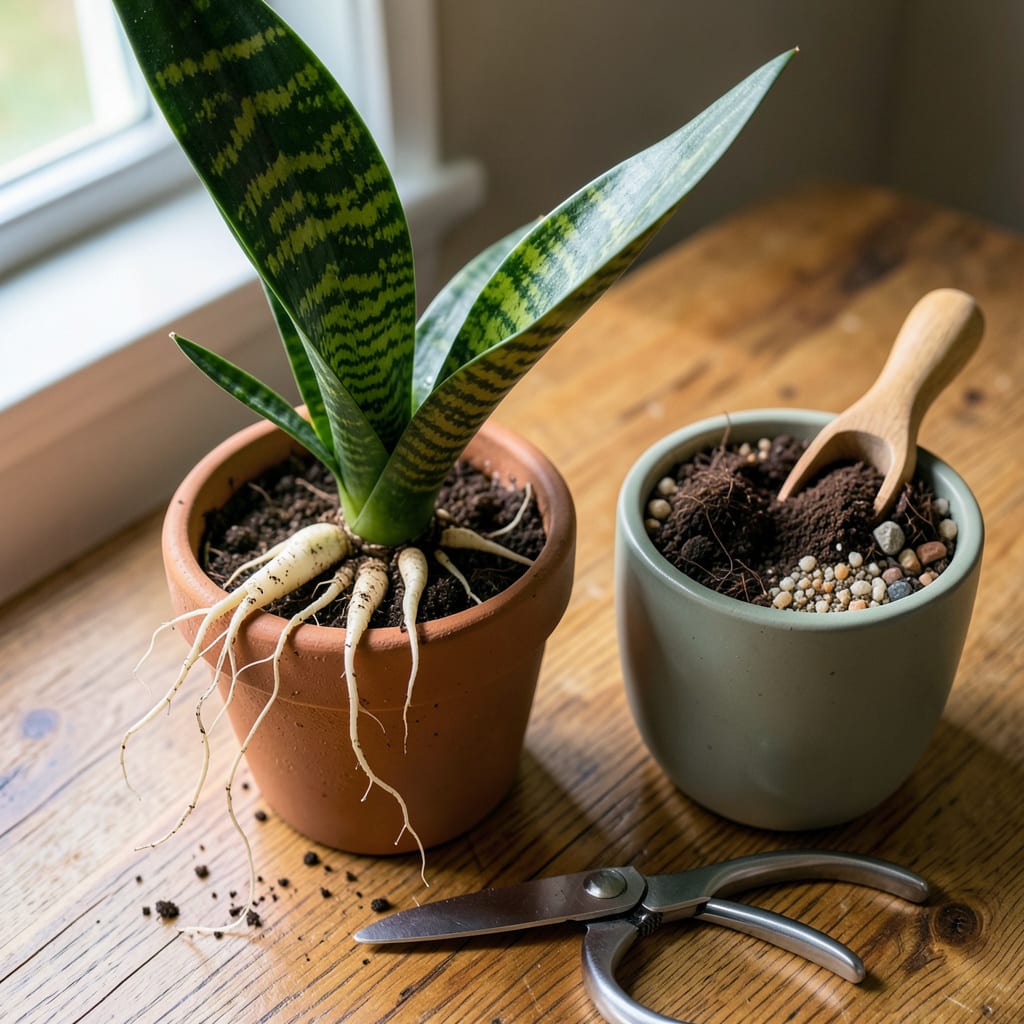
That moment when you realize your snake plant has outgrown its pot—roots circling the bottom, leaves crowded like commuters at rush hour. I’ve transplanted dozens of these tough plants, and here’s the truth: they’re nearly impossible to kill, but the right technique makes all the difference between survival and thriving growth.
Timing and prep matter more than you’d think. A spring or early summer move gives roots time to settle before winter dormancy, and the right soil mix (think chunky and fast-draining) prevents the one thing snake plants hate: soggy feet. You’ll know it’s working when new leaves start pushing up within weeks—no green thumb required.
📚 In This Guide
Moving your snake plant to a new home doesn’t have to be stressful—here’s how to do it right and keep it thriving.
Transplant your snake plant in spring or early summer when it’s actively growing. This gives it the best chance to recover quickly. Water the plant 2-3 days before transplanting so the soil is slightly moist but not soggy—this helps the roots hold together when you remove it from the pot.
Gently squeeze the sides of the current pot to loosen the root ball. If the plant resists, run a clean knife around the inner edge of the pot to free it. Don’t pull on the leaves, as they can snap easily. Instead, grasp the base of the plant near the soil line and lift it out carefully.
Once the plant is out, examine the roots. Healthy roots should be firm and white or light tan. If you see any that are dark, mushy, or smell foul, trim them away with clean scissors. This prevents rot from spreading to the new pot.
If the roots are circling the root ball tightly, gently tease them apart with your fingers. This encourages them to grow outward into the new soil instead of continuing to circle. Don’t worry if a few roots break—snake plants are tough and will recover as long as you’re not overly aggressive.
Choose a pot that’s only 1-2 inches wider in diameter than the current one. Snake plants prefer being slightly root-bound, and a pot that’s too large holds excess moisture, which can lead to root rot. Ensure the new pot has drainage holes—this is non-negotiable for snake plants.
Fill the bottom of the new pot with 1-2 inches of fresh potting mix designed for succulents or cacti. This type of soil drains well and prevents water from pooling around the roots. Place the plant in the center of the pot, ensuring it sits at the same depth as it was in the previous container. The base of the leaves should remain just above the soil line.
Hold the plant upright and fill in around the root ball with additional potting mix, pressing lightly to eliminate air pockets. Don’t compact the soil too firmly—snake plants need some aeration around their roots. Leave about ½ inch of space between the soil surface and the rim of the pot to make watering easier.
After repotting, don’t water immediately. Wait at least a week before watering to allow any roots damaged during the transplant to heal. This prevents rot from setting in. Place the plant in bright, indirect light for the first few days to reduce stress while it adjusts to its new home.
Once the plant has settled in for a week, resume your normal watering routine. For snake plants, this means watering only when the top 2-3 inches of soil are completely dry. Overwatering is the most common mistake people make after transplanting, so err on the side of too dry rather than too wet.
Keep the plant out of direct sunlight for the first 2-3 weeks after transplanting. While snake plants are drought-tolerant, they can be sensitive to intense light while recovering. You’ll know the plant has fully adjusted when you see new growth emerging from the center of the plant, usually within 4-6 weeks.
Transplanting your snake plant doesn’t have to be intimidating—these practical insights will help ensure a smooth transition and healthy growth.
The Timing Factor: I can’t stress enough how important it is to transplant during spring or early summer as mentioned in Step 1. This is when your snake plant is in its active growth phase, which means it will recover from the transplant shock much faster. I’ve tried transplanting in fall and noticed the plant took nearly twice as long to show new growth. The 2-3 days of pre-transplant watering is also crucial—it keeps the root ball intact while making it easier to remove from the pot without damaging roots.
Root Handling Technique: When you’re inspecting and preparing the roots in Step 2, here’s what I’ve learned: don’t be afraid to trim aggressively if you see dark or mushy roots. I used to hesitate and only trim the worst parts, but I found that being thorough prevents future problems. Also, when teasing apart circling roots, work gently but firmly—think of it like untangling hair rather than pulling it apart. The roots will naturally spread outward in the new soil if you give them a good start.
Pot Selection Wisdom: The advice in Step 3 about choosing a pot only 1-2 inches wider is spot on. I made the mistake of upsizing too much once, thinking I was giving the plant room to grow, but the excess soil held too much moisture and led to root issues. Drainage holes are absolutely non-negotiable—I’ve seen even experienced plant owners overlook this, and it always ends in disappointment. When placing your plant in the new pot, make sure it sits at the exact same depth as before; burying the base of the leaves can cause them to rot.
Post-Transplant Care Insight: The waiting period mentioned in Step 4 and 5 is where most people go wrong. That first week without watering feels counterintuitive, but it’s critical for allowing any damaged roots to heal. I’ve found that placing the plant in bright, indirect light (like near an east-facing window) during this recovery period helps reduce stress without overwhelming it. And when you do resume watering after that week, check the soil moisture at different spots in the pot—the top can feel dry while the bottom stays moist, especially in those first few waterings.
Snake plants thrive when slightly root-bound, so transplant every 2–3 years or when roots crowd the pot. Look for roots circling the bottom or popping out of drainage holes. Spring or early summer is ideal for repotting—this gives your plant time to recover during its active growth phase!
Nope! Regular soil holds too much moisture, risking root rot. Opt for a well-draining mix: combine cactus/succulent soil with perlite or sand (2:1 ratio). This mimics their arid natural habitat and keeps roots happy.
Go 1–2 inches wider than the current pot—too much extra space = soggy soil. Ensure it has drainage holes! Terracotta pots are great (they wick away moisture), but plastic works too if you’re careful with watering.
Drooping is often transplant shock (normal for 1–2 weeks). Check for overwatering—let soil dry completely before watering again. If leaves turn yellow/mushy, root rot may be the culprit. Trim affected roots and repot in fresh, dry soil.
Hold off for 4–6 weeks! Fresh soil has nutrients, and fertilizing too soon can burn tender new roots. After that, use a diluted balanced fertilizer (10-10-10) every 2–3 months in spring/summer. Skip fertilizer in winter—your snake plant is napping!
