
Beautiful Plants For Your Interior
Beautiful Plants For Your Interior
That moment when your money tree outgrows its pot is exciting—and a little nerve-wracking. I’ve moved dozens of these resilient plants over the years, and the difference between a thriving transplant and a struggling one comes down to three things: timing, root care, and the first week after the move. Spring or early summer is […]
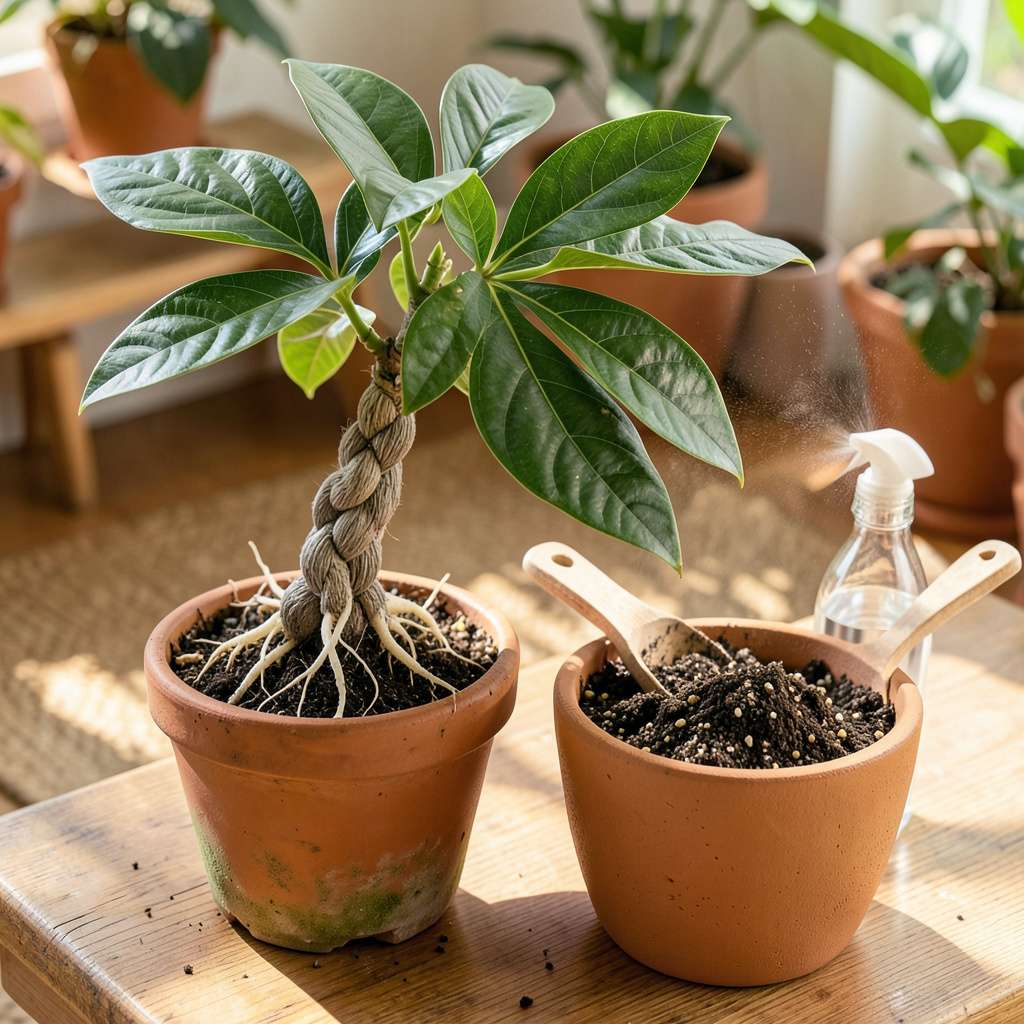
That moment when your money tree outgrows its pot is exciting—and a little nerve-wracking. I’ve moved dozens of these resilient plants over the years, and the difference between a thriving transplant and a struggling one comes down to three things: timing, root care, and the first week after the move.
Spring or early summer is ideal, when the plant’s actively growing but not stressed by heat. You’ll know it’s ready when roots circle the pot’s bottom or pop through drainage holes. The process itself takes less than 20 minutes, but proper prep prevents the shock that stunts so many transplanted houseplants.
What surprises most people? How quickly these trees bounce back. With the right technique, you’ll see new leaf growth within 2-3 weeks, and the plant will establish faster than you’d expect. The key is disturbing the roots as little as possible while giving them fresh, well-draining space to expand.
Whether you’re upsizing to a 2-inch larger pot or dividing an overgrown plant, this method works for any money tree variety. The same principles apply to both indoor specimens and outdoor plants in warm climates—just adjust your timing to local conditions.
📚 In This Guide
Here’s how I move my money trees without stress—follow these steps and yours will thrive in its new home.
Choose a pot that’s 2-3 inches wider than the current one, with drainage holes at the bottom. I use unglazed terra cotta because it allows excess moisture to evaporate through the walls, which prevents root rot. Fill the new container about one-third full with fresh, well-draining potting mix.
Don’t use garden soil—it compacts in containers and suffocates roots. I like to mix in 20% perlite or coarse sand to improve drainage. Moisten the soil slightly before planting so it settles around the roots without creating air pockets.
Water your money tree lightly 24 hours before transplanting—this helps the root ball hold together. Gently squeeze the sides of the plastic pot to loosen the soil, then turn it sideways while supporting the base of the plant. If it resists, run a butter knife around the inner edge to free the roots.
Once removed, inspect the roots. Healthy roots are firm and white or tan. If you see dark, mushy roots, trim them with clean scissors. Don’t worry if some soil falls away—this is normal and actually helps the plant adjust to its new environment.
Place the money tree in the new container so it sits at the same depth as before. The top of the root ball should be about 1 inch below the rim to allow for watering. Fill around the roots with your prepared soil mix, gently pressing to eliminate air gaps but not compacting too firmly.
Here’s the thing—don’t bury the trunk deeper than before. Money trees are sensitive to stem rot if their trunks stay moist. After filling, water lightly to help the soil settle, then add more mix if needed to maintain the proper level.
Move the transplanted money tree to a spot with bright, indirect light—no direct sun for at least a week. I keep mine near an east-facing window where it gets gentle morning light. Water when the top 1-2 inches of soil feel dry, but don’t let it sit in a saucer of water.
You’ll notice some leaf drop in the first week—that’s normal transplant shock. Resist the urge to fertilize immediately. Wait 4-6 weeks before applying any plant food to give the roots time to establish in their new home.
Transplanting can be stressful for both you and your plant, but these practical insights will help ensure a smooth transition.
Preparation is Key: The 24-hour watering before transplanting mentioned in Step 2 isn’t just helpful—it’s essential. I’ve found that plants watered for this exact timeframe have root balls that hold together perfectly during removal, while those watered too soon or too late often lose too much soil. This small step prevents root damage that could set back your plant’s recovery.
Root Health Check: When inspecting roots in Step 2, don’t just look for dark, mushy sections—also check for roots circling the bottom of the pot. These should be gently teased apart or trimmed. I learned the hard way that leaving circular roots intact causes the plant to continue growing in that same restrictive pattern, even in a larger pot.
Soil Settlement Technique: After positioning your money tree in Step 3, here’s what I do differently: instead of just watering lightly, I actually lift and drop the pot gently from about 2 inches high onto a solid surface. This helps soil settle naturally around the roots without compacting it too firmly with your hands, which can actually create air pockets you can’t see.
Light Transition Strategy: The “no direct sun for at least a week” guidance in Step 4 is non-negotiable, but here’s how to make it work in any home: if you don’t have an east-facing window, place the plant 3-4 feet back from a south or west window with a sheer curtain. I’ve successfully used this method when my east windows were already occupied with other plants.
Spring or early summer is ideal—this is when your money tree is in its active growth phase! Avoid transplanting in winter or fall, as cooler temps slow growth and stress the plant. If repotting due to root issues, act immediately regardless of season, but keep conditions warm and stable afterward.
Nope! Money trees thrive in well-draining, aerated soil. Opt for a mix of 60% peat moss/coco coir and 40% perlite or sand. Standard potting soil retains too much moisture, risking root rot. Pre-mixed cactus or succulent soil also works—just add extra perlite for airflow.
Young money trees (under 3 years) need repotting every 1–2 years as they outgrow pots. Mature plants can go 3–4 years between transplants. Check for roots circling the pot or popping out of drainage holes—those are clear signs it’s time for an upgrade!
Transplant shock is common! Drooping leaves usually mean stress from root disturbance or overwatering. Keep the plant in bright, indirect light, mist leaves lightly, and hold off on watering for 5–7 days. If wilting persists, check for root rot (mushy, dark roots) and trim affected areas.
If your plant is leggy or overgrown, snip healthy stem cuttings (4–6 inches long) with clean shears. Dip in rooting hormone, then place in water or moist perlite. Keep warm and humid—new roots should sprout in 4–6 weeks! Just avoid taking more than 20% of the parent plant’s foliage.
Transplanting your money tree doesn’t have to be stressful—just follow the steps, give it patience, and watch it thrive in its fresh home! 🌱 Remember, the key is gentle handling, well-draining soil, and consistent care as it adjusts. With the right conditions, your plant will reward you with lush, vibrant growth (and maybe even a little extra luck!).
Now that your money tree is settled, keep an eye on its progress over the next few weeks. If you’re eager to learn more, check out our guide on money tree care tips to ensure long-term happiness for your green companion!
