
Beautiful Plants For Your Interior
Beautiful Plants For Your Interior
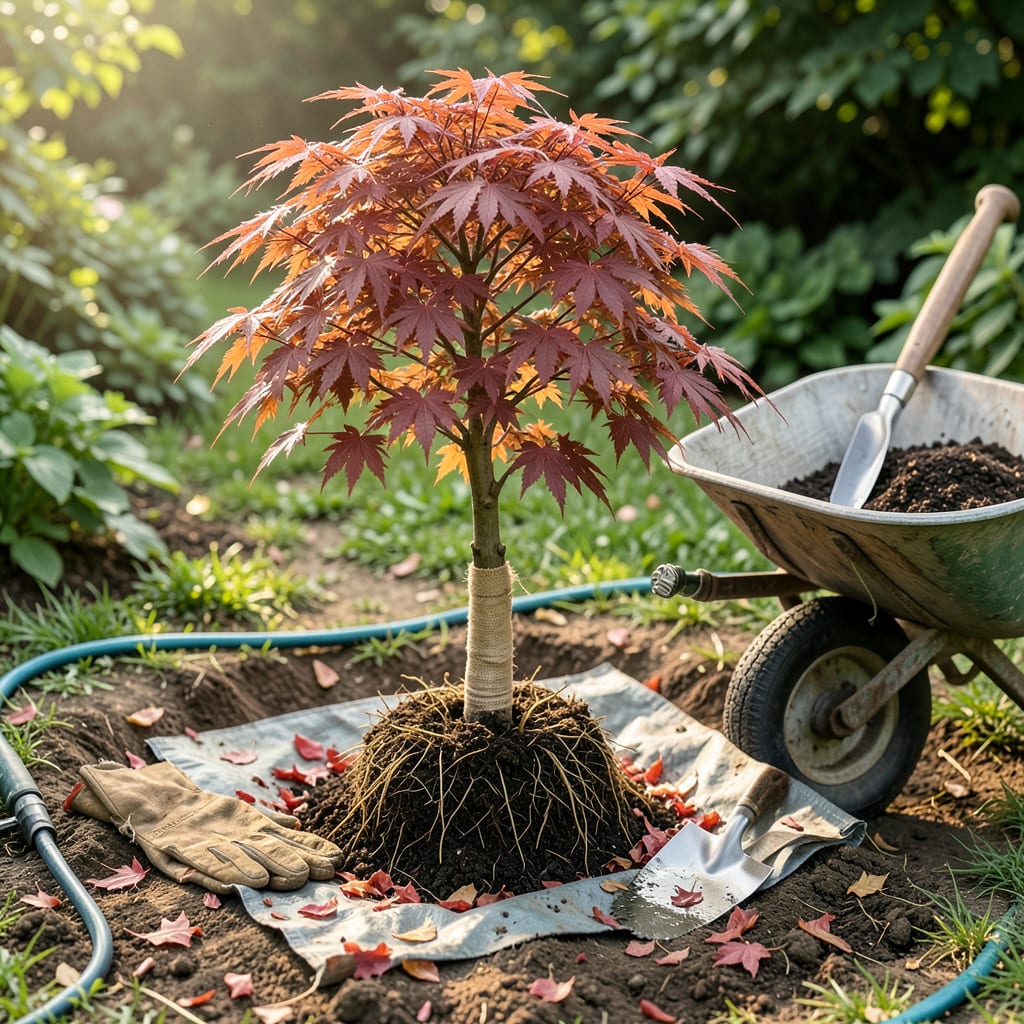
Moving a Japanese maple feels like performing surgery on living art. I’ve transplanted dozens over the years, and the difference between a tree that thrives and one that struggles comes down to timing and technique. Do it right in early spring or fall—when the tree is dormant but the soil is workable—and you’ll give those delicate roots the best chance to establish before summer heat or winter cold sets in.
The secret isn’t just digging a hole and dropping it in. You’ve got to prep the new site with well-draining, slightly acidic soil, handle the root ball like it’s made of eggshells, and water it in like your tree’s life depends on it (because it does). Get this part right, and you’ll see new growth within 4-6 weeks, with leaves that glow like stained glass in the sunlight.
📚 In This Guide
Moving a Japanese maple doesn’t have to be stressful—follow this method for minimal shock and maximum success.
Transplant in early spring before leaves emerge or in fall after leaf drop—this is when the tree is dormant and stress is lowest. I always pick an overcast day to prevent immediate sun stress on exposed roots.
Dig the new hole twice as wide as the root ball but no deeper. The sides should slope gently to allow roots to spread outward. Mix the excavated soil with 20-30% compost to improve drainage and nutrient availability.
Water the tree deeply 2-3 days before moving—this ensures the root ball stays intact. On transplant day, use a sharp spade to dig a trench around the tree, starting 12-18 inches from the trunk for mature trees (or just outside the root zone for young ones).
Once you’ve circled the tree, angle your spade underneath to lift the entire root ball. For trees under 5 feet tall, you can usually manage this alone; larger specimens may need two people. Wrap the root ball in burlap if you need to transport it any distance.
Place the tree in the new hole at the exact same depth it was growing before—the root flare (where roots meet trunk) should be 1-2 inches above ground level. This prevents suffocation and rot. I always check by laying a straight tool across the hole to verify depth.
Backfill with your amended soil, gently firming as you go to eliminate air pockets. Create a 3-inch-high water ring around the perimeter to help direct moisture to the roots. Water immediately with 5 gallons to settle the soil and hydrate the roots.
Mulch with 2-3 inches of wood chips, keeping it 3 inches away from the trunk to prevent rot. Water deeply 2-3 times per week for the first month, then taper to weekly unless rain provides an inch. The soil should feel moist but never soggy.
Stake only if necessary (for wind protection in exposed areas), using two stakes with soft tree ties. Remove stakes after one growing season to prevent girdling. Watch for new growth in spring—this is your confirmation the transplant was successful.
Real talk: The first year is critical. Don’t fertilize until you see new growth, and protect young transplants from strong afternoon sun with temporary shade cloth if needed. I’ve found this approach gives trees the best chance to thrive in their new home.
Here’s what I’ve learned from years of transplanting these delicate trees—small details make all the difference.
Timing is Everything: The early spring or fall window mentioned in Step 1 isn’t just a suggestion—it’s critical. I once tried moving a maple in late summer and lost half the foliage. Dormant seasons mean less stress on the tree when its energy isn’t going toward leaves. That 2-3 day pre-watering in Step 2 is equally important; dry roots break easily during transplanting.
Root Ball Protection: When digging that 12-18 inch trench in Step 2, work slowly and methodically. I ruined my first transplant by rushing and cutting major roots. Use a sharp spade and make clean cuts—ragged tears invite disease. For larger trees, that burlap wrap isn’t optional; exposed roots dry out shockingly fast even during transport.
The Depth Detail: That 1-2 inch root flare guidance in Step 3 is your insurance policy against rot. I check depth three ways: visually, with a straight tool across the hole, and by feeling where the main roots radiate outward. Plant too deep and you’ll smother the trunk; too shallow and roots dry out. The water ring trick after planting is genius—it funnels moisture right where new roots need it most.
Aftercare Vigilance: The first month’s 2-3 times weekly watering in Step 4 isn’t negotiable. I set phone reminders because it’s easy to forget when the tree “looks fine.” That 3-inch mulch gap around the trunk prevents the #1 killer of transplants: trunk rot from moisture buildup. And remove those stakes religiously after one growing season—I’ve seen trees permanently scarred from forgotten ties.
Early spring (before buds open) or fall (4-6 weeks before frost) are ideal. Avoid transplanting in summer’s heat or winter’s freeze—stress can shock the tree. Mild temperatures help roots establish before extreme weather hits.
Aim for a root ball 10–12 inches wide per inch of trunk diameter (e.g., 30–36 inches for a 3-inch trunk). Depth should match the original root flare. Smaller root balls risk damaging feeder roots, while oversized ones make handling difficult.
It’s risky! Summer heat stresses the tree, even with extra water. If absolutely necessary, transplant on a cloudy day, prune 30% of foliage to reduce moisture loss, and use shade cloth. Fall or spring remains the safer choice.
Consider root pruning 6–12 months before transplanting to encourage compact root growth. For mature trees, hire a professional with a tree spade. Alternatively, propagate via cuttings or seeds to grow a new tree in the desired location.
This is often transplant shock. Check for underwatering, overwatering, or sunburn. Keep soil moist (not soggy), mulch to retain moisture, and provide temporary shade. Most trees recover in 2–4 weeks if roots stay healthy.
