
Beautiful Plants For Your Interior
Beautiful Plants For Your Interior
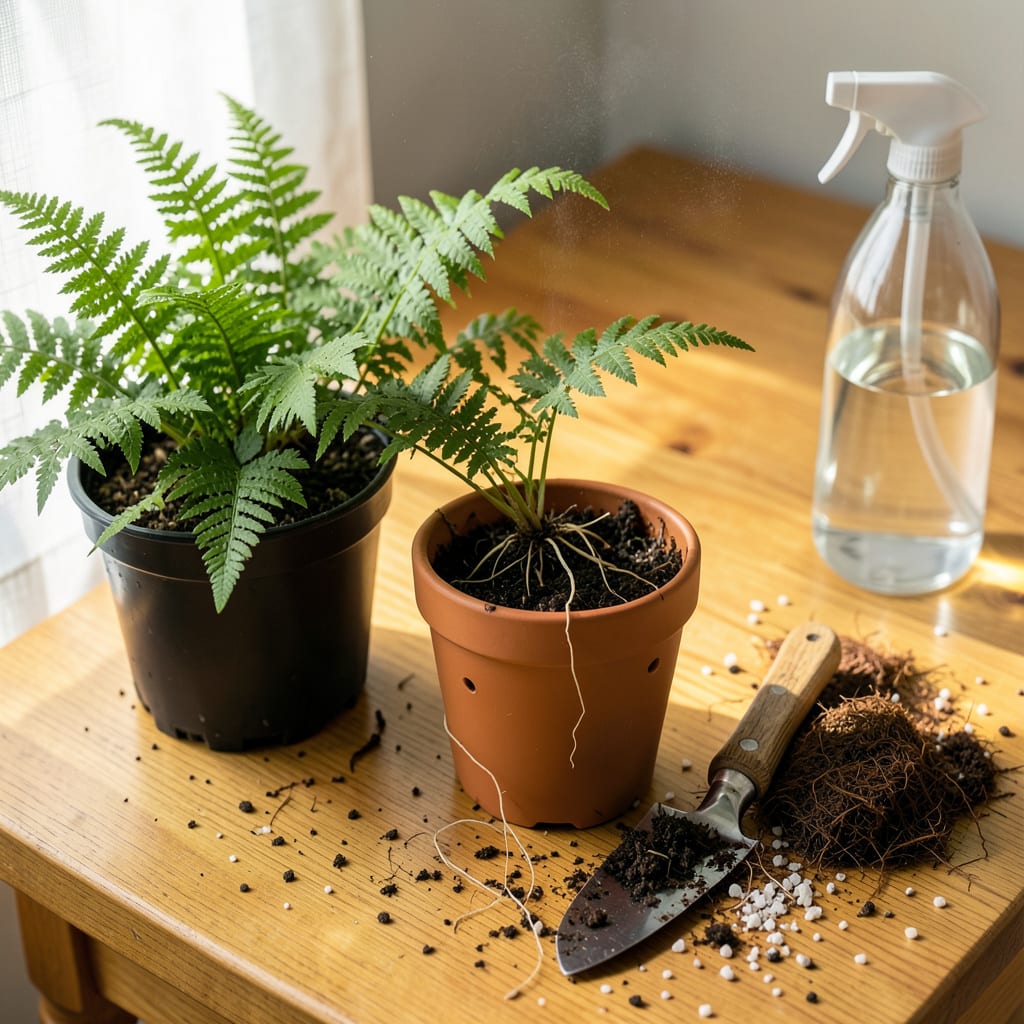
That first time I moved a fern, I nearly killed it by being too gentle. Turns out, these plants are tougher than they look—when you know how to handle their roots. Transplanting ferns isn’t about luck; it’s about timing and technique. Do it right, and you’ll have lush, unfurling fronds in the new spot within 2-3 weeks.
The secret is working with the plant’s natural rhythm. Early spring or fall, when the soil is damp and temperatures are mild, gives ferns the best chance to establish. I’ve moved dozens this way, from delicate maidenhairs to sprawling ostrich ferns, and the method works every time. No fancy tools required—just a sharp spade, some compost, and about 20 minutes of careful work.
📚 In This Guide
Moving a fern doesn’t have to be stressful—follow these simple steps and your plant will thrive in its new home.
Choose a spot with bright, indirect light and consistent moisture. If transplanting to a pot, select one that’s 2-3 inches wider than the current container. I always use a clean pot with drainage holes to prevent root rot.
Fill the new container about one-third full with fresh, well-draining potting mix. Ferns prefer slightly acidic soil, so I often mix in a handful of peat moss or pine bark fines. Water the new soil lightly until it’s evenly moist but not soggy.
Water your fern thoroughly 1-2 hours before transplanting. This helps the roots stay intact when you move it. Gently squeeze the sides of the current pot to loosen the root ball, then tip it sideways while supporting the base of the plant.
If the roots are tightly bound, use your fingers to gently tease them apart. You’ll see white, healthy roots and may need to trim any dark, mushy ones with clean scissors. Be patient—this step prevents transplant shock and encourages new growth.
Place the fern in its new container so the top of the root ball sits about 1 inch below the pot’s rim. This leaves room for watering. Add or remove soil underneath until the height is right—you want the base of the fronds at the same level as before.
Fill around the root ball with your prepared soil mix, pressing gently to eliminate air pockets. Don’t pack too firmly—ferns need aerated soil. Water immediately until you see it drain from the bottom holes, which helps settle the soil around the roots.
Keep your transplanted fern in moderate light (no direct sun) for 5-7 days. I place mine near an east-facing window or under fluorescent lights for 12-14 hours daily. Maintain consistent moisture—check the soil daily and water when the top inch feels slightly dry.
Mist the fronds lightly every 2-3 days for the first week to boost humidity. You’ll know your fern is adjusting well when you see new growth (called “fiddles”) unfurling within 2-3 weeks. Avoid fertilizing for at least 4 weeks to prevent root burn.
After the initial adjustment period, gradually return your fern to its ideal conditions. Most varieties thrive in 60-75°F with 50-70% humidity. Watch for yellowing fronds—this usually means too much light or inconsistent watering.
Rotate the pot quarter-turn weekly for even growth. You’ll notice the fronds naturally orient toward the light source. Feed monthly during growing season with a balanced, water-soluble fertilizer diluted to half strength. Your fern should be fully established in its new home within 6-8 weeks.
After transplanting dozens of ferns, I’ve learned that small details make all the difference between a thriving plant and one that struggles to recover.
Pre-Transplant Preparation: The 1-2 hours of thorough watering in Step 2 isn’t just about hydration—it’s about root protection. I’ve found that ferns watered for the full 2 hours experience significantly less transplant shock because their roots stay intact during the move. If you’re short on time, at least do 1 hour, but don’t skip this step entirely.
Root Handling Technique: When you’re teasing apart the root ball in Step 2, here’s what nobody tells you—healthy fern roots should be firm and white. If you encounter dark, mushy roots, trim them immediately with clean scissors. I use rubbing alcohol to sterilize my scissors between cuts to prevent spreading any potential rot. This one extra step has saved several of my ferns from post-transplant decline.
The Critical First Week: During the 5-7 day adjustment period mentioned in Step 4, I’ve discovered that maintaining that 12-14 hour light exposure is more important than you might think. Ferns recovering from transplant shock need consistent light to regenerate, but direct sun will scorch their tender new growth. An east-facing window is ideal, or a fluorescent grow light positioned about 12 inches above the plant works perfectly.
Long-Term Success Secret: That quarter-turn weekly rotation in Step 5 isn’t just about even growth—it prevents the fern from developing a permanent lean toward the light source. I mark my calendar with rotation reminders because it’s easy to forget, and I’ve seen ferns become permanently lopsided when this step gets neglected over time.
Spring or early fall are ideal for transplanting ferns, when temperatures are mild (50–70°F). Avoid extreme heat or frost—stress can shock the plant. If you must move it in summer, water deeply beforehand and provide shade for a week after.
Watch for wilting, yellowing fronds, or crispy edges—signs of transplant shock. Give it 1–2 weeks to adjust, keeping soil moist (not soggy). If decline continues, check for overwatering or poor drainage. A little leaf drop is normal!
Hold off for 4–6 weeks! Freshly transplanted ferns focus on root growth, and fertilizer can burn tender roots. Once settled, use a diluted balanced liquid fertilizer (10-10-10) monthly during growing season. Compost tea is a gentler alternative.
Healthy, mature ferns (3+ years old) can be divided by gently separating root clumps with your hands or a clean knife. Each division needs at least 3–5 fronds and roots. Replant immediately and water well—it’s like giving your fern a family reunion!
Mix equal parts garden soil, coconut coir (or peat moss), and perlite/sand for drainage. Avoid heavy clay or pure compost—ferns hate “wet feet.” For epiphytic ferns (like staghorn), try orchid bark mixed with sphagnum moss.
