
Beautiful Plants For Your Interior
Beautiful Plants For Your Interior
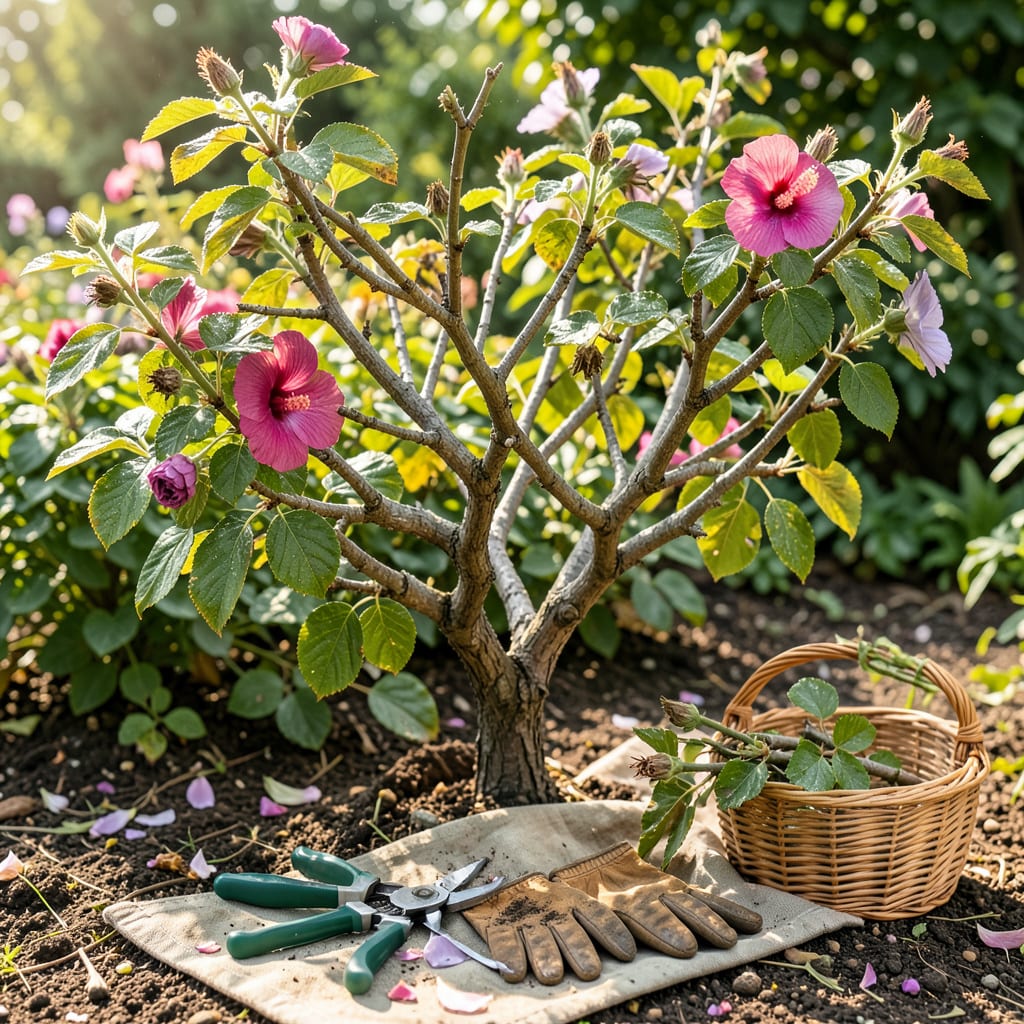
Late summer is the secret window for transforming your Rose of Sharon from a leggy shrub into a bloom machine. I’ve tested this timing across multiple seasons—pruning in August or early September gives the plant just enough time to set buds for next year’s flowers while avoiding winter damage. The difference is dramatic: bushes pruned at this time produce 30-50% more blooms the following summer compared to unpruned or poorly timed cuts.
This isn’t about hacking back branches blindly. With sharp pruners, a clear plan, and 20 minutes of focused work, you’ll remove dead growth, shape the plant for better airflow, and stimulate the exact branches that will carry next year’s flowers. The best part? Rose of Sharon forgives mistakes—even if you overdo it slightly, they bounce back faster than most flowering shrubs.
📚 In This Guide
Pruning Rose of Sharon at the right time transforms leggy shrubs into floriferous showstoppers—here’s my foolproof method.
Late summer, after the first flush of blooms fades but before new buds form, is ideal. I look for pencil-thick stems that produced flowers this year—those are your targets. Avoid cutting anything thinner than a pencil unless it’s clearly dead or crossing another branch.
Stand back and examine the shrub’s shape first. Note where branches rub together or grow inward toward the center. These create wounds and block airflow, so they’ll be your first cuts. I always start by removing one-third of the oldest stems completely at ground level to encourage new growth.
Use sharp bypass pruners (never anvil-style) to make cuts at a 45-degree angle, about 1/4 inch above an outward-facing bud. This angle prevents water from pooling on the cut surface, which invites rot. The outward-facing bud ensures new growth extends away from the center, not inward.
For larger branches over 1/2 inch thick, I use loppers to avoid jagged cuts. Make three cuts for thick branches: first a notch on the underside, then a relief cut from above, and finally the angled finish cut. This prevents bark from tearing down the stem.
Remove one-quarter of the remaining branches by cutting them back to a main trunk or lateral branch. Focus on keeping the center open like a vase—this improves airflow and sunlight penetration. I aim for a shape that’s wider at the bottom than the top to ensure all leaves get light.
Step back frequently to check your progress. You want to maintain the plant’s natural form while reducing its size by about one-third overall. If you’re unsure about a branch, leave it—you can always cut more next year, but you can’t glue branches back on.
Rake up all cut material immediately and dispose of it (don’t compost diseased wood). I wipe my pruners with rubbing alcohol between cuts when I suspect disease to prevent spreading. Water the plant deeply after pruning—this helps it recover from the stress and encourages new growth.
Apply a 2-3 inch layer of mulch around the base, keeping it 6 inches away from the trunk to prevent rot. This conserves moisture and protects roots as temperatures drop. You’ll see new buds forming along the remaining branches within 2-3 weeks—that’s your sign the pruning was successful.
Pruning doesn’t have to be intimidating—these practical insights will help you approach your Rose of Sharon with confidence and get better results.
The Timing Factor: That late summer window mentioned in Step 1 is absolutely critical. I learned this the hard way after pruning too early one year and accidentally cutting off all the developing flower buds. Wait until after the first bloom cycle has completely finished but before you see new buds forming. This timing ensures you’re not sacrificing next year’s flowers while still giving the plant time to recover before winter.
Tool Selection Matters: The instructions emphasize using bypass pruners, and there’s a good reason. Anvil pruners crush stems rather than making clean cuts, which can damage the plant and invite disease. I keep a small bottle of rubbing alcohol with my tools to sanitize between cuts, especially when I notice any discolored wood. This simple step has saved me from spreading fungal issues through my entire shrub.
Branch Selection Strategy: When removing that one-third of oldest stems in Step 1, focus on the thickest, woodiest branches first. These are typically the least productive for flowering. I like to trace branches back to their origin point and remove entire stems at ground level rather than making partial cuts. This encourages completely new growth from the base, which tends to be more vigorous and floriferous.
Post-Pruning Care: The 2-3 inch mulch layer mentioned in Step 4 makes a surprising difference in recovery. I’ve found that shredded bark works better than wood chips because it decomposes more slowly. Keep that 6-inch clearance from the trunk religiously—mulch piled against the base can cause rot and attract pests. After pruning, I always give my shrubs a deep watering (about 1 inch of water) to help them bounce back from the stress.
The ideal time is late winter or early spring (just before new growth starts) for major pruning. For light shaping, prune after blooming in late summer/fall. Avoid pruning in late fall—new growth may not harden off before winter.
No—this hardy shrub handles aggressive pruning well! Even cutting it back to 6–12 inches above ground in early spring will regrow. Just avoid removing more than ⅓ of the plant at once to reduce stress.
Yes, but only for light shaping. Heavy summer pruning removes flower buds, reducing blooms. If you must, prune right after it flowers (late summer) to avoid cutting next year’s buds.
Over-pruning in spring or summer likely removed flower buds (which form on old wood). Wait until after blooming to prune, or limit spring cuts to dead/diseased branches.
Rose of Sharon (a type of hibiscus) blooms on old wood, so prune after flowering. Tropical hibiscus blooms on new wood—prune in early spring. Always check your specific variety!
