
Beautiful Plants For Your Interior
Beautiful Plants For Your Interior
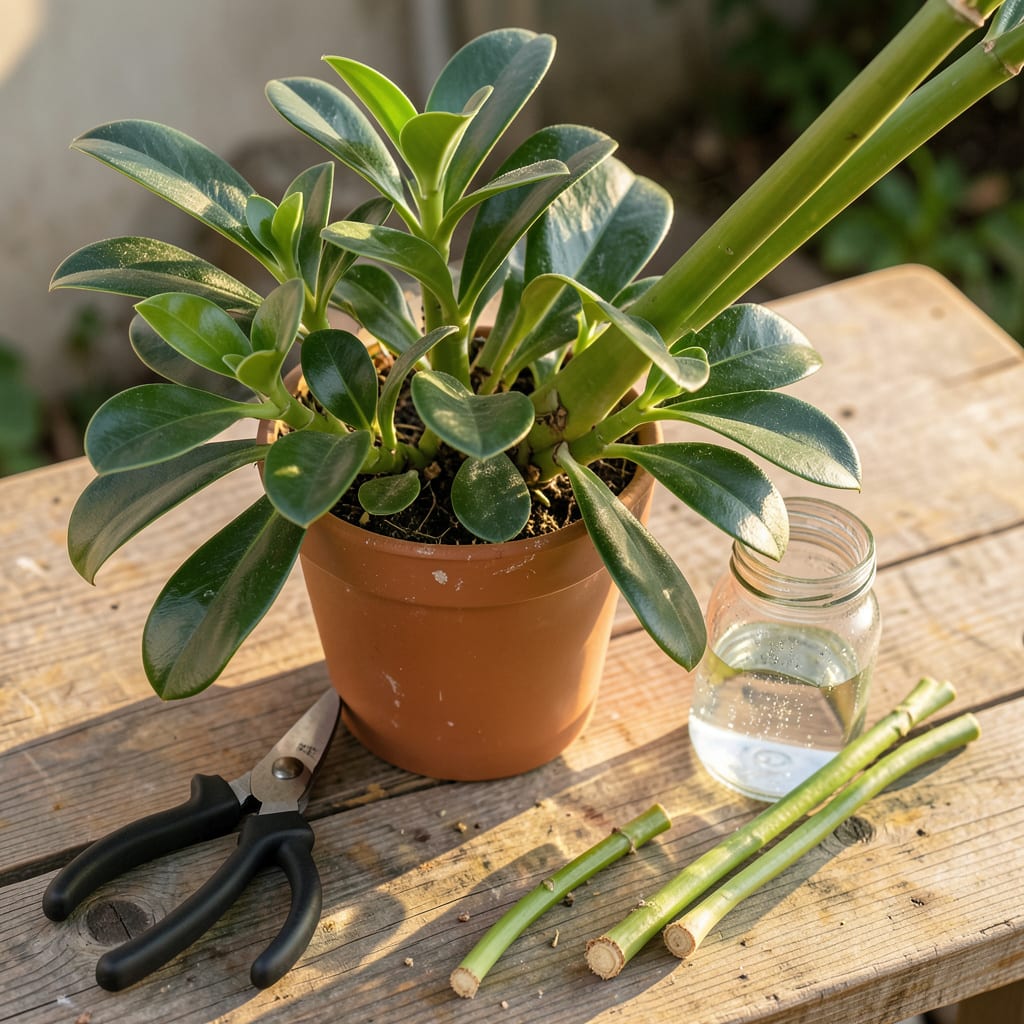
ZZ plants are the ultimate “set it and forget it” houseplants—until they start looking leggy or overgrown. I learned the hard way that even these tough plants benefit from a good pruning. A few strategic cuts can transform a scraggly, top-heavy ZZ into a fuller, more balanced plant that grows exactly how you want it.
The best part? Pruning isn’t just about control—it’s about new growth. Every stem you cut becomes an opportunity for the plant to branch out, creating that thick, bushy look we all love. And those cuttings? They’re free baby plants waiting to happen. No green thumb required—just sharp shears and 10 minutes of your time.
📚 In This Guide
Pruning your ZZ plant is simpler than you think—here’s how to encourage bushier growth while keeping it healthy.
Start by examining your ZZ plant for stems that are overly tall, leggy, or growing unevenly. Look for stems that have grown significantly longer than others—typically those reaching 2-3 feet tall—as these are prime candidates for pruning. I focus on stems that are growing outward rather than upward, as these can make the plant look unbalanced.
Check for any yellowing or damaged leaves along the stems. These are natural indicators of where to make your cuts, as removing them will redirect energy to healthier growth. Don’t worry if the stems look thick or woody; ZZ plants handle pruning remarkably well, even on older growth.
Using a pair of sharp, clean pruning shears or scissors, cut the selected stems at a 45-degree angle just above a leaf node. This angle helps prevent water from pooling on the cut surface, which can lead to rot. I aim to leave about 1-2 inches of stem above the soil line to encourage new growth from the base.
If you’re pruning to control height, cut back to about one-third of the stem’s original length. This might seem drastic, but ZZ plants respond by sending out multiple new shoots from the cut area, creating a fuller appearance. Avoid tearing or crushing the stems—clean cuts heal faster and reduce stress on the plant.
After pruning the stems, turn your attention to individual leaves. Gently pull or snip off any leaves that are yellow, brown, or showing signs of damage. These leaves are no longer contributing to the plant’s health and can be removed without hesitation. I like to work from the base of the plant upward, ensuring I don’t miss any hidden damaged foliage.
If a stem has lost most of its leaves, don’t hesitate to remove the entire stem at the base. This allows the plant to focus its energy on producing new, healthy growth rather than trying to revive a struggling stem. You’ll often see fresh shoots emerging from the soil within 4-6 weeks after pruning.
Don’t discard those healthy cuttings! ZZ plant stems root easily in water or soil. Place the cuttings in a jar of clean water, ensuring at least 1-2 nodes are submerged. Change the water every 3-4 days to prevent bacterial growth. You should see roots beginning to form within 3-4 weeks.
Alternatively, you can plant the cuttings directly in a well-draining potting mix. Keep the soil lightly moist—not soggy—and place the cuttings in bright, indirect light. Within 6-8 weeks, you’ll have new plants ready to pot up or share with friends. This is my favorite way to expand my ZZ plant collection without spending a dime.
After pruning, give your ZZ plant a chance to recover by placing it in bright, indirect light and reducing watering for about 2 weeks. The plant will need less water immediately after pruning as it has fewer leaves to support. I check the soil moisture by inserting my finger about 1 inch deep—if it feels dry, it’s time to water.
Resist the urge to fertilize immediately after pruning. Wait at least 4-6 weeks before applying any fertilizer to allow the plant to focus on healing and producing new growth. You’ll know your ZZ plant is thriving when you see fresh green shoots emerging from the pruned areas, typically within 6-8 weeks of pruning.
Pruning doesn’t have to be intimidating—these practical insights will help you achieve the best results while avoiding common pitfalls.
The Right Tools Matter: Always use sharp, clean pruning shears or scissors for Step 2. Dull blades can crush stems instead of making clean cuts, which slows healing and invites disease. I keep a small bottle of rubbing alcohol nearby to wipe my shears between cuts, especially if I’m working with multiple plants. This simple step prevents spreading any potential issues from one stem to another.
Don’t Fear the 45-Degree Angle: In Step 2, that specific angle isn’t just for looks—it serves an important purpose. The sloped cut prevents water from collecting on the freshly exposed stem surface, which could lead to rot. I’ve found that making the cut just above a leaf node (the little bump where leaves emerge) gives the plant clear signals about where to send out new growth. This small detail makes a big difference in how quickly your plant recovers.
Patience With New Growth: After completing Step 5, it’s tempting to check daily for new shoots, but remember that ZZ plants work on their own timeline. Those 4-6 weeks mentioned for seeing fresh growth might feel long, but the wait is worth it. During this period, I’ve noticed my plants actually grow stronger root systems when I resist the urge to fuss with them too much. The less you disturb the plant during recovery, the better it can focus its energy on producing those healthy new stems.
Watering Wisdom: The 2-week reduced watering period in Step 5 is crucial. With fewer leaves after pruning, your plant won’t need as much water, and overwatering at this stage can actually delay new growth. I use the finger test mentioned—checking that top inch of soil—but I’ve also found that the pot will feel noticeably lighter when it’s time to water. This simple weight check helps me avoid overdoing it during the recovery phase.
Yes, but spring or early summer is ideal! This is when ZZ plants grow most actively, so they’ll recover faster. Avoid pruning in winter—slow growth means slower healing. If you spot damaged stems, though, remove them ASAP regardless of season.
Pruning focuses on shaping or removing unhealthy growth, while propagating is about creating new plants from cuttings. You can do both at once! Just save healthy stems (4–6 inches long) after pruning, let them callus, then root in water or soil.
Yellow leaves often mean overwatering or poor light, not always a pruning need. Check the soil first! If the stem is mushy, prune it to prevent rot. If only leaves are yellow, pluck them gently—no tools needed. Adjust care to fix the root cause.
Pruning encourages new growth from the base, leading to a fuller, denser plant. Cut just above a leaf node, and new shoots will emerge below the cut. Be patient—ZZs grow slowly, but the results are worth it!
ZZ plants are tough—over-pruning rarely kills them, but it can stunt growth. Never remove more than 30% of the plant at once. If you go overboard, focus on consistent care (bright indirect light, sparse watering) to help it bounce back.
