
Beautiful Plants For Your Interior
Beautiful Plants For Your Interior
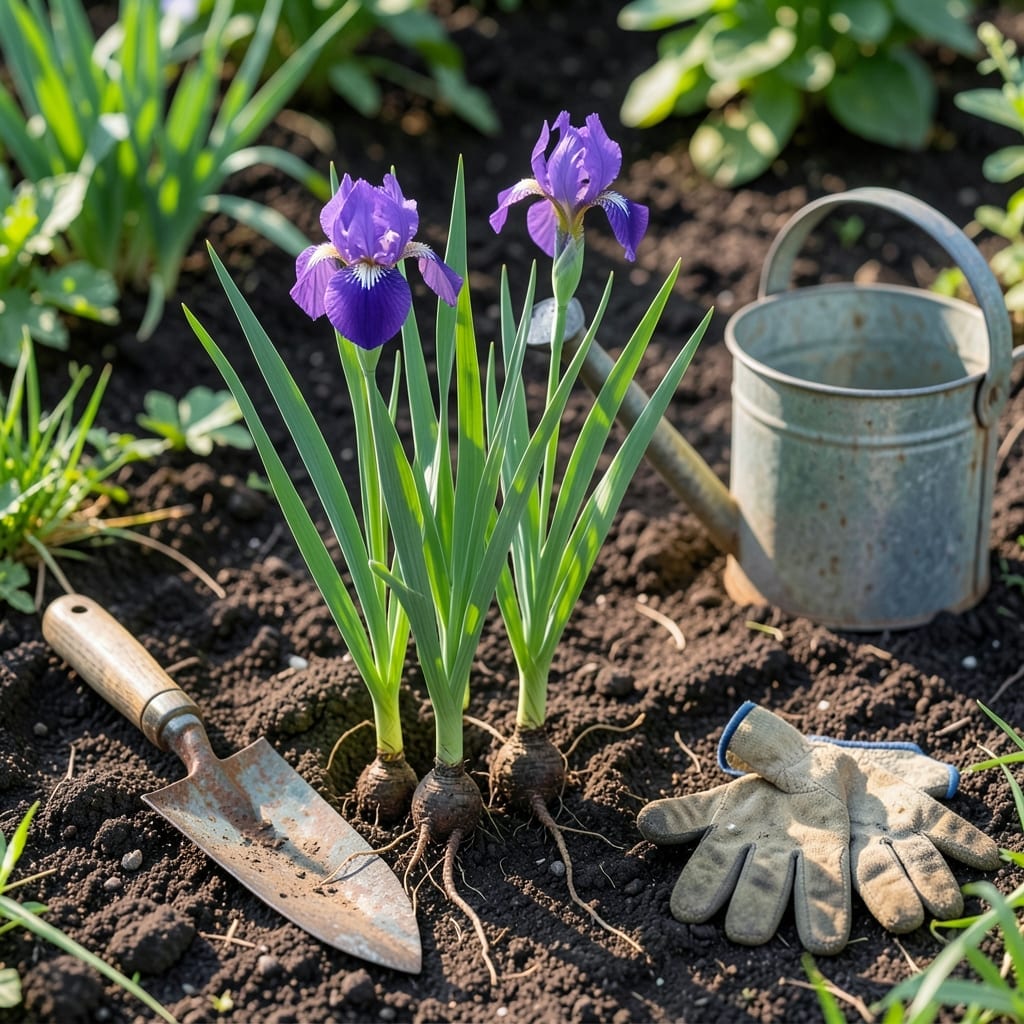
Planting 🌸 Iris correctly unlocks years of breathtaking blooms with minimal effort. I’ve seen gardeners struggle with lackluster results, but the fix is simpler than you think.
It’s all about timing and technique—get these right, and your Iris will reward you with vibrant colors season after season. No green thumb required.
Discover the straightforward steps to set your Iris up for success, from soil prep to the perfect planting depth. Let’s make your garden the envy of the neighborhood.

Planting iris rhizomes properly ensures years of vibrant blooms with minimal upkeep. The key is timing: I always aim for late summer to early fall planting.
This gives the rhizomes time to establish roots before winter. Choose a sunny location with well-draining soil for best results.
I’ve found that soil preparation makes all the difference. Work in organic matter like compost to improve drainage and fertility.
For heavy clay soil, consider amending with sand or gypsum to prevent waterlogging. Irises hate wet feet and will rot if left in standing water.
The planting depth is crucial. Place the rhizome so the top is just visible at the soil surface. This allows the rhizome to bask in sunlight while roots grow downward.
Spacing matters too. I recommend 12-24 inches between plants to allow for air circulation and future growth. Crowded irises won’t bloom as well.
After planting, water thoroughly to help roots establish. Then, hold off on watering again until the top inch of soil is dry. Overwatering is a common mistake.
In the first week, monitor for pests or disease. Healthy rhizomes should show new root growth within 2-3 weeks. Be patient—your reward will come next spring with stunning blooms.
Remember, irises are low-maintenance once established. With proper planting, they’ll thrive for years with minimal care and multiply naturally.☀️
For thriving irises, the right soil and sun make all the difference. I always start with a well-draining location that gets at least 6 hours of sunlight daily.
Sandy loam is ideal, but most irises adapt well if the soil isn’t waterlogged. Avoid heavy clay unless you amend it with organic matter or sand.
| Requirement | Specification |
|---|---|
| Soil Type | Well-draining, sandy loam |
| pH Level | 6.8 to 7.0 (neutral to slightly alkaline) |
| Sunlight | Full sun (6+ hours daily) |
| Soil Prep | Add compost or aged manure |
| Drainage | Must prevent waterlogging |
If your soil is too acidic, I recommend adding lime to raise the pH. Irises prefer neutral to slightly alkaline conditions for optimal growth.
Full sun exposure ensures the best blooms. While they tolerate partial shade, you’ll get fewer flowers and weaker stems. South-facing beds are my top choice.
In hot climates, a bit of afternoon shade can prevent scorching. But in most regions, more sun equals more blooms. Don’t skimp on sunlight!
I’ve found that mulching lightly helps retain moisture without suffocating the rhizomes. Use pebble mulch instead of wood chips to avoid rot.
With the right conditions, your irises will thrive and multiply for years, rewarding you with gorgeous, reliable color each spring.🌱