
Beautiful Plants For Your Interior
Beautiful Plants For Your Interior
Hard dirt doesn’t have to mean a hopeless lawn. I’ve turned compacted, rock-like soil into thick green grass more times than I can count—it just takes the right approach before you even open that seed bag. The mistake most people make? Assuming they can just scatter seed and hope for the best. That’s how you […]
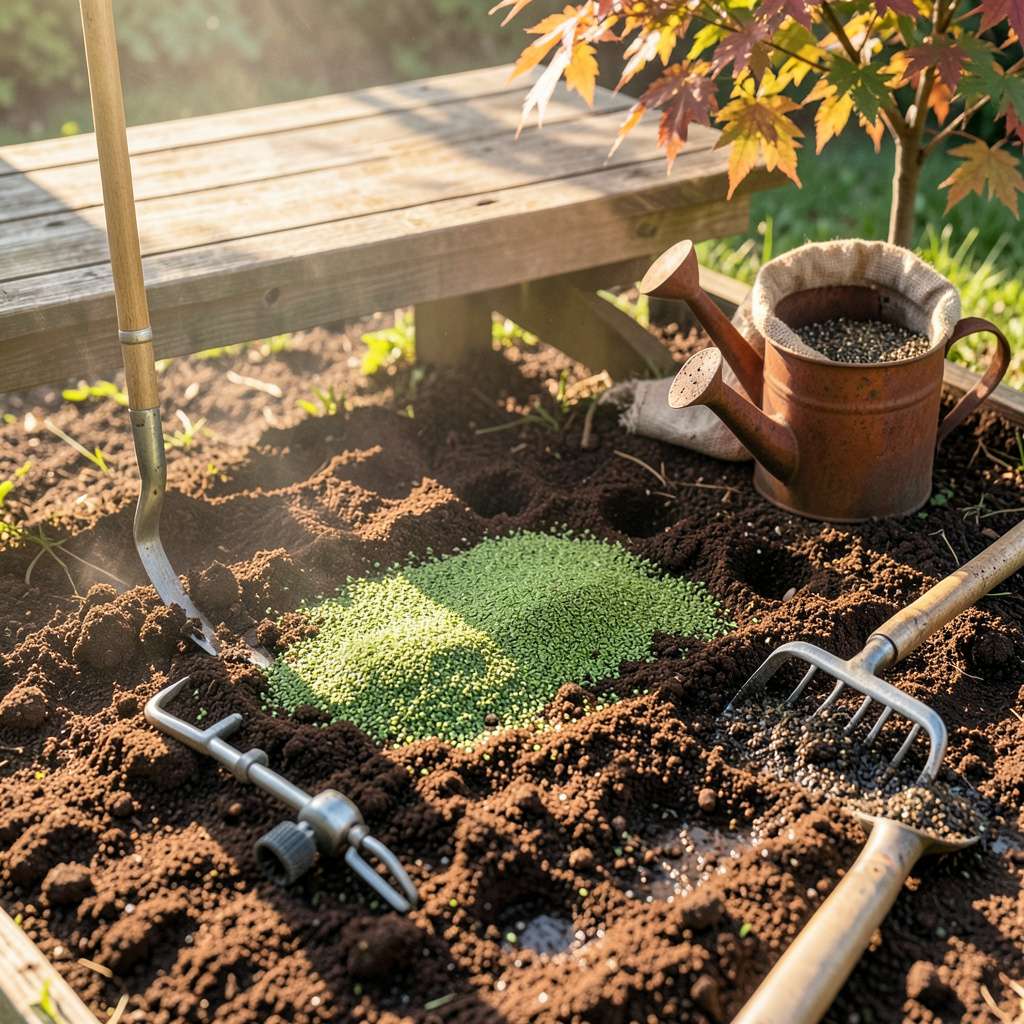
Hard dirt doesn’t have to mean a hopeless lawn. I’ve turned compacted, rock-like soil into thick green grass more times than I can count—it just takes the right approach before you even open that seed bag. The mistake most people make? Assuming they can just scatter seed and hope for the best. That’s how you end up with patchy results and wasted money.
Here’s the thing—hard dirt is actually an opportunity. It forces you to prepare properly, which means your grass will establish stronger roots and handle drought better later. My method starts with breaking up that compacted surface just enough (you don’t need to dig deep) and adding a thin layer of quality topsoil. The seeds make contact, the roots penetrate easier, and you get germination in 7-10 days instead of weeks.
You’ll watch those first green shoots push through where nothing grew before. By week three, you’ll have visible grass filling in, and by the end of the season? A lawn so established your neighbors will ask for your secret. The key is working with what you’ve got—not fighting the soil, but preparing it smartly.
Works for new lawns, patch repairs, or even those tricky areas where grass just won’t take. No fancy equipment needed, just some elbow grease and the right timing. Let’s get that seed in the ground properly.
📚 In This Guide
This method transforms even the toughest compacted soil into a thriving lawn—no heavy machinery required.
Start by thoroughly wetting the area with water until the top 2-3 inches feel damp but not muddy. This softens the crust so you can work the soil more effectively. I use a garden fork or core aerator to puncture holes 3-4 inches deep across the entire area, spacing them about 6 inches apart.
If you don’t have specialized tools, a sturdy digging fork works fine—just push it in as far as possible and wiggle it to create channels. You’ll feel the resistance give way as the tines break through the hardpan. Don’t worry about making it perfect; you’re creating pathways for roots and water to penetrate.
Spread a ¼-inch layer of compost or fine organic matter over the entire area. This isn’t about adding bulk—it’s about introducing microbes that will gradually improve soil structure. I like to use a leaf rake to work this into the top ½ inch of soil, being careful not to disturb the deeper channels you created.
For particularly stubborn areas, mix in a thin layer of sand (about 1 part sand to 3 parts soil) to improve drainage. You’ll notice the soil color darken as the amendments incorporate—that’s your visual cue the organic matter is distributing evenly. Avoid overworking the soil; you want to maintain those aeration channels.
Divide your grass seed into two equal portions. Broadcast the first half by walking in parallel lines across the area, then repeat with the second half walking perpendicular to your first pass. This crisscross pattern ensures even coverage. For small areas, I use a handheld spreader for better control—aim for about 16 seeds per square inch.
Gently rake the area to press seeds into the soil surface—just enough so they make contact but aren’t buried. You should still see about 30% of the seeds visible after raking. This light covering protects them from birds while allowing necessary light for germination.
Cover the area with a thin layer of straw (about ¼ inch thick) to retain moisture and prevent erosion. Avoid hay—it contains weed seeds that will compete with your grass. Water lightly but frequently, keeping the top 1 inch of soil consistently moist for the first 10-14 days.
You’ll see sprouts emerge within 7-21 days depending on grass type and weather. Once seedlings reach 2 inches tall, gradually reduce watering frequency but increase depth to encourage deep root growth. The straw will naturally decompose as the grass establishes—no need to remove it.
When grass reaches 3-4 inches tall, give it its first mowing—set your blade to 2 inches to avoid stressing young plants. I recommend using a sharp blade to prevent tearing the tender new growth. Water deeply 2-3 times per week rather than daily light watering to develop drought-resistant roots.
Hold off on fertilizing until after the first mowing—young grass needs to establish roots before pushing top growth. Watch for thin spots and overseed as needed. Within 6-8 weeks, you’ll have a uniform lawn that belies its difficult beginnings. The key is patience during that first month as the roots penetrate the once-hard soil.
Transforming hard dirt into a lush lawn takes patience and attention to detail. Here’s what I’ve learned from years of working with stubborn soil.
Soil Preparation Secret: In Step 1, when wetting the area to a depth of 2-3 inches, I’ve found that doing this in the evening allows the water to penetrate deeper overnight. The key is damp soil—not muddy—so if you see puddles forming, you’ve added too much water. Those 3-4 inch deep holes you create with your fork or aerator are absolutely critical; they become the pathways for roots to break through the compacted layer below.
Seed Distribution Technique: For Step 3, I can’t overstate the importance of that crisscross seeding pattern. When I first started, I’d just scatter seed randomly and ended up with patchy growth. Walking in parallel lines for the first half, then perpendicular for the second, ensures complete coverage. And don’t worry if you see 30% of the seeds still visible after raking—that’s exactly what you want for proper germination.
Watering Wisdom: During those first 10-14 days mentioned in Step 4, I use a simple finger test to check moisture. Stick your finger into the soil up to your first knuckle—if it feels dry at that 1-inch depth, it’s time to water. A light sprinkler attachment on your hose works better than heavy streams for this stage. The straw layer is your best friend here, keeping moisture consistent while preventing erosion.
Patience During Growth: When you see those first sprouts within 7-21 days, resist the urge to celebrate too soon. The real magic happens underground during that 6-8 week period mentioned in Step 5. I’ve made the mistake of getting excited about visible growth and overwatering, which actually weakens the root system. Trust the process—those roots are working hard to establish themselves in what was once impenetrable dirt.
While possible, it’s not ideal. Hard dirt prevents roots from penetrating deeply, leading to weak growth. For best results, loosen the top 2-3 inches with a rake or garden fork before seeding. If tilling isn’t an option, aerate the soil or apply a thin layer of compost to improve contact.
Timing depends on your grass type! Cool-season grasses (like fescue or Kentucky bluegrass) thrive when planted in early fall or spring. Warm-season grasses (like Bermuda or Zoysia) do best in late spring to early summer. Avoid extreme heat or frost for optimal germination.
Birds love a free meal! Protect your seed by:
Reapply straw if it blows away!
Sprinkling seed on hard dirt might yield patchy results—most seeds need soil contact to germinate. For better success, rough up the surface with a rake, then press seeds lightly into the soil. Water daily (keep soil moist but not soggy) until established.
If you need quick results, consider:
Seeding is cheaper long-term but takes 2-4 weeks to establish.
Transforming hard dirt into a lush lawn takes patience and the right approach—but the results are so worth it! 🌱 By loosening the soil, choosing quality seed, and keeping up with watering, you’ve set the stage for vibrant grass to thrive. Remember, even the toughest ground can become a green oasis with a little TLC.
Now that you’re equipped with the know-how, grab your tools and get planting! For next steps, check your seed’s germination timeline and mark your calendar for the first mow. Happy growing—your dream lawn is just around the corner! ✨
