
Beautiful Plants For Your Interior
Beautiful Plants For Your Interior
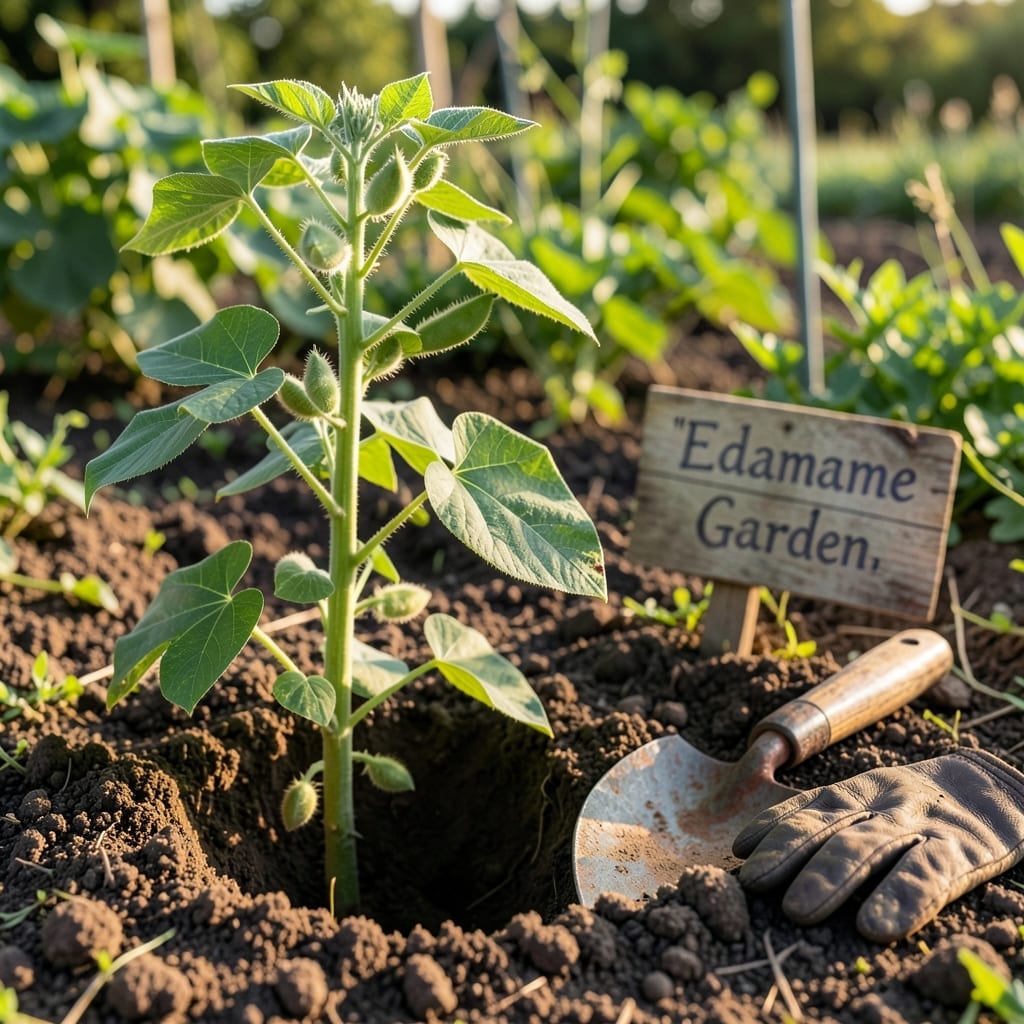
Growing your own edamame is easier than you think, and nothing beats the satisfaction of harvesting fresh, protein-packed pods from your garden in just 60 days.
With the right guidance, you can transform a small patch of soil into a thriving 🌱 Edamame crop. I’ll walk you through every step, from prepping your garden to that first exciting harvest.
Discover how this versatile plant thrives in USDA Zone 6a and beyond, with simple techniques that ensure success even for beginners.

I always start by preparing the soil for my edamame seeds. The best time to plant is in spring or early summer when soil temperatures reach at least 60°F. This ensures strong germination.
Edamame thrives in well-draining soil with a slightly acidic to neutral pH, ideally between 6.0 and 7.0. I like to work in plenty of compost to boost fertility before planting.
I plant my seeds 1-2 inches deep and space them 2-3 inches apart in rows that are 18-24 inches apart. This spacing allows for good airflow and prevents overcrowding as the plants mature.
After planting, I water the area gently but thoroughly. The soil should stay consistently moist but not waterlogged. Overwatering can lead to rot, so I always check the soil before adding more water.
Once the seedlings emerge, I thin them to 4-6 inches apart. This gives each plant enough room to grow strong and healthy. I find that edamame grows quickly, so thinning is essential for a good harvest.
I also make sure my edamame gets full sun, which means at least 6-8 hours of direct sunlight daily. Without enough light, the plants may grow leggy and produce fewer pods.
If you’re planting in USDA Zone 6a like me, aim to plant after the last frost date, typically around mid-April. This timing helps avoid any late cold snaps that could harm young seedlings.
For the best results, I recommend using high-quality seeds from a trusted supplier. This ensures good germination rates and healthy plants. I also like to soak the seeds overnight to speed up the sprouting process.
Finally, I keep an eye out for pests like aphids or bean beetles. If I spot any, I use organic pest control methods to protect my crop without harsh chemicals. Edamame is generally low-maintenance, but a little care goes a long way! 🌱
To grow robust edamame plants, I prioritize the right growing conditions. Full sun is non-negotiable—aim for 6-8 hours daily for maximum pod production. Without enough light, plants become weak and yield drops.
Edamame also thrives in warm soil. I wait until temperatures hit at least 60°F before planting. Cooler soil can delay germination or cause seeds to rot, so patience here pays off.
| Requirement | Specification |
|---|---|
| Sunlight | 6-8 hours daily |
| Soil pH | 6.0-7.0 |
| Water | 1 inch per week |
| Soil Type | Well-draining, fertile |
Consistent watering is key—edamame needs about 1 inch per week. I water deeply in the morning to allow moisture to reach the roots while preventing fungal issues from evening dampness.
The soil should be well-draining yet fertile. I amend my garden beds with compost before planting to provide the nutrients edamame craves. Heavy clay soil can suffocate roots, so I avoid that.
I also monitor for pests like aphids or bean beetles. Regular inspection and organic treatments keep my plants healthy without harsh chemicals. Early intervention prevents infestations from spreading.
Finally, I ensure good air circulation by spacing plants properly. Crowded plants invite disease, but with 18-24 inches between rows, my edamame thrives with minimal issues. 🌱