
Beautiful Plants For Your Interior
Beautiful Plants For Your Interior
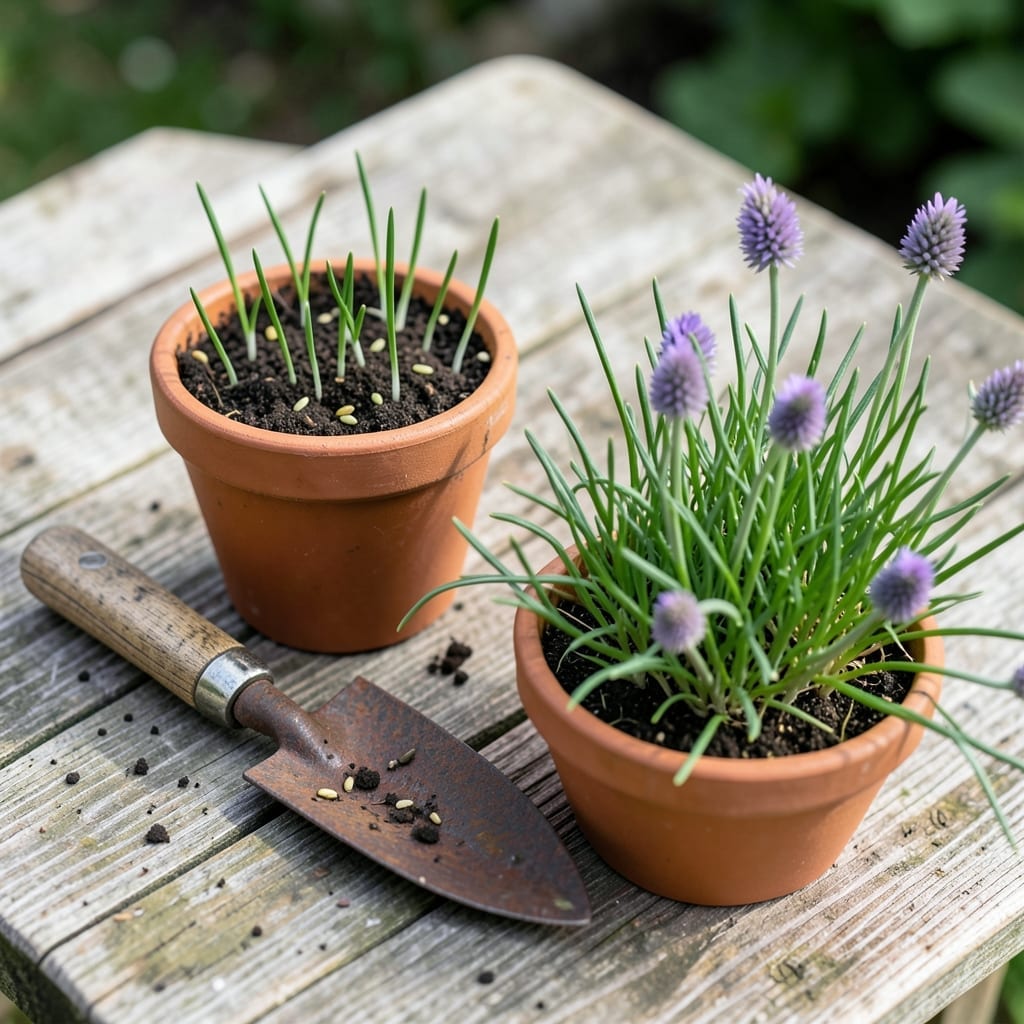
Growing Chives 🌱 at home is a game-changer for any cook or gardener, offering fresh, flavorful herbs right at your fingertips with minimal effort.
You don’t need a green thumb to succeed—just the right approach. Whether you’re planting in containers or directly in your garden, the process is simpler than you might think.
Let me walk you through the essential steps to ensure your Chives thrive from day one. You’ll be snipping fresh herbs for your meals in no time.
Planting chives is a rewarding way to add fresh herbs to your garden with minimal effort. These hardy perennials thrive in most climates and return year after year.
I always start by selecting a sunny location with well-draining soil. Chives prefer 6+ hours of sunlight daily but tolerate partial shade in hotter regions. 🌱
For container planting, use a pot with drainage holes and fill it with potting mix. Chives grow well in containers, making them perfect for balcony gardens.
I recommend planting in spring or early fall for best results. In USDA zones 3-10, chives are cold-hardy and will regrow each year from their roots. 🌿
Watering is key in the first few weeks. Aim for 1-2 inches of water per week, keeping the soil evenly moist but not soggy. Overwatering can cause root rot.
Once established, chives are drought-tolerant but produce best with consistent moisture. Mulching around plants helps retain soil moisture and suppress weeds.
For faster growth, I feed my chives with a balanced fertilizer every 4-6 weeks during the growing season. A 5-10-10 NPK ratio works well for herbs.
You’ll know your chives are ready to harvest when leaves reach 6-8 inches tall. Always cut from the outside of the clump to encourage new growth in the center.
With proper care, your chives will reward you with abundant harvests for years. They’re one of the easiest herbs to grow, even for beginners. ✂️
For thriving chives, start by replicating their natural habitat. These herbs flourish in full sun but adapt to partial shade in warmer climates. I’ve found they perform best with 6+ hours of sunlight daily. 🌱
Soil quality is non-negotiable. Chives demand well-draining soil with a pH of 6.0-7.0. Amend heavy clay or sandy soil with compost to improve texture and fertility.
| Requirement | Specification |
|---|---|
| Sunlight | 6+ hours daily |
| Soil Type | Loamy, well-draining |
| pH Level | 6.0-7.0 |
| Water Needs | 1-2 inches weekly |
| USDA Zones | 3-10 |
Temperature plays a key role in growth. Chives thrive in 60-75°F but tolerate cold down to 40°F. In USDA zones 3-10, they’re perennial, returning each spring with minimal care. 🌿
For container gardening, choose pots at least 8 inches deep with drainage holes. Use a lightweight potting mix to prevent waterlogging, which can stunt growth or cause root rot.
Humidity isn’t a major concern, but consistent moisture is. Water when the top inch of soil feels dry. In hot climates, morning watering helps prevent evaporation loss.
Finally, chives prefer moderate fertility. Over-fertilizing leads to weak growth. A light feeding of balanced fertilizer every 4-6 weeks keeps them vibrant without overwhelming the plant. ✂️