
Beautiful Plants For Your Interior
Beautiful Plants For Your Interior
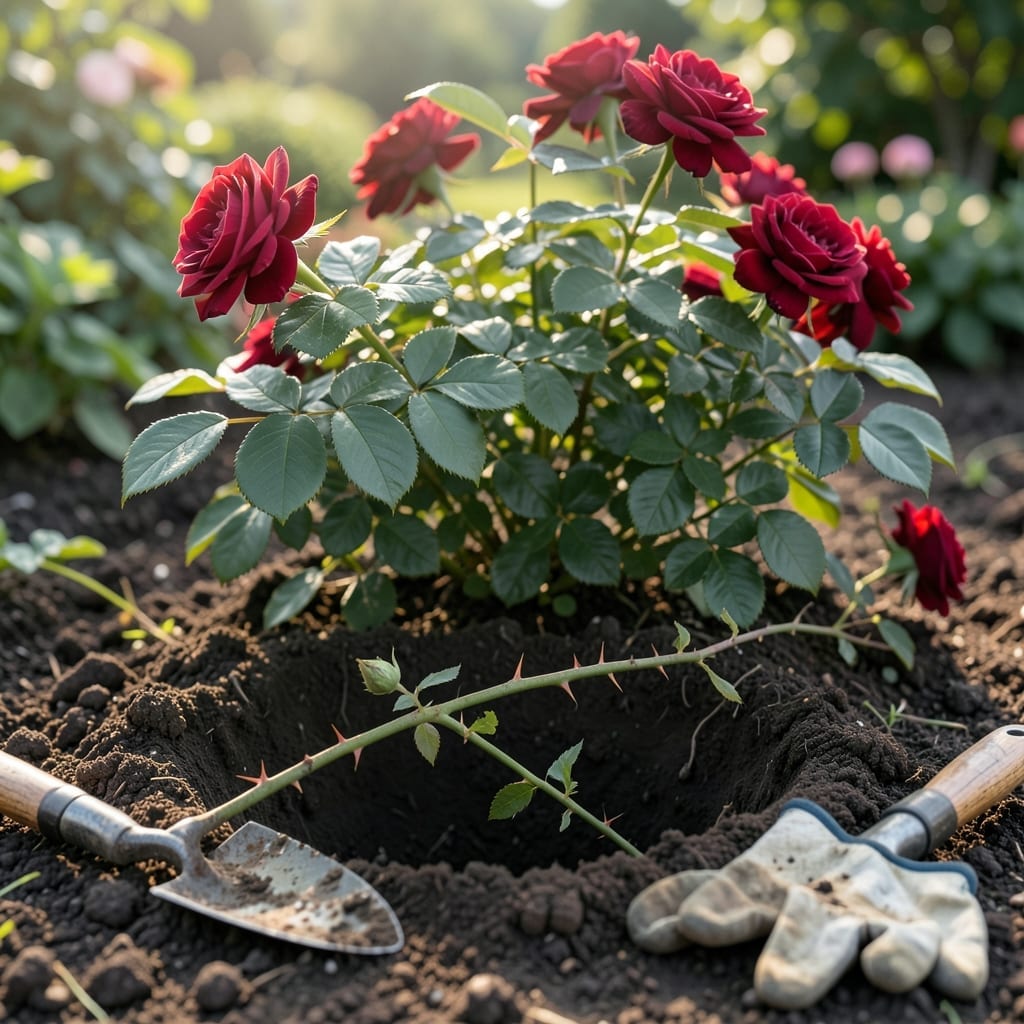
Imagine stepping into your garden to find vibrant 🌹 Rose blooms greeting you every morning. It all starts with planting that first stem correctly, and I’m here to guide you through it.
Many gardeners struggle with getting their Rose stems to thrive, but the process is simpler than you think. With the right approach, you’ll set the stage for years of stunning flowers.
Discover the key steps to ensure your Rose stem takes root and flourishes. Let’s make your garden the envy of the neighborhood.

Planting a rose stem correctly sets the foundation for healthy growth and abundant blooms. I’ve found that timing is everything—aim for early spring or early fall when temperatures are mild.
Start by selecting a healthy stem with at least three nodes. This ensures the cutting has enough energy to develop roots. A sharp pair of pruning shears is essential for a clean cut just below a node.
After planting, keep the soil consistently moist but avoid waterlogging. I recommend using a spray bottle for gentle watering during the first few weeks to prevent disturbing the stem.
A clear plastic bag or humidity dome can create a mini greenhouse effect, which speeds up rooting. Just ensure it’s placed in bright, indirect light to avoid scorching the cutting.
Within 4-6 weeks, you should see new growth, which signals that roots have formed. At this point, you can gradually acclimate the plant to direct sunlight and reduce humidity.
Once roots are established, transplant your rose stem to a permanent location with full sun and rich, well-draining soil. This is when the real magic begins.
I’ve had the best luck with hybrid tea roses and floribundas, but most varieties will thrive if you follow these steps. Remember, patience is key—some stems take longer to root than others.
For ongoing care, water deeply once a week and fertilize with a balanced 10-10-10 formula every 4-6 weeks during the growing season. This will keep your roses vibrant and healthy 🌹
Creating the ideal environment ensures your rose stem thrives after planting. I always emphasize that full sun and well-draining soil are non-negotiable for healthy growth.
Roses need at least 6-8 hours of direct sunlight daily. Without it, they’ll grow leggy and weak. Pair this with loamy soil enriched with compost for best results.
Watering is critical in the first few weeks. I use a spray bottle to mist the soil gently, keeping it consistently damp without waterlogging. This prevents rot while encouraging root growth.
Once established, switch to deep watering once a week. This trains the roots to grow deep into the soil, making the plant more drought-resistant over time.
Fertilizing with a balanced 10-10-10 formula every 4-6 weeks during the growing season keeps your roses vibrant and healthy. I prefer organic options for a gentler approach.
Prune dead or damaged leaves regularly to redirect energy to new growth. This also helps prevent pests and diseases from taking hold 🌹