
Beautiful Plants For Your Interior
Beautiful Plants For Your Interior
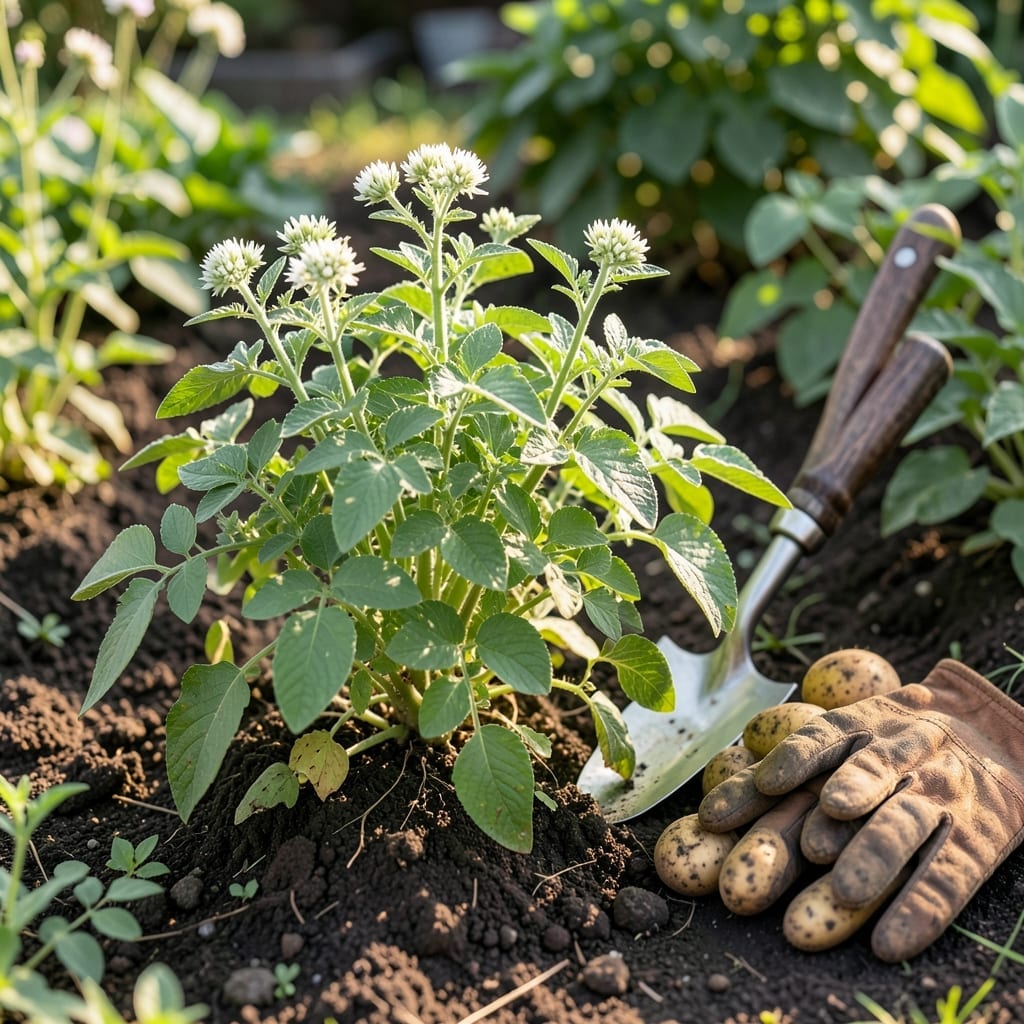
There’s nothing more satisfying than digging up a perfect crop of 🥔 potatoes at just the right moment. But how do you know when they’re truly ready?
Timing is everything with potatoes. Harvest too early, and you’ll get small, underdeveloped tubers. Wait too long, and you risk rot or pest damage.
I’ll show you the key signs to look for in your plants and soil so you can pull up your potatoes with confidence this season.


I always tell new gardeners that potato plants give clear signals when they’re ready. The first sign I look for is yellowing foliage, which indicates the plant is shifting energy to its tubers.
Another key indicator is flowering and bud drop. When the blooms start to fade and fall, your potatoes are typically 2-3 weeks from being ready for harvest.
| Sign | What It Means |
|---|---|
| Yellow leaves | Plant is maturing |
| Dying back | Tubers are ready |
| Flowers drop | Harvest in 2-3 weeks |
| Firm skin | Potatoes won’t scrape easily |
For new potatoes, you can start harvesting when the plants begin to flower. I like to gently dig around the base with my hands to check size.
The soil check method works well too. Carefully brush away soil near the base to feel for tubers. They should be 2-5 inches in diameter for mature harvest.
I always recommend the fingernail test for final confirmation. If the potato skin resists scraping with your fingernail, it’s ready. This is a foolproof method I’ve used for years.
Remember that early varieties mature faster, often in 70-90 days, while maincrop potatoes may take 110-135 days. Check your seed packet for specifics.
Weather plays a role too. I avoid harvesting during wet periods as this can make the soil too heavy and damage the tubers when digging.
For the best flavor and storage potential, wait until most of the foliage has died back completely. This ensures the potatoes have reached their full size and developed a protective skin.
If you’re growing in containers, the process is similar. Watch for the same visual cues, but you might need to check a bit earlier as container-grown potatoes can mature faster. 🌱
I always start my potato harvest on a dry, sunny morning when the soil is workable. The first tool I reach for is a garden fork because it’s gentler on the tubers than a shovel.
Begin by carefully loosening the soil around the plant’s base, working your way outward. I find that inserting the fork about 12 inches away from the stem helps prevent accidentally piercing any potatoes.
Once the soil is loosened, I gently lift the entire plant and sift through the dirt with my hands. This is where you’ll find most of your potatoes clustered near the root zone.
For new potatoes, I use my hands to gently feel around the base of the plant when it first starts flowering. These don’t need the same careful digging as mature potatoes since they’re smaller and closer to the surface.
After harvesting, I always let my potatoes dry in a dark place for a few hours before brushing off excess soil. This helps toughen the skin for storage. Never wash potatoes immediately after digging as this can promote rot.
The curing process is crucial for long-term storage. I spread my potatoes in a single layer in a cool, dark, well-ventilated area for 1-2 weeks. This allows the skin to thicken and any minor cuts to heal. ✂️