
Beautiful Plants For Your Interior
Beautiful Plants For Your Interior
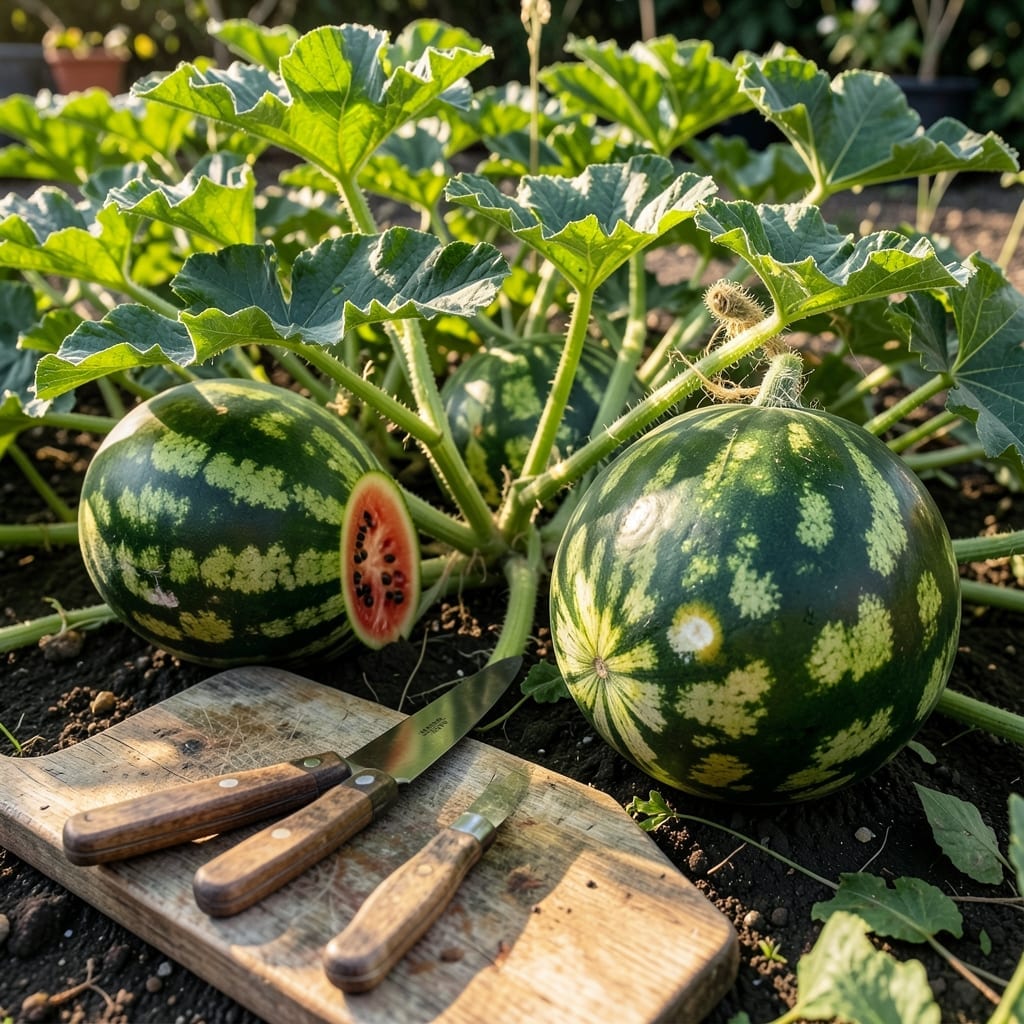
Picking a perfectly ripe watermelon can feel like solving a mystery, but with the right tricks, you’ll never bring home an underripe or overripe 🍉 again.
These field-tested methods take the guesswork out of selecting the sweetest, juiciest fruit every time. I’ve spent years refining these techniques in my own garden.
Discover how to use simple visual, auditory, and tactile cues to identify ripeness with confidence. Let me show you exactly how to make it happen.

I’ve tested countless techniques over the years, and these 5 reliable methods never fail me when checking watermelon ripeness. The key is combining visual, tactile, and auditory cues for accuracy. 🌱
First, look for the tendril drying near the stem—this is one of the most foolproof indicators. When it turns brown and brittle, the fruit is likely ready to harvest. 🌿
Next, examine the ground spot, the area where the watermelon rests on the soil. A creamy yellow or golden hue signals ripeness, while a pale green or white spot means it needs more time. ☀️
The thumping technique is a classic for a reason. Tap the watermelon with your knuckles—a deep, hollow sound means it’s ripe, while a high-pitched or flat sound suggests it’s not ready yet.
Don’t overlook the rind texture. A ripe watermelon will have a dull, slightly rough surface, whereas an unripe one often appears shiny and smooth. This change happens as the fruit matures.
Finally, inspect the stem condition. While not always visible in stores, in the field, a drying stem is a strong indicator. If it’s still green and supple, the fruit likely needs more time on the vine.
I always recommend using at least two methods together for the most accurate results. For example, pair the tendril check with the ground spot color for confirmation. ✂️
Remember, these methods work best for field-grown watermelons. Store-bought fruits may have been harvested slightly early, so focus on the ground spot and thumping test when selecting at the market.
With practice, you’ll develop an instinct for spotting the perfect watermelon. I’ve found that morning harvests yield the sweetest results, as the fruit has had time to absorb moisture overnight. 💧
I’ve heard every watermelon myth in the book, and most of them lead gardeners astray. The biggest misconception is that size equals ripeness—a large watermelon isn’t necessarily ready to harvest. 🌱
Another common belief is that watermelons ripen after picking. Unlike some fruits, watermelons don’t continue ripening once removed from the vine, so timing your harvest is critical.
Size doesn’t determine ripeness. Watermelons won’t ripen after picking. A shiny rind doesn’t mean it’s unripe—texture matters more.
Some gardeners think a shiny rind means the fruit is unripe, but this isn’t always true. The texture of the rind is a better indicator—dull and slightly rough is what you’re after.
You might also hear that thumping alone is enough to judge ripeness. While it’s a useful tool, I always combine it with the tendril check or ground spot for confirmation. ✂️
Another myth is that all watermelons sound the same when ripe. In reality, the pitch and depth of the sound can vary by variety, so practice helps refine your ear.
Finally, don’t assume that all varieties show the same ripeness signs. Some heirlooms, for example, may have unique cues that differ from standard types.
By focusing on proven methods like the tendril and ground spot, you’ll avoid falling for these myths and pick the perfect watermelon every time. 💧