
Beautiful Plants For Your Interior
Beautiful Plants For Your Interior
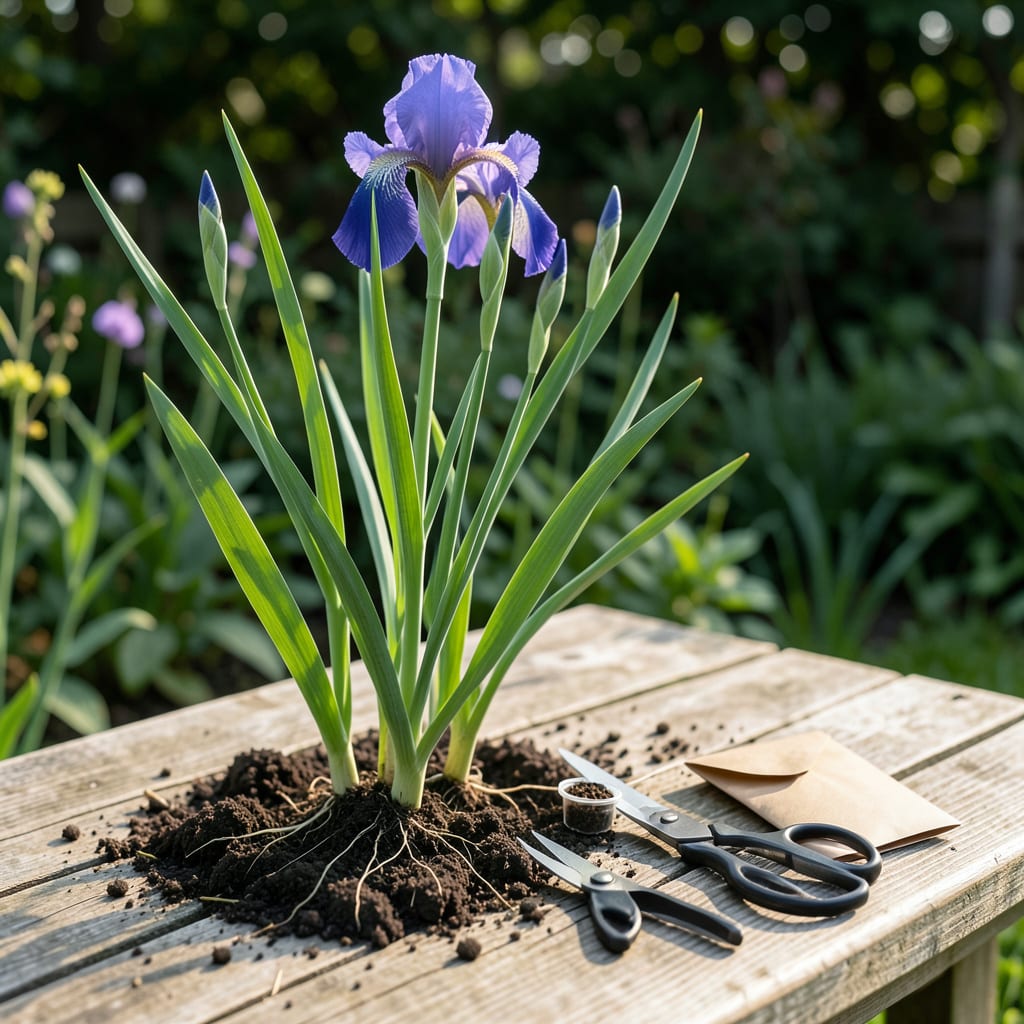
There’s something magical about watching your Iris garden grow from seeds you’ve harvested yourself. I’ve found that collecting these tiny powerhouses at just the right time makes all the difference.
Let me walk you through the most effective methods to gather, store, and prepare Iris seeds. You’ll be amazed at how simple it is to propagate these beautiful blooms for seasons to come.


Harvesting Iris seeds is a rewarding way to propagate your favorite blooms. I always watch for brown, dry pods that start splitting open naturally. This is your sign that the seeds are ready for collection.
Timing is everything. I’ve learned that late summer to early fall is ideal, typically August through October. The pods should feel light and papery, not green or fleshy.
I always use clean, sharp scissors or pruning shears to avoid damaging the pods. It’s important to collect them before heavy rain or strong winds can scatter the seeds.
Once you’ve gathered the pods, place them in a paper bag to finish drying. This prevents mold growth while allowing airflow. I’ve found that paper envelopes work best for storing the seeds long-term.
For the best results, label your seeds with the variety name and harvest date. This helps you track viability and plan next season’s garden. I keep mine in a dark, cool cupboard to maintain freshness.
Avoid plastic containers, as they can trap moisture and lead to mold. Instead, opt for breathable materials like paper or cloth. This simple step ensures your seeds stay viable for years to come.
If you’re harvesting from hybrid Irises, remember that the seeds may not produce plants identical to the parent. But that’s part of the fun—you might discover a new favorite variety!
Finally, be patient. Iris seeds often take 2-3 years to bloom, but the wait is worth it. I’ve found that planting them in well-draining soil with full sun exposure gives the best results.
🌸Proper storage is the key to maintaining Iris seed viability. I always start by ensuring seeds are completely dry before storing them. Any moisture left can cause mold or rot during storage.
I’ve found that spreading seeds on a paper towel in a well-ventilated area for 1-2 weeks works perfectly. This gives them enough time to dry without direct sunlight.
⚠️ Storage Warning: Never store Iris seeds in plastic bags. The trapped moisture will ruin them. Use paper envelopes in a cool, dry place instead.
For long-term storage, I recommend using small paper envelopes labeled with the Iris variety and harvest date. This helps track viability and keeps your collection organized.
A dark, cool cupboard or basement shelf works best. Avoid areas with temperature fluctuations like attics or garages. Consistent conditions preserve seed quality.
I check my stored seeds every few months for signs of moisture or pests. If I notice any issues, I immediately move them to a new dry container.
Remember that Iris seeds can remain viable for 2-3 years when stored properly. This gives you plenty of time to plan where to plant them in your garden.
🌱Not all Iris varieties produce equally viable seeds. I’ve found that bearded Irises are among the easiest for beginners. Their large seed pods make collection straightforward and rewarding.
Siberian Irises also produce reliable seeds, though their pods are smaller. I always look for healthy parent plants with strong blooms to ensure the best genetic material.
| Variety | Notes |
|---|---|
| Bearded Iris | Large pods, easy to collect, beginner-friendly |
| Siberian Iris | Smaller pods, reliable germination, cold-hardy |
| Japanese Iris | Moisture-loving, unique blooms, moderate difficulty |
| Dutch Iris | Hybrid varieties, may not breed true |
Japanese Irises are another good option, though they prefer moist soil. I recommend these for gardeners with pond edges or bog gardens. Their seeds thrive in consistently damp conditions.
Dutch Irises can be tricky since they’re often hybrids. While their seeds are viable, the resulting plants may not match the parent. I enjoy the surprise, but if you want consistent blooms, stick to species Irises.
For the best results, I focus on non-hybrid varieties like ‘Purple Hill’ or ‘Snow Queen’. These tend to produce seeds that grow true to type, giving you predictable, beautiful results in your garden. 🌸
Late summer to early fall is ideal, typically August through October. Look for brown, dry pods that are just beginning to split open naturally.
Pods are ready when they turn from green to brown and start splitting. The seeds inside should be hard and dark. If they’re still soft or white, wait a little longer.
Use paper envelopes and keep them in a cool, dry place like a dark cupboard. Avoid plastic containers, as they trap moisture and can cause mold.
Properly stored seeds remain viable for 2-3 years. Always label envelopes with the variety and harvest date to track their age and viability.
