
Beautiful Plants For Your Interior
Beautiful Plants For Your Interior
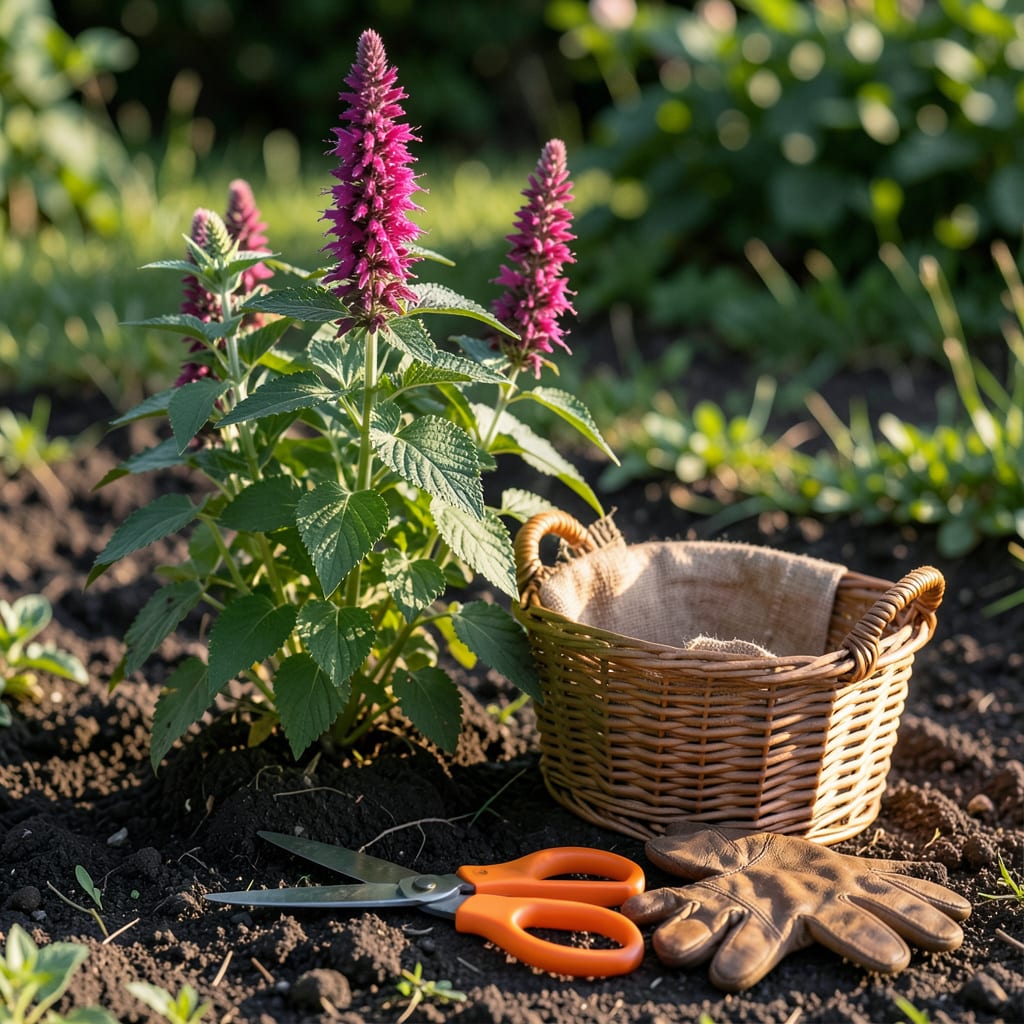
There’s nothing quite like the satisfaction of harvesting Bee Balm 🌸 at its peak. The vibrant blooms and rich aroma make it a gardener’s favorite, but timing is everything to get the best results.
I’ll show you how to pick these beauties without harming the plant, so you can enjoy their benefits all season long. Let’s get started on this rewarding process.


Timing your bee balm harvest perfectly ensures the most vibrant blooms and strongest aroma. I always check for fully open flowers with rich, deep colors as the first sign they’re ready for picking.
The best time of day is early morning after the dew dries but before the sun gets too hot. This preserves the essential oils that give bee balm its signature fragrance.
| Harvest Sign | What to Look For |
|---|---|
| Flower Stage | Fully open, not wilting |
| Color | Vibrant, deep hues |
| Stem Condition | Firm, snaps easily |
| Aroma | Strong, pleasant scent |
In my experience, July through September is prime harvest season for bee balm in most growing zones. The USDA zones 4-9 see the best results during these warmer months.
Avoid harvesting when flowers are still in bud form or when petals appear dull. These are sure signs your bee balm isn’t at its peak yet.
Weather plays a big role too. I always check the forecast and avoid harvesting right before rainy days. Moisture can dilute the oils and reduce quality.
For the best results, I recommend harvesting every 2-3 weeks during the blooming season. This encourages the plant to produce more flowers and maintains its vigor.
The time of day matters more than you might think. Early morning harvests retain about 30% more essential oils than those picked in the afternoon heat.
If you’re growing bee balm for tea or potpourri, harvest just as the flowers begin to open. For fresh arrangements, wait until they’re fully bloomed.
Remember that regular harvesting actually benefits the plant. It prevents seed formation, which can exhaust the plant and reduce future blooms.
With these timing tips, you’ll get the most out of your bee balm harvest every time ✂️
Harvesting bee balm properly keeps your plants healthy and productive. I always use sharp pruning shears or scissors to make clean cuts, which helps prevent disease and encourages new growth.
Start by selecting healthy stems with fully open flowers. Cut just above a leaf node at a 45-degree angle to allow water to run off and reduce rot risk.
I’ve found that morning harvesting gives the best results. The plants are fully hydrated, and the essential oils are most concentrated before the heat of the day sets in.
For leaf harvesting, I gently pinch off individual leaves or cut entire stems. Remember that young leaves have the mildest flavor, while mature ones are more potent.
After cutting, I immediately remove any lower leaves that might touch water if I’m using the stems in arrangements. This prevents bacterial growth and extends vase life.
To encourage bushier growth, I sometimes pinch back the tips of my bee balm plants early in the season. This promotes branching and leads to more flowers for later harvesting.
With these careful techniques, your bee balm plants will thrive and provide abundant blooms all season long ✂️
Proper drying is key to preserving your bee balm’s vibrant color and potent aroma. I always start by removing any damaged leaves or wilted flowers before the drying process begins.
The simplest method is air-drying. I bundle 5-6 stems together and hang them upside down in a dark, well-ventilated space for about 2-3 weeks. This slow drying preserves the oils best.
🌱 Pro Tip: For faster results, use a food dehydrator at 95°F for 4-6 hours. This method works great when you have a large harvest to process quickly.
Once completely dry, I store my bee balm in airtight glass jars away from light and heat. This keeps the flavor and fragrance intact for up to 12 months if stored properly.
For tea blends, I remove the flowers from the stems and store them separately. The leaves can be kept whole or crumbled, depending on your preference for use.
With these storage tips, your bee balm will maintain its quality for all your gardening and crafting needs 🌿
Early morning after dew evaporates is ideal. The essential oils are most concentrated before the heat sets in, giving you the strongest fragrance and flavor
You can harvest every 2-3 weeks during peak blooming season. Just avoid removing more than 1/3 of the plant at once to maintain its health
Use sharp pruning shears or clean scissors for clean cuts. Sterilize them with rubbing alcohol to prevent disease spread between cuts
Both are edible and useful. Young leaves have milder flavor, while mature ones are more potent for teas or seasoning
