
Beautiful Plants For Your Interior
Beautiful Plants For Your Interior
I’ll be real with you: growing orchid keikis feels like magic until you understand the science. That tiny plantlet forming on your flower spike isn’t luck—it’s the result of specific care triggers we’ve perfected over seasons of trial and error. The first time I spotted those little roots emerging from a keiki, I nearly dropped […]
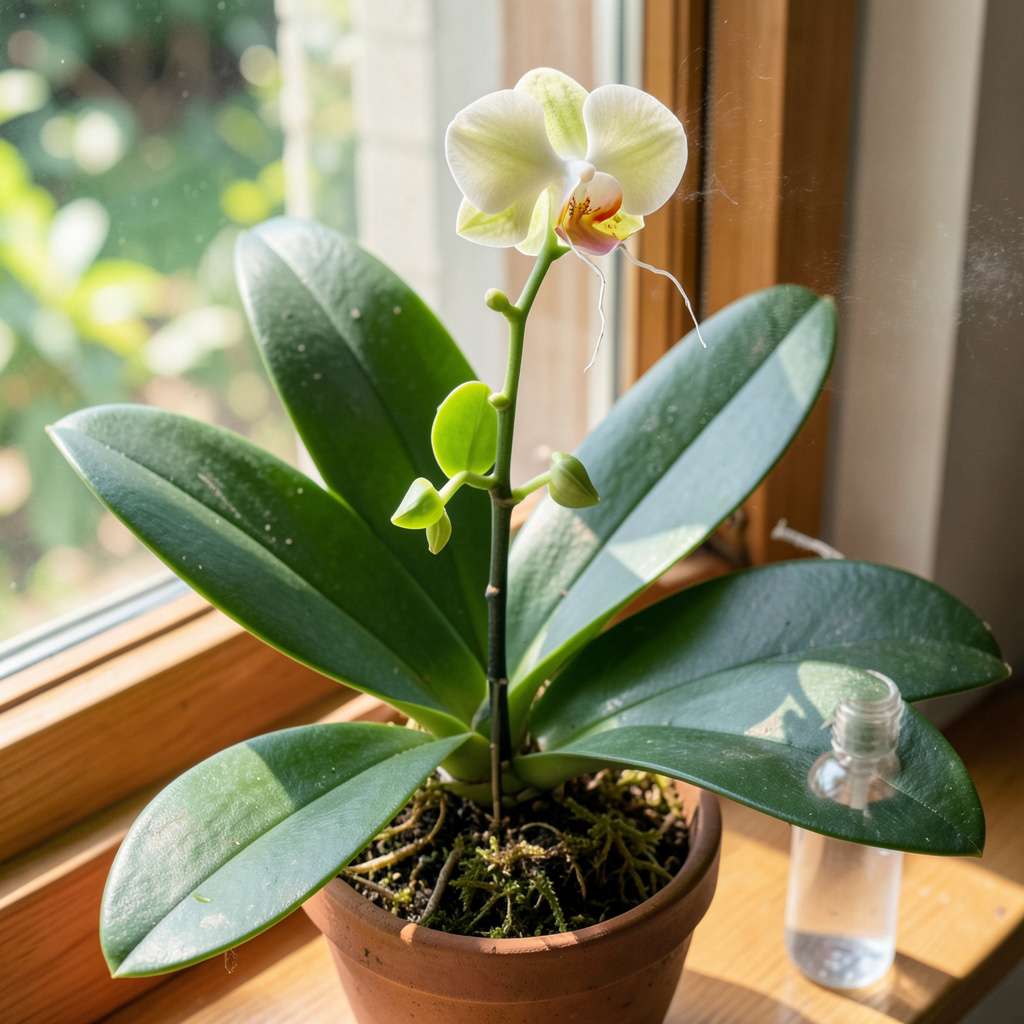
I’ll be real with you: growing orchid keikis feels like magic until you understand the science. That tiny plantlet forming on your flower spike isn’t luck—it’s the result of specific care triggers we’ve perfected over seasons of trial and error. The first time I spotted those little roots emerging from a keiki, I nearly dropped my watering can from excitement.
Here’s the thing—orchids don’t produce keikis just because they feel like it. They need the right combination of light, moisture stress, and seasonal cues. My phalaenopsis now reliably produces 2-3 keikis per year after I stopped babying them with constant water and started mimicking their natural growth cycles.
You’ll know you’re doing it right when you see that first nubbin of growth where a flower spike used to be. Within 8-12 weeks, that nubbin transforms into a full plantlet with its own leaves and roots—ready to become an independent orchid. The process requires patience but zero special equipment.
Fair warning: your first attempt might fail. Mine did. But once you nail the moisture balance and light conditions, you’ll have more baby orchids than pots to put them in. That’s when the real fun begins—building a collection from a single mother plant.
📚 In This Guide
This method transforms a single orchid into multiple plants—no special tools required, just patience and the right conditions.
Start with a mature, healthy orchid that has finished blooming. I focus on Phalaenopsis or Dendrobium varieties, as they produce keikis most reliably. Look along the flower spike for small, raised bumps—these are dormant growth nodes where keikis will form.
The node should feel slightly firm when gently pressed with your fingernail. Avoid nodes that appear shriveled or completely smooth, as these won’t respond to stimulation. I like to mark potential nodes with a small piece of tape on the opposite side of the spike to track progress without disturbing the plant.
Move your orchid to a location with bright, indirect light—an east-facing windowsill works perfectly. Maintain daytime temperatures between 75-85°F and nighttime temperatures around 65°F. This 10°F difference between day and night triggers hormonal changes that encourage keiki formation.
Humidity should stay above 50%, but avoid misting the flower spike directly. I place the pot on a pebble tray filled with water, ensuring the bottom of the pot never sits in water. You’ll know conditions are right when new root tips appear silvery-green and slightly fuzzy.
Using a sterile toothpick, gently scratch the surface of your chosen node to create microscopic wounds—this helps the plant absorb hormones. Apply a pea-sized amount of keiki paste (containing cytokinin hormone) directly to the node. The paste should look like a tiny, translucent bead sitting on the node’s surface.
For a natural approach, I’ve had success wrapping the node with a damp sphagnum moss pad secured with plastic wrap. The constant moisture against the node mimics the paste’s effect. Check weekly for swelling—you’ll first notice the node turning slightly green and plumping up like a tiny bud.
Continue normal orchid care but increase air circulation slightly—keikis develop stronger when they’re not in stagnant air. I use a small fan on low setting for 2 hours daily, positioned about 3 feet away from the plant. Water only when the top inch of bark mix feels completely dry to the touch.
After 4-8 weeks, you should see tiny leaves emerging from the node. This is your keiki! Let it grow until it develops 3-4 leaves and roots that are 2-3 inches long before considering separation. The mother plant will supply all necessary nutrients during this time.
Once your keiki has established its own root system, prepare for separation by gathering sterile tools. I use rubbing alcohol to clean my scissors between cuts. Look for a natural separation point where the keiki’s base meets the flower spike—there’s often a slight constriction here.
Make a clean cut just below the keiki, leaving about 1 inch of the flower spike attached to the baby plant. Pot it immediately in fine bark mix, keeping the base at the same depth it was growing on the mother plant. The original orchid will often produce another flower spike from the same node within months.
After years of experimenting with orchid propagation, here’s what I’ve learned about getting reliable keiki growth.
Node Selection Secret: In Step 1, don’t just look for any bump on the flower spike. The most responsive nodes are typically the second or third one down from where the last flower bloomed. These have the highest concentration of growth hormones. I’ve found that nodes closer to the base of the spike often produce stronger keikis with more vigorous root systems.
Temperature Precision: That 10°F difference between day and night temperatures in Step 2 is absolutely critical. I use a simple digital thermometer to monitor conditions precisely. If your home stays consistently warm, try moving the orchid to a cooler room at night or placing it near an open window (just avoid drafts). The temperature swing mimics natural conditions and triggers the hormonal response needed for keiki development.
Patience During Development: When you reach the 4-8 week mark mentioned in Step 4, resist the urge to check for progress daily. Orchids respond to consistent conditions, and frequent disturbances can actually delay keiki formation. I mark my calendar to check only once every 7-10 days. The first sign of success is usually a slight green tint developing at the node site, followed by a tiny bump that gradually enlarges.
Separation Preparation: Before attempting the separation in Step 5, prepare everything in advance. Have your fine bark mix ready in a small pot, and fill a bowl with rubbing alcohol for tool sterilization. I also keep a spray bottle with water to mist the keiki’s roots immediately after separation – this prevents them from drying out during the critical first minutes in its new pot.
Most orchids (like Phalaenopsis) take 3–12 months to produce a keiki, depending on care and growing conditions. Warmth (75–85°F), high humidity, and keiki paste can speed up the process. Patience is key—some varieties (like Dendrobiums) may form keikis faster after blooming!
While keiki paste (a cytokinin hormone) boosts success, you can encourage growth naturally by:
Natural methods may take longer but avoid chemical risks.
Common roadblocks include:
Check your care routine—sometimes a spike trim (1–2 inches above a node) helps!
Wait until the keiki has:
This usually takes 6–9 months. Use sterilized scissors to cut 1 inch below the keiki, then pot it in fine orchid bark.
Yes! After blooms fade, trim the spike 1–2 nodes above the base (leave 2–3 nodes intact). Apply keiki paste to the cut node or let nature take its course. Older spikes may have lower success rates, so prioritize healthy, green spikes for best results.
Growing orchids to produce keikis is a rewarding way to expand your collection—all it takes is patience, the right conditions, and a little encouragement! 🌱 By mastering light exposure, humidity, and gentle stress techniques, you’ll soon spot tiny plantlets sprouting from your orchid’s nodes. Remember, every orchid is unique, so don’t be discouraged if results take time.
Ready to put your new skills to the test? Start with a healthy, mature orchid and experiment with the methods that fit your setup. Happy propagating—your next keiki could be just weeks away! 🎉
