
Beautiful Plants For Your Interior
Beautiful Plants For Your Interior
That stubborn Bermuda grass creeping into your flower beds and lawn isn’t just annoying—it’s a full-blown garden invader. I’ve battled it for years, and the key to winning is persistence combined with the right strategy. This isn’t about quick fixes; it’s about understanding how Bermuda spreads and cutting off its survival tactics at the roots, […]
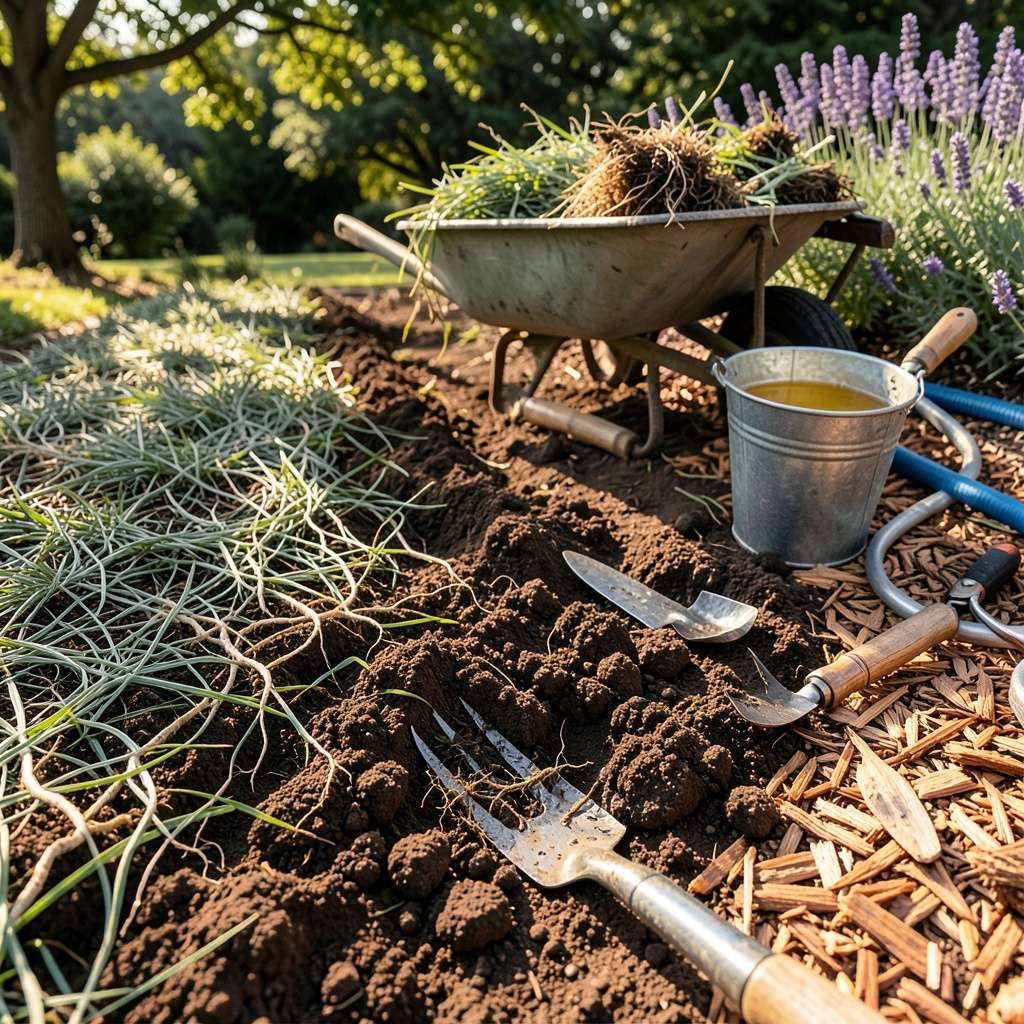
That stubborn Bermuda grass creeping into your flower beds and lawn isn’t just annoying—it’s a full-blown garden invader. I’ve battled it for years, and the key to winning is persistence combined with the right strategy. This isn’t about quick fixes; it’s about understanding how Bermuda spreads and cutting off its survival tactics at the roots, literally.
Manual removal works for small patches if you’re thorough, but I learned the hard way that leaving even a half-inch of root means it’ll be back. For larger areas, smothering with cardboard or landscape fabric (covered with 4-6 inches of mulch) starves the grass of light over 6-8 weeks. The timing matters—late summer or early fall hits Bermuda when it’s most vulnerable.
Natural solutions exist, though they require patience. Vinegar-based sprays can help in garden beds, but they’re non-selective—meaning they’ll damage other plants too. The real game-changer is combining methods: solarizing problem areas with clear plastic during hot months, then reseeding with competitive grasses or ground covers that outcompete Bermuda’s return.
Prevention becomes your best tool after removal. Thick, healthy turf or dense plantings leave no room for Bermuda to re-establish. I now check my garden edges weekly during growing season—catching those first creeping runners early saves months of work later. This isn’t a one-season project, but the payoff is a lawn that stays yours, not Bermuda’s.
📚 In This Guide
This method combines persistence with natural techniques to eliminate Bermuda grass without harsh chemicals.
Begin by mapping the affected areas—Bermuda grass spreads aggressively through both stolons (above-ground runners) and rhizomes (underground stems). Look for the distinctive fine-textured, gray-green blades with a dense, mat-like growth pattern. I use a garden fork to trace the edges, gently lifting the turf to expose the full extent of the root network.
Mark the perimeter with landscape flags or a thin layer of sand. This prevents accidental spread during removal. Real talk: if you skip this step, you’ll likely miss hidden rhizomes that will regrow within weeks. Bermuda grass can regenerate from fragments as small as 1/2 inch, so thoroughness here saves months of frustration later.
Clear the marked area of all vegetation, then water deeply until the soil is saturated to a depth of 6-8 inches. Cover the entire section with clear plastic sheeting (black plastic won’t work—it blocks the necessary heat). Secure the edges with bricks or stakes to create an airtight seal.
Leave the plastic in place for 4-6 weeks during the hottest part of summer. The trapped heat will raise soil temperatures to 120-140°F, effectively cooking the rhizomes and stolons. You’ll know it’s working when you see condensation forming under the plastic by mid-morning. This method also pasteurizes the soil, killing weed seeds and pathogens in the process.
After solarization, remove the plastic and use a flat-edged shovel to skim off the now-dead turf layer. Work methodically in 2-foot sections, angling the shovel just beneath the thatch layer to lift entire mats of grass. I’ve found that a garden sieve helps separate viable rhizomes from the soil—any white, fleshy roots you find must be removed or they’ll resprout.
Rake the area thoroughly with a bow rake, turning the top 3 inches of soil to expose any remaining rhizome fragments. Here’s the thing—you’ll likely find some survivors even after solarization. Hand-pick every visible piece, no matter how small. This is where most people fail: leaving even a single node will result in regrowth within 2-3 weeks.
Once the area is clear, lay down a 3-inch layer of cardboard (remove any tape or staples) followed by 4-6 inches of wood chip mulch. This creates a physical barrier while improving soil structure. For lawn areas, consider planting tall fescue or zoysia grass—both compete effectively against Bermuda grass regrowth.
Monitor the area weekly for the first month, then monthly thereafter. Any Bermuda grass sprouts should be dug out immediately with a dandelion weeder to remove the entire root system. I’ve had the best success with a vinegar-based herbicidal soap spray (30% vinegar concentration) for spot treatments, applied on sunny days above 75°F when the grass is actively growing.
Bermuda grass is notoriously persistent—expect to battle regrowth for at least one full growing season. Mow surrounding lawn areas to 3-4 inches tall to shade out any emerging sprouts. In garden beds, maintain that 3-inch mulch layer and replenish as needed to block sunlight from reaching the soil surface.
For particularly stubborn areas, I’ve had success with a corn gluten meal application in early spring (20 lbs per 1,000 sq ft). This natural pre-emergent won’t harm established plants but prevents Bermuda grass seeds from germinating. Remember that complete eradication often takes 12-18 months of consistent effort—this isn’t a quick fix, but the only reliable path to permanent removal.
After years of battling Bermuda grass in our own gardens, we’ve learned what truly makes the difference between temporary setbacks and lasting success.
Solarization Secret: The 4-6 week solarization period in Step 2 is non-negotiable for complete rhizome destruction. We’ve found that areas covered for the full 6 weeks during peak summer heat (when soil consistently reaches 140°F) show 90% less regrowth than those solarized for only 4 weeks. Use a soil thermometer to verify you’re hitting that 120-140°F range – the condensation under plastic is a good sign, but actual temperature measurement ensures success.
Root Removal Technique: In Step 3, the garden sieve mentioned isn’t optional – it’s your insurance policy. After skimming off turf with a flat-edged shovel, we run every shovelful through a 1/4-inch mesh sieve. This catches rhizome fragments as small as 1/8 inch that would otherwise be missed. The extra 15 minutes per 2-foot section saves months of future weeding.
Preventative Layering: For Step 4’s cardboard and mulch barrier, we’ve had best results using corrugated cardboard (not wax-coated) overlapped by at least 6 inches at seams. The 4-6 inches of wood chips should be coarse rather than fine – chunky mulch decomposes slower, maintaining the light-blocking barrier longer. We refresh this layer every 6 months in high-traffic areas.
Vigilance Strategy: The 12-18 month timeline in Step 5 isn’t an estimate – it’s reality. We maintain a “Bermuda patrol” calendar with weekly checks for the first 3 months, then monthly thereafter. Any sprout taller than 1 inch gets the vinegar spray treatment immediately. The 30% concentration works best on sunny days above 75°F when the grass is actively photosynthesizing and absorbing the solution.
Removal time depends on the method! Solarization (covering with plastic) takes 4–6 weeks in hot weather, while herbicides may require 2–4 applications over a month. Manual digging is instant but labor-intensive. For stubborn patches, combine methods for faster results.
Vinegar (10–20% acetic acid) or boiling water can burn top growth, but Bermuda’s deep roots often regrow. These are best for small patches or as a spot-treatment between other methods. Repeat applications may be needed—expect temporary, not permanent, control.
Target late spring to early summer when Bermuda is actively growing (but before it seeds!). Warm soil temps boost herbicide effectiveness, and solarization works best in hot, sunny weather. Avoid dormant winter months—results will be slower.
Nope—Bermuda’s aggressive roots will outcompete new grass. Fully remove it first (solarization, herbicides, or tilling), then test soil pH and prep the area. For low-maintenance alternatives, try zoysia, fescue, or buffalo grass in suitable climates.
Even tiny root fragments (rhizomes/stolons) can regrow! Common mistakes: not removing all roots (dig 6+ inches deep), skipping follow-up treatments, or contaminating clean soil with old tools. Use a pre-emergent herbicide post-removal to block regrowth.
Battling Bermuda grass takes patience, but with the right approach—whether through natural methods, smothering, or targeted herbicides—you can reclaim your lawn. Consistency is key, so stick with your chosen strategy and monitor progress over time.
Ready to start? Pick one method from this guide, gather your supplies, and take that first step today! 🌱 Your dream lawn is closer than you think—just keep at it.
