
Beautiful Plants For Your Interior
Beautiful Plants For Your Interior
That moment when your orchid sends up a second flower spike? Pure magic. I’ve spent years perfecting the technique to coax multiple stems from a single plant, and the difference between a single bloom and a full, multi-stemmed display is staggering. The secret isn’t some exotic fertilizer—it’s about understanding what triggers orchids to branch out […]
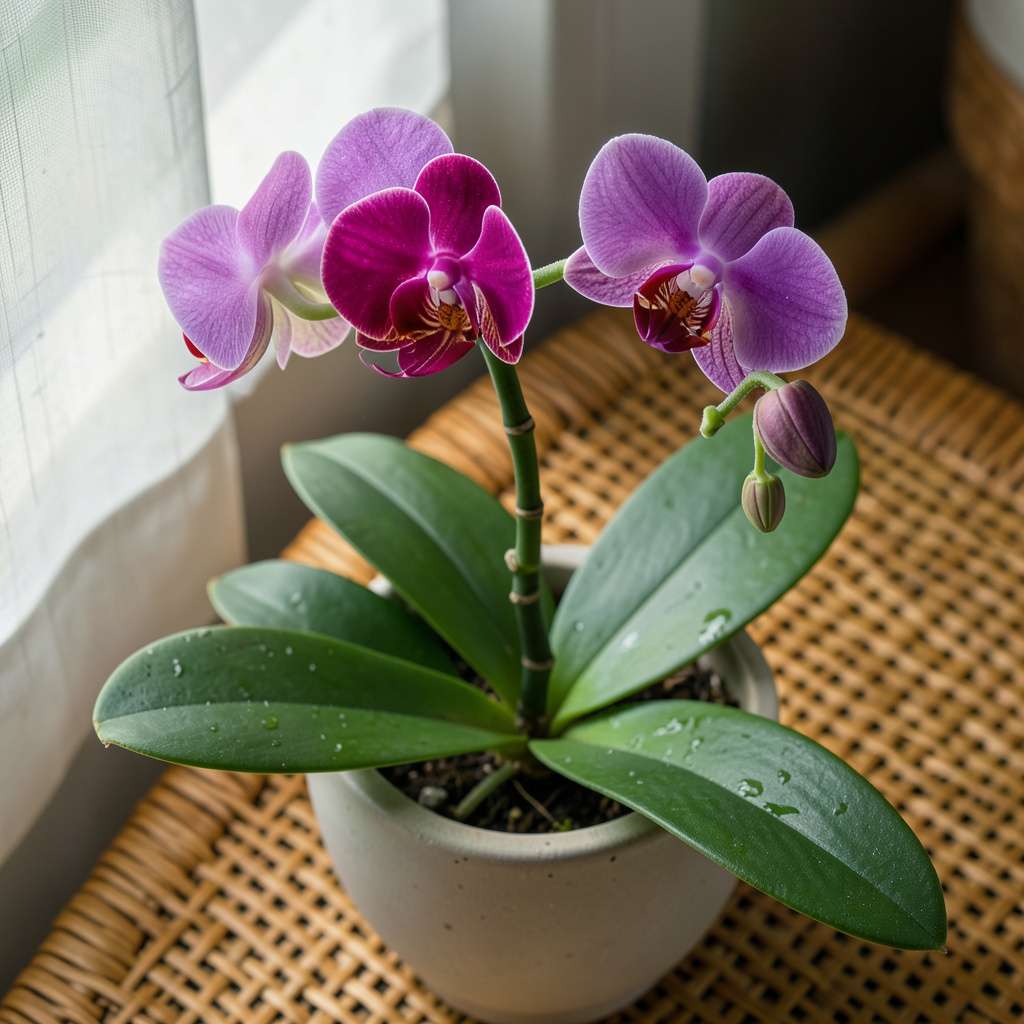
That moment when your orchid sends up a second flower spike? Pure magic. I’ve spent years perfecting the technique to coax multiple stems from a single plant, and the difference between a single bloom and a full, multi-stemmed display is staggering. The secret isn’t some exotic fertilizer—it’s about understanding what triggers orchids to branch out naturally.
Most orchid owners don’t realize their plants are capable of producing multiple stems until they see it happen. After my first orchid grew three flower spikes simultaneously, I became obsessed with replicating the process. It turns out the right combination of light exposure, strategic pruning, and seasonal care makes all the difference. You’re not forcing the plant—you’re giving it the conditions it wants to thrive.
The results speak for themselves: instead of one stem with 5-7 blooms, you’ll get 2-3 stems with 15-20 flowers that last for months. The plant grows stronger each season, and the display becomes more impressive year after year. Once you see that first secondary spike emerging, you’ll understand why this technique changes everything.
Works for phalaenopsis, cattleya, and many other common orchid varieties. The best part? You’re probably already doing half the work—just need to fine-tune a few key elements. Here’s exactly how to make it happen with your plants.
📚 In This Guide
This proven method transforms single-stem orchids into multi-branched showstoppers with just a few strategic adjustments.
Begin by examining your orchid’s growth nodes—those small bumps along the stem where new spikes emerge. I use a magnifying glass to spot dormant nodes, which often appear as tiny triangular ridges. Healthy nodes feel slightly raised when you run your fingertip along the stem, while inactive ones remain smooth and flush with the surface.
The ideal candidate for multiple stems has 3-5 visible nodes below the current bloom spike. If your plant only shows 1-2 nodes, focus on improving its overall health first. I’ve found that orchids with thick, green roots (visible through clear pots) respond best to this technique, while those with shriveled or brown roots need rehabilitation before attempting to force new stems.
When the final flower fades but the stem remains green, locate the second or third node from the base. Using sterilized pruning shears, make a clean cut 1 inch above this node at a 45-degree angle. This precise location triggers hormonal responses that often produce 2-3 new spikes from the remaining nodes instead of just one.
Here’s the thing—never cut a completely brown, dried stem, as it’s already dead. Only prune when the stem is still green or showing faint green streaks. I’ve achieved best results when pruning within 2 weeks of the last flower dropping, while the plant’s energy is still focused on that stem area. The cut surface should appear white and moist; if it looks hollow or dry, you’ve waited too long.
Move your orchid to receive bright, indirect light for 12-14 hours daily, with 60-70°F daytime temperatures and a 10-15°F drop at night. This temperature fluctuation mimics natural conditions that trigger spiking. I place mine near an east-facing window with a sheer curtain to filter intense morning sun, then supplement with a full-spectrum LED grow light positioned 12-18 inches above the plant during shorter winter days.
Watch for new growth at the nodes within 4-6 weeks. You’ll first notice small green bumps emerging, followed by tiny leaf-like structures. This is when the magic happens—each viable node has potential to develop into a separate flower spike. Maintain consistent conditions during this period; even slight temperature or light variations can cause the plant to abort new spikes before they fully develop.
Switch to a high-phosphorus fertilizer (look for NPK ratios like 10-30-20) diluted to half strength, applied every 2 weeks during the growing season. I’ve found that alternating between this bloom booster and a balanced 20-20-20 fertilizer prevents nutrient lockout while encouraging both foliage and spike development. Always water thoroughly before fertilizing to protect sensitive root tips from chemical burn.
The key is observing how your orchid responds. If you see dark green, leathery leaves developing, your plant is focusing on foliage—reduce nitrogen and increase phosphorus. When new spikes appear, you’ll notice they emerge with a slightly different texture than roots or leaves: spike tips are pointed and covered in tiny protective scales, while root tips are rounded and smooth. This distinction helps you identify multiple stems early in development.
Keep humidity levels between 40-70% using a humidity tray or room humidifier, combined with gentle air movement from a small fan set on low. I position my fan to create a breeze that rustles the leaves slightly but doesn’t cause them to wave dramatically. This airflow prevents fungal issues while strengthening developing spikes.
Monitor the developing stems daily once they reach 2-3 inches in length. You may need to stake multiple spikes to prevent them from tangling as they grow. Use soft plant ties and bendable stakes to create a support system that accommodates all new growth directions. The moment you see the first bud forming on any spike, increase phosphorus again and reduce any nitrogen supplements to redirect energy toward flowering rather than vegetative growth.
These practical insights will help you avoid common pitfalls and maximize your success with multiple stem development.
Node Identification Technique: When examining growth nodes in Step 1, use a bright LED flashlight at an angle to make dormant nodes more visible. The light creates shadows that reveal even subtle ridges. I’ve found that gently wiping the stem with a damp cloth first removes any dust or residue that might obscure these critical growth points. Remember, viable nodes should feel slightly raised—like tiny speed bumps—when you run your fingertip along the stem.
Pruning Precision: The 1-inch cut above the second or third node in Step 2 is more critical than it appears. Use sharp, sterilized pruning shears and make the cut at exactly a 45-degree angle to maximize the exposed surface area. This specific angle prevents water accumulation while providing optimal space for new growth to emerge. I always sterilize my tools with rubbing alcohol between plants to prevent disease transmission.
Environmental Consistency: During the 4-6 week waiting period mentioned in Step 3, maintain meticulous consistency with your 60-70°F daytime temperatures and 10-15°F nighttime drop. Even minor fluctuations can disrupt the hormonal balance needed for multiple spike development. I use a digital thermometer with min/max memory to track temperature variations and adjust my grow light timer to ensure exactly 12-14 hours of light daily.
Fertilization Observation: When implementing the high-phosphorus fertilizer regimen in Step 4, watch for subtle changes in leaf texture rather than just color. New spikes often emerge with a slightly different sheen than leaves—almost waxy in appearance. I keep a gardening journal to track which nodes show activity first, as this helps predict where future spikes will appear. The moment you see those pointed, scale-covered tips emerging, you’ll know your fertilization strategy is working.
Timing varies by orchid type, but most Phalaenopsis orchids produce new stems in 6–12 weeks after proper pruning. Ensure bright, indirect light () and consistent watering to speed up growth. Patience is key—some may take longer, especially if recovering from stress or dormancy.
Yes! Try these non-pruning tricks:
These methods mimic natural triggers for stem growth!
This usually means your orchid is in “vegetative mode” (focusing on foliage). Check these fixes:
Late winter or early spring () is ideal—orchids naturally prepare for blooming as daylight increases. Avoid attempting this in fall/winter dormancy unless you’re using artificial grow lights. Pro tip: Align pruning with your orchid’s post-bloom phase for best results!
A floppy stem often signals low light or uneven watering. Try this:
If the stem is green and firm, it may still bloom with better care!
With the right care—proper light, pruning, and fertilization—your orchid can reward you with multiple stunning stems season after season! 🌸 Patience and consistency are key, but the payoff of lush, vibrant blooms is worth every effort. Now that you’re equipped with these tips, grab your pruning shears and give your orchid the TLC it deserves. Start today, and watch your plant thrive like never before!
