
Beautiful Plants For Your Interior
Beautiful Plants For Your Interior
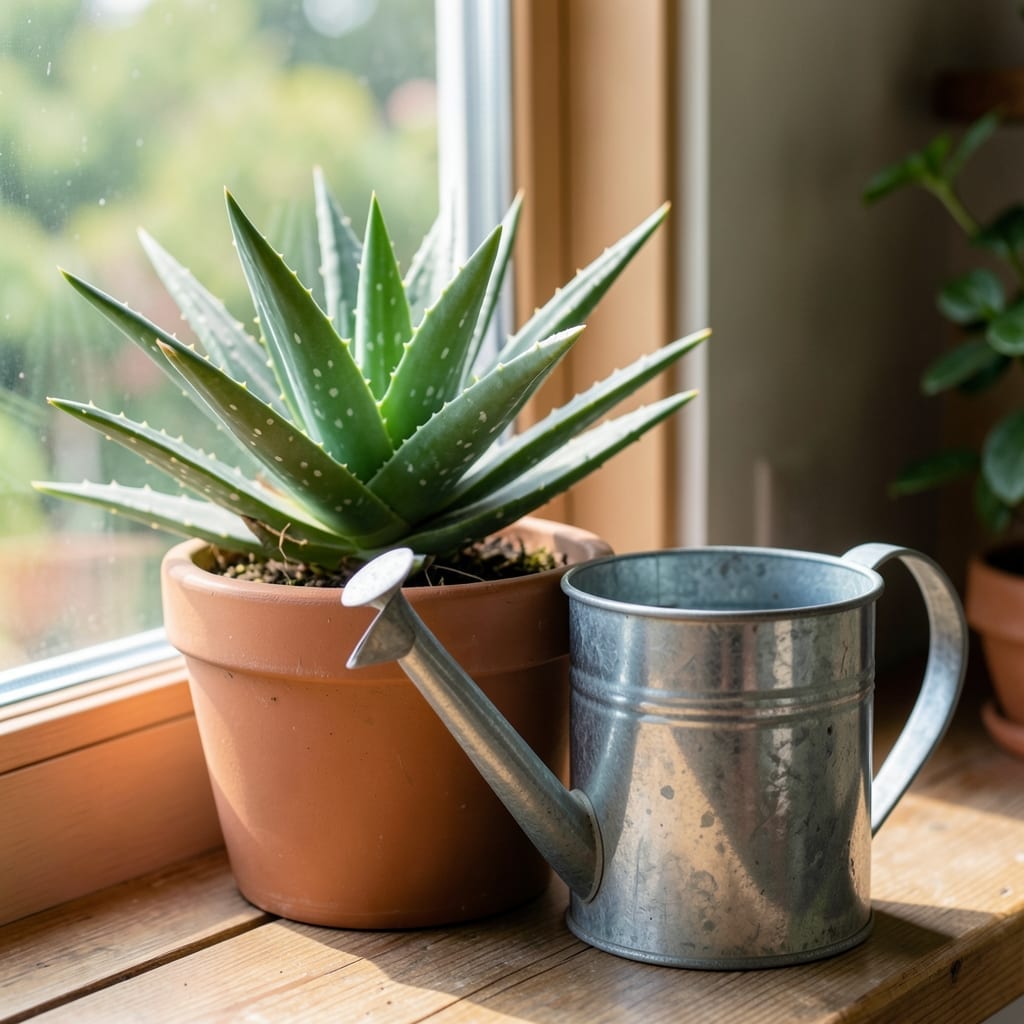
Overwatering is the #1 killer of Aloe Vera 🌱, yet many gardeners still struggle with getting the watering frequency just right. This hardy succulent thrives on neglect.
What seems like a simple task can mean the difference between a lush, healing plant and a mushy disaster. Understanding the perfect schedule is key to its survival.
I’ll walk you through the smart approach to watering that keeps your Aloe Vera healthy year-round. Let’s dive in.
The key to healthy Aloe Vera is the “soak and dry” method. This means watering deeply until it drains from the bottom, then waiting until the soil is completely dry before watering again. It’s a simple approach that prevents root rot. 🌱
Most gardeners overwater because they assume all plants need frequent moisture. But Aloe Vera is a drought-tolerant succulent that stores water in its thick leaves, making it far more resilient to dry conditions than to excess water.
For indoor Aloe Vera, the general rule is to water every 3-4 weeks. However, this can vary based on your home’s humidity and light levels. A sunny windowsill will dry out soil faster than a dim corner.
Outdoor Aloe Vera in warm climates may need watering every 2-3 weeks during active growth, but always check the soil first. Stick your finger 2 inches deep—if it’s dry, it’s time to water. ☀️
The pot type matters too. Terracotta pots dry out faster than plastic ones, so you may need to water more often. Conversely, a large pot holds moisture longer, extending the time between waterings.
If you’re unsure, err on the side of under-watering. Aloe Vera can survive weeks without water, but it can’t recover from root rot caused by overwatering. When in doubt, wait another day or two. 🌿
Remember, well-draining soil is non-negotiable. Use a cactus or succulent mix to ensure excess water doesn’t linger. Pair this with a pot that has drainage holes to give your plant the best chance.
Finally, always water in the morning. This gives the plant time to absorb moisture before cooler evening temperatures set in, reducing the risk of fungal issues. Consistency in timing helps your Aloe Vera thrive. 🪴
Your Aloe Vera will tell you if it’s getting too much or too little water—you just need to know what to look for. Yellowing leaves often signal overwatering, while brown, crispy tips usually mean it’s thirsty. 🌱
Mushy stems or a soft base are red flags for root rot, a common issue with overwatered succulents. On the other hand, wrinkled leaves that feel thin or papery are crying out for a drink. These signs are your plant’s way of communicating its needs.
✅ Do’s and Don’ts of Aloe Watering
If you spot black spots on the leaves, this could indicate fungal issues from excess moisture. Conversely, dry, curling leaves suggest your plant is parched. The fix for overwatering is to stop watering immediately and let the soil dry out completely.
For underwatered Aloe Vera, give it a deep soak until water runs out the drainage holes. I’ve found that terracotta pots help wick away excess moisture, which can be a lifesaver for overzealous waterers. 🌿
Remember, Aloe Vera is a survivor. It can bounce back from underwatering much more easily than from overwatering. When in doubt, hold off on watering for a few extra days. Your plant will thank you for it.
Lastly, pay attention to the soil’s condition. If it’s staying damp for more than a week, you might need to repot with better-draining soil. A mix of cactus soil and perlite works wonders for keeping your Aloe happy and healthy. ☀️